As an Amazon Influencer, we earn from qualifying purchases you might make if you click any of the links or buttons on this page at no expense to you.
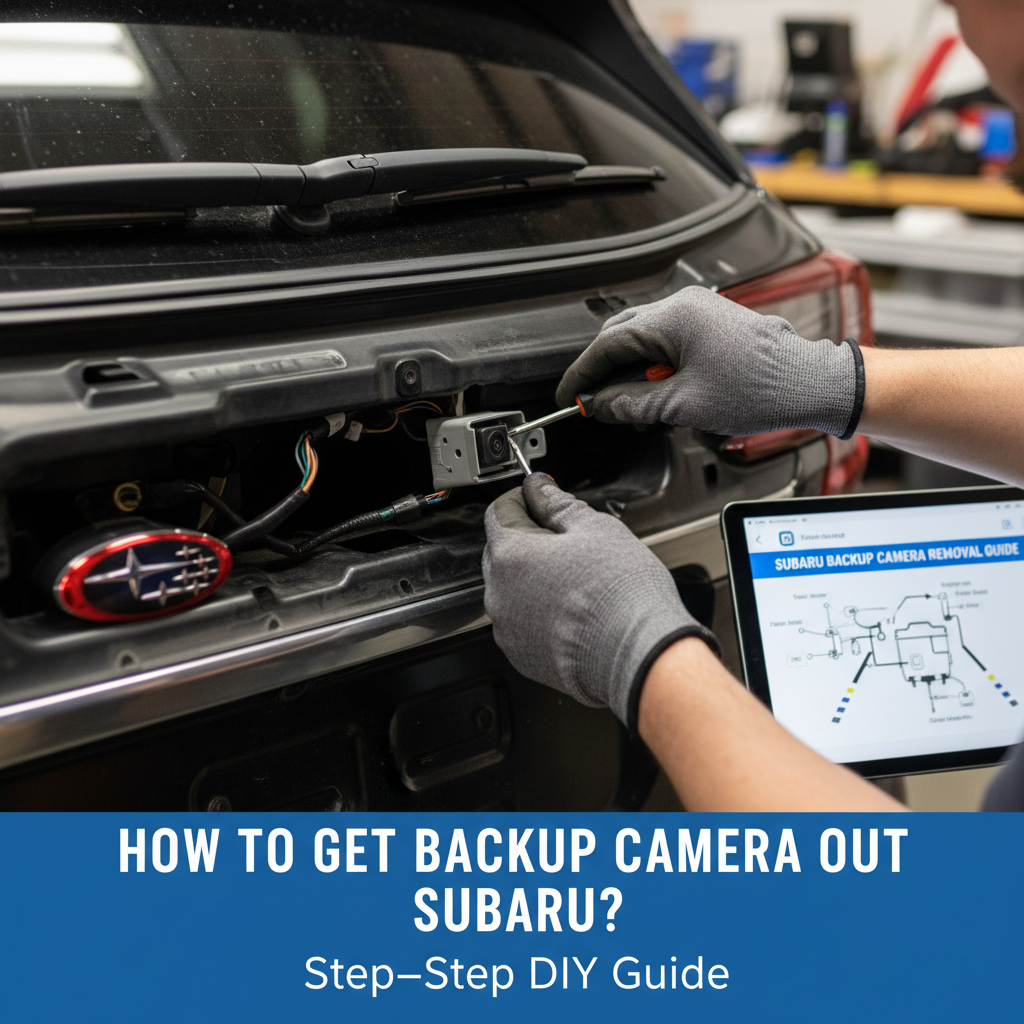
Removing a backup camera from your Subaru might seem daunting, but with the right approach and tools, it’s a manageable DIY project. Whether you’re upgrading to a newer camera system, replacing a faulty unit, or performing maintenance on your vehicle, understanding the proper removal process will save you time and prevent damage to your car’s electrical system and trim pieces.
This guide covers the complete removal process for Subaru backup cameras across different model years and configurations. You’ll learn about the tools needed, step-by-step instructions, common challenges, and expert tips to ensure a smooth removal process.
To remove a Subaru backup camera, disconnect the battery, remove the tailgate trim panel, unplug the camera’s electrical connector, and unscrew the mounting bolts from behind the tailgate. The camera typically pulls out from the exterior once the mounting hardware is removed.
Most Subaru backup cameras are mounted with 2-3 bolts accessible from inside the tailgate area. The process usually takes 30-45 minutes with basic hand tools.
Contents
- Tools and Materials Required to get backup camera out subaru
- Safety Precautions and Preparation to get backup camera out subaru
- Accessing the Camera Mounting Area to get backup camera out subaru
- Electrical Disconnect Process
- Physical Camera Removal Steps
- Common Challenges and Solutions
- Model-Specific Considerations
- Reassembly and Installation Tips
- Frequently Asked Questions
- Final Thoughts
Tools and Materials Required to get backup camera out subaru
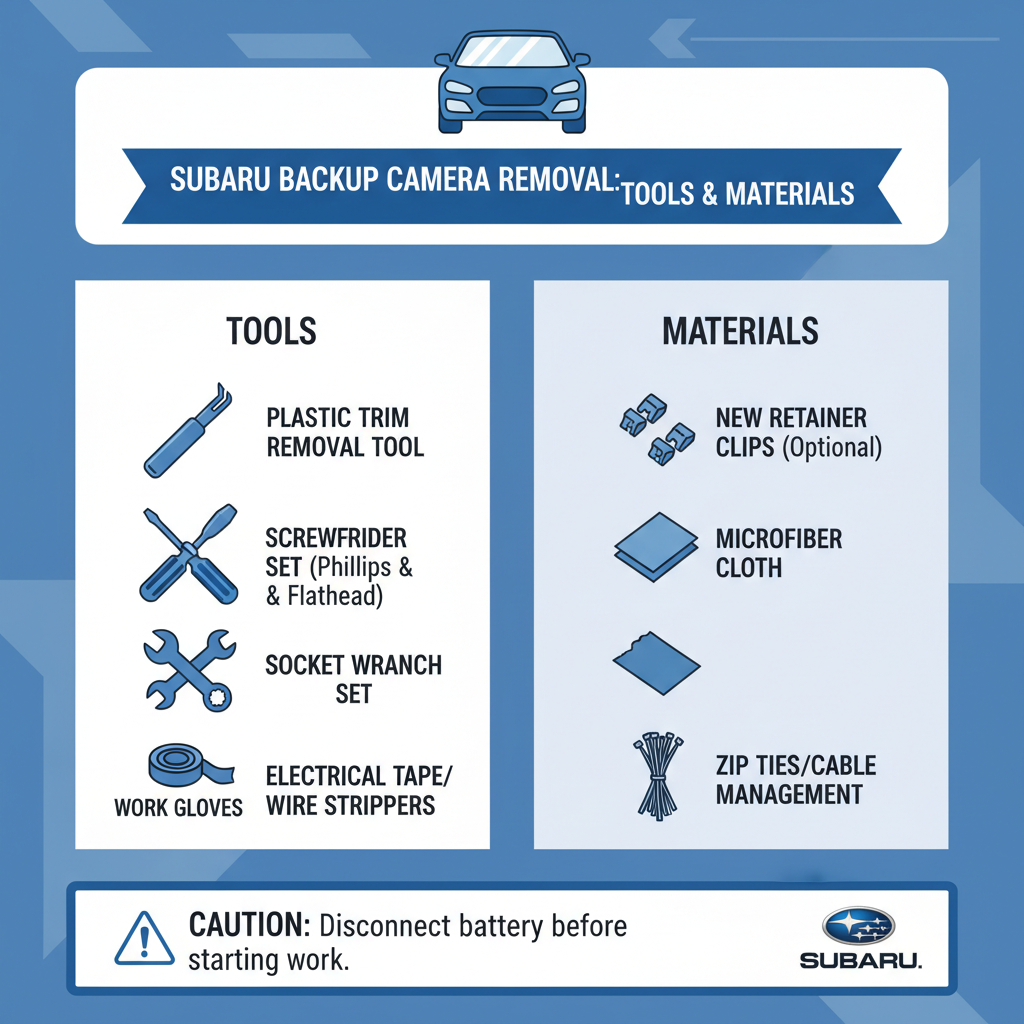
Before starting the removal process, gather these essential tools and materials:
Basic Tools:
– Phillips head screwdriver set
– Flathead screwdriver
– Socket wrench set (typically 8mm and 10mm)
– Plastic trim removal tools
– Work gloves
– Flashlight or headlamp
Optional but Helpful:
– Magnetic parts tray
– Electrical contact cleaner
– Masking tape for labeling connections
– Clean rags or paper towels
Having the right tools prevents damage to plastic trim pieces and ensures you can access tight spaces around the camera mounting area. Plastic trim tools are particularly important for Subaru vehicles, as the interior panels can crack easily if metal tools are used.
Safety Precautions and Preparation to get backup camera out subaru
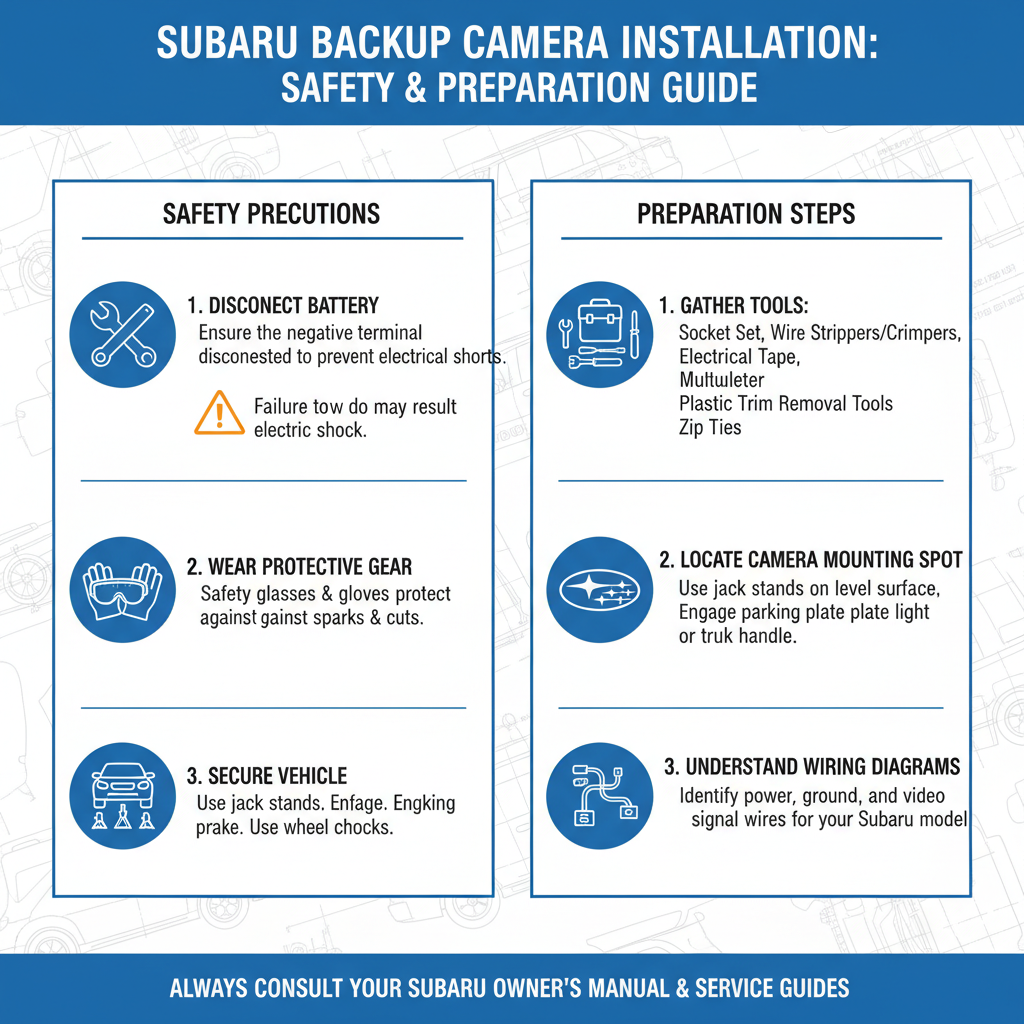
Start by parking your Subaru on level ground and engaging the parking brake. Turn off the engine and remove the key from the ignition.
Battery Disconnection:
Always disconnect the negative battery terminal before working on any electrical components. This prevents accidental short circuits and protects the vehicle’s electronic systems. Wait at least 10 minutes after disconnection to allow capacitors to discharge.
Workspace Setup:
Ensure you have adequate lighting in the work area. The tailgate area can be dimly lit, making it difficult to see small connectors and mounting hardware. Position your vehicle so you can comfortably access both the interior and exterior of the tailgate.
Clean the work area around the camera to prevent dirt and debris from falling into electrical connections during removal.
Accessing the Camera Mounting Area to get backup camera out subaru
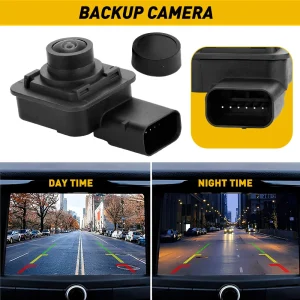
The backup camera location varies slightly between Subaru models, but most are mounted in the tailgate handle area or just above the license plate.
Interior Access:
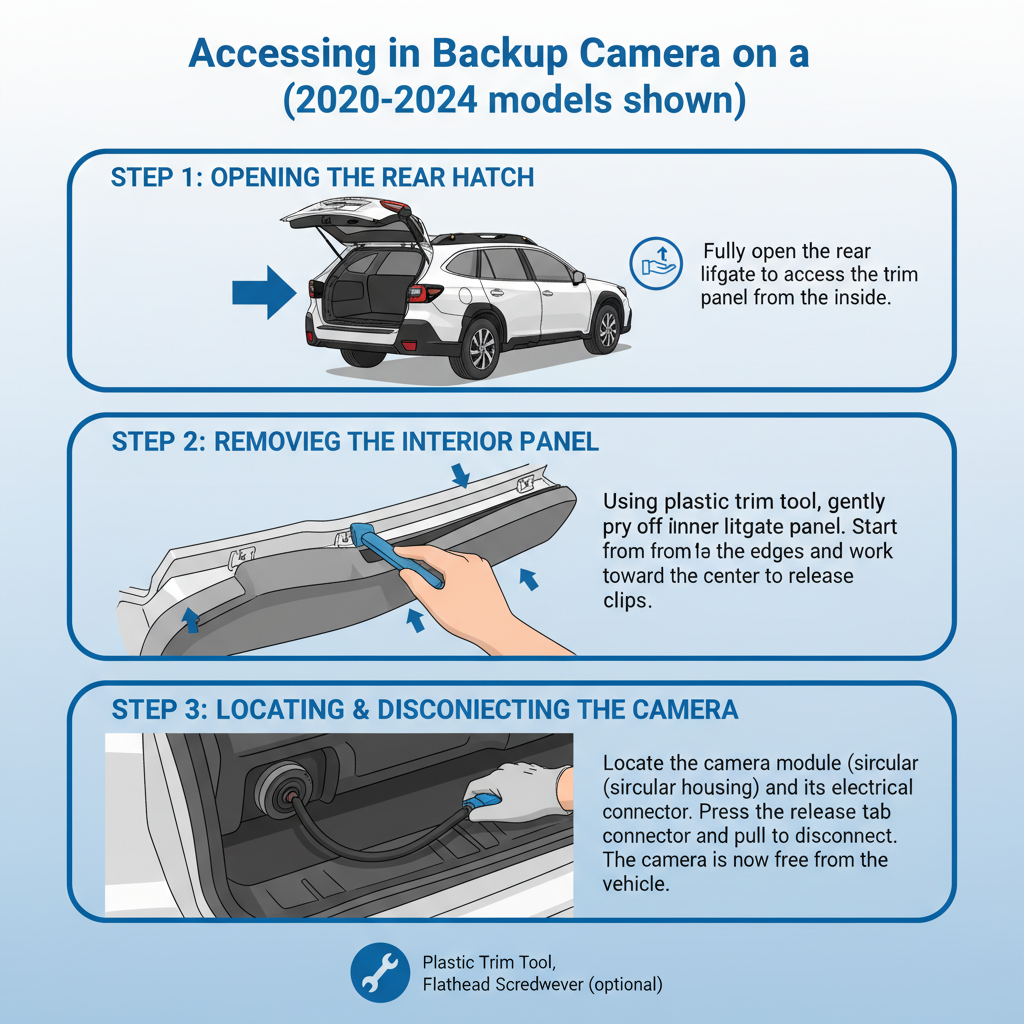
Open the tailgate and locate the interior trim panel that covers the camera mounting area. In most Subaru models, this involves removing the upper tailgate trim panel or the panel behind the tailgate handle.
Look for plastic clips or screws holding the trim panel in place. Subaru typically uses a combination of push-clips and screws. The clips are usually located along the edges of the panel, while screws may be hidden under small plastic covers.
Trim Panel Removal:
Use plastic trim tools to carefully release the clips without breaking them. Start at one corner and work your way around the panel. Apply steady, even pressure rather than forcing the clips. If you encounter resistance, double-check for missed screws or clips.
Once the trim panel is loose, set it aside in a safe location where it won’t get damaged or lost.
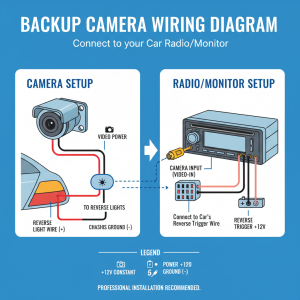
Electrical Disconnect Process
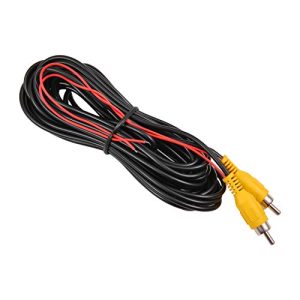
With the trim panel removed, you should see the camera’s electrical connector. Subaru backup cameras typically use a multi-pin connector that’s secured with a locking tab.
Connector Identification:
The camera connector is usually a rectangular plastic housing with multiple wires leading to it. It may be wrapped in protective tape or secured with a plastic clip to prevent movement.
Safe Disconnection:
Before touching any electrical connections, ensure your hands are dry and you’re not wearing jewelry that could cause a short circuit. Locate the locking tab on the connector – this is typically a small plastic lever or button that must be pressed or lifted to release the connection.
Press the locking mechanism while gently pulling the connector apart. Never pull on the wires themselves, as this can damage the connection or break the wires inside the insulation.
Physical Camera Removal Steps
Once the electrical connection is disconnected, you can access the camera’s physical mounting hardware.
Locating Mounting Bolts:
Most Subaru backup cameras are secured with 2-3 bolts that thread through the tailgate from the inside. These bolts are typically 8mm or 10mm and may be different lengths depending on your specific model year.
The bolts are usually located in a triangular or linear pattern around the camera housing. Some models may also have a rubber gasket or seal that needs to be removed with the camera.
Bolt Removal Sequence:
Remove the mounting bolts in a cross pattern if there are multiple bolts. This prevents the camera from binding or tilting as you remove the hardware. Keep track of bolt locations and lengths, as they may not be interchangeable.
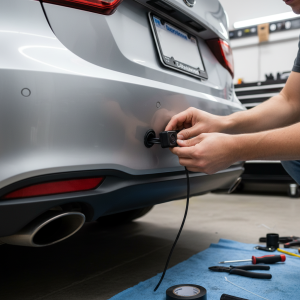
Camera Extraction:
With all mounting bolts removed, the camera should be loose. Go to the exterior of the vehicle and gently push or pull the camera housing from outside. It should come free relatively easily. If it feels stuck, double-check that all mounting hardware has been removed.
Common Challenges and Solutions
Corroded or Seized Bolts:
In areas with harsh weather conditions, mounting bolts can become corroded. Apply penetrating oil and allow it to sit for 15-20 minutes before attempting removal. Use steady pressure rather than impact to avoid breaking the bolt.
Stuck Electrical Connectors:
Sometimes connectors become difficult to separate due to corrosion or debris. Clean around the connector with electrical contact cleaner and ensure you’ve properly identified the release mechanism. Some connectors require sliding rather than pulling apart.
Damaged Trim Clips:
If trim clips break during removal, replacement clips are available from Subaru dealers or automotive parts stores. Note the clip style and quantity needed before reassembly.
Water Intrusion Concerns:
After camera removal, the mounting hole will be exposed to weather. If you’re not immediately installing a replacement camera, temporarily seal the opening with appropriate automotive tape or a rubber plug to prevent water damage.
Model-Specific Considerations
Outback and Legacy Models (2015-2023):
These models typically mount the camera in the tailgate handle area. The interior access panel is usually held by 4-6 clips and may have a small screw near the latch mechanism.
Forester Models (2014-2023):
Forester backup cameras are often mounted higher on the tailgate, requiring removal of the upper trim panel. Some model years have an integrated camera and tailgate handle assembly.
Ascent Models (2019-2023):
The three-row Ascent typically has a more complex camera system that may include additional sensors. Take extra care to identify all electrical connections before removal.
Field experience shows that newer Subaru models (2018+) often have more integrated camera systems that may require additional steps for complete removal.
Reassembly and Installation Tips
If you’re installing a new camera or reinstalling the original unit, reverse the removal process with these considerations:
Gasket and Seal Inspection:
Check the rubber gasket around the camera mounting area for damage or deterioration. Replace if cracked or hardened, as this prevents water intrusion.
Torque Specifications:
Tighten mounting bolts to manufacturer specifications, typically 8-12 ft-lbs for camera mounting bolts. Over-tightening can crack the camera housing or strip threads in the tailgate.
Electrical Connection Testing:
Before final assembly, reconnect the battery and test the camera function to ensure proper operation. This saves time if adjustments are needed.
Frequently Asked Questions
How long does it take to remove a Subaru backup camera?
The removal process typically takes 30-45 minutes for experienced DIYers. First-time removal may take up to an hour, especially if you encounter corroded bolts or difficult trim clips.
Can I remove the camera without disconnecting the battery?
While technically possible, disconnecting the battery is strongly recommended for safety. It prevents accidental short circuits and protects sensitive electronic components in modern Subarus.
What happens if I break the electrical connector?
Replacement connectors are available from Subaru dealers or automotive electrical suppliers. You’ll need to match the pin count and connector style. Professional installation may be required for complex repairs.
Will removing the camera affect my warranty?
Removing the camera for legitimate maintenance or replacement typically doesn’t void warranty coverage. However, any damage caused during removal may not be covered. Consult your dealer if you have warranty concerns.
Do I need special tools for different Subaru models?
Most Subaru backup cameras use standard mounting hardware. However, some newer models may require specific trim tools or socket sizes. Check your owner’s manual for model-specific requirements.
Can I upgrade to a higher-resolution camera during replacement?
Upgrading may be possible, but compatibility with your vehicle’s display system must be verified. Newer high-resolution cameras may require additional wiring or software updates to function properly.
What should I do if water gets into the electrical connections?
If connections appear wet or corroded, clean them with electrical contact cleaner and allow to dry completely before reconnection. Severely corroded connections may require professional repair or replacement.
Final Thoughts
Removing a backup camera from your Subaru is a straightforward process when approached methodically. The key to success lies in proper preparation, having the right tools, and taking time to understand your specific model’s configuration before beginning work.
Remember that patience is crucial when working with automotive electrical systems and plastic trim pieces. Rushing the process often leads to broken clips, damaged connectors, or other costly repairs. If you encounter unexpected resistance or complexity beyond your comfort level, consulting a professional technician can save time and prevent damage to your vehicle.
Most Subaru owners find this project manageable with basic mechanical skills and attention to detail. The experience gained from this repair will also help with future maintenance tasks and give you better understanding of your vehicle’s systems.