As an Amazon Associate & Influencer, we earn from qualifying purchases you might make if you click any of the links or buttons on this page at no expense to you.
A foggy backup camera lens can turn a simple parking maneuver into a stressful guessing game. Whether you’re dealing with condensation, dirt buildup, or water spots, a cloudy camera lens compromises your safety and makes reversing unnecessarily difficult. This guide walks you through proven cleaning methods, explains why cameras fog up, and shows you how to prevent future issues.
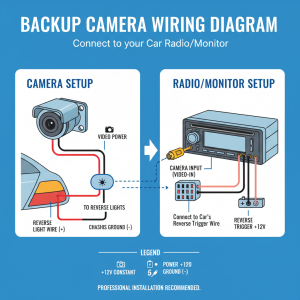
Clean a foggy backup camera lens by gently wiping it with a microfiber cloth dampened with distilled water or isopropyl alcohol. For stubborn fog caused by internal condensation, use a hair dryer on low heat to evaporate moisture, then clean the exterior surface. Always power off the vehicle before cleaning and avoid harsh chemicals that could damage the lens coating.
Why Backup Camera Lenses Get Foggy
Understanding the root cause helps you choose the right cleaning approach and prevent future problems.
External fogging happens when moisture, dirt, or road grime accumulates on the lens surface. Rain, car washes, and humid conditions create water spots that dry into a hazy film. Road salt, dust, and exhaust residue also build up over time.
Internal fogging occurs when moisture gets trapped inside the camera housing. Temperature changes cause condensation to form on the inner lens surface. This often happens after heavy rain, car washes, or when moving between hot and cold environments.
Lens coating degradation can create a permanent hazy appearance. UV exposure, harsh cleaning chemicals, and age gradually break down protective coatings on cheaper camera units.
Essential Cleaning Supplies to Clean a Foggy Backup Camera Lens
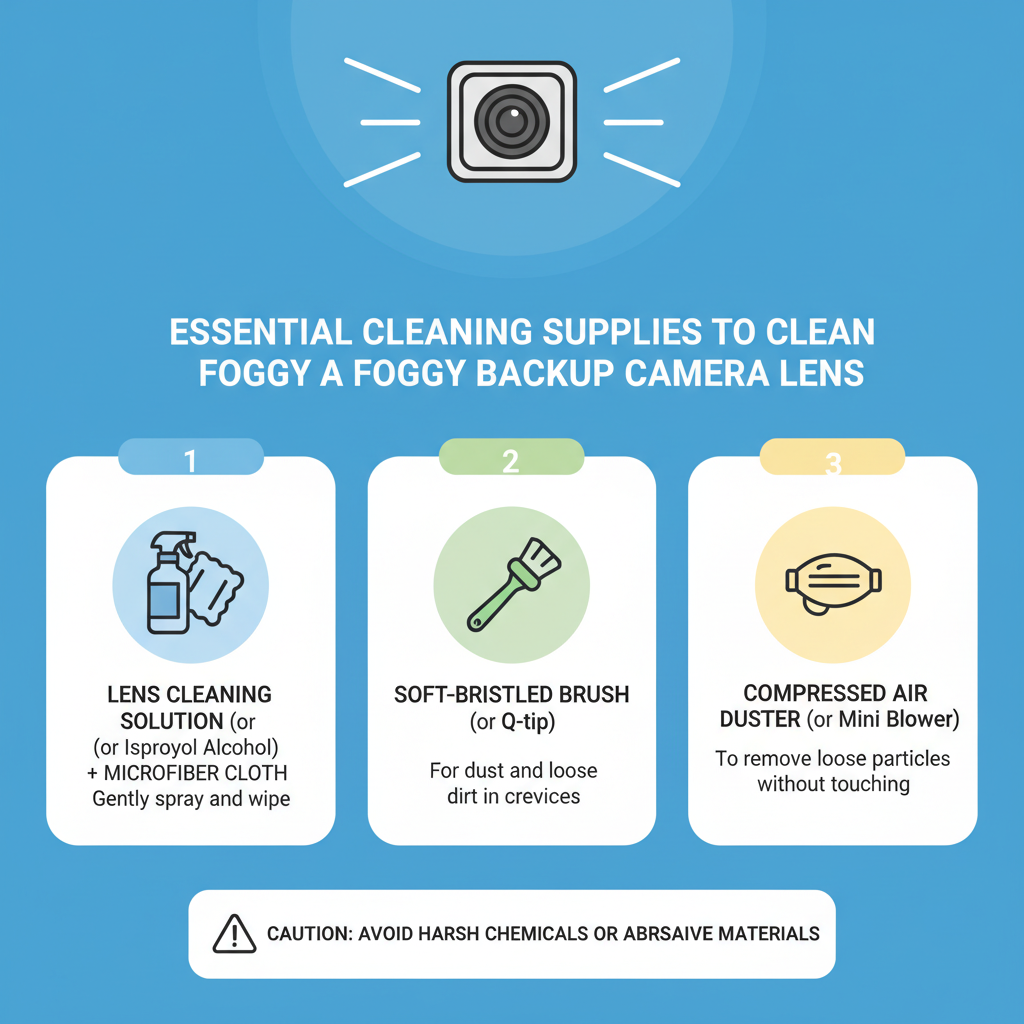
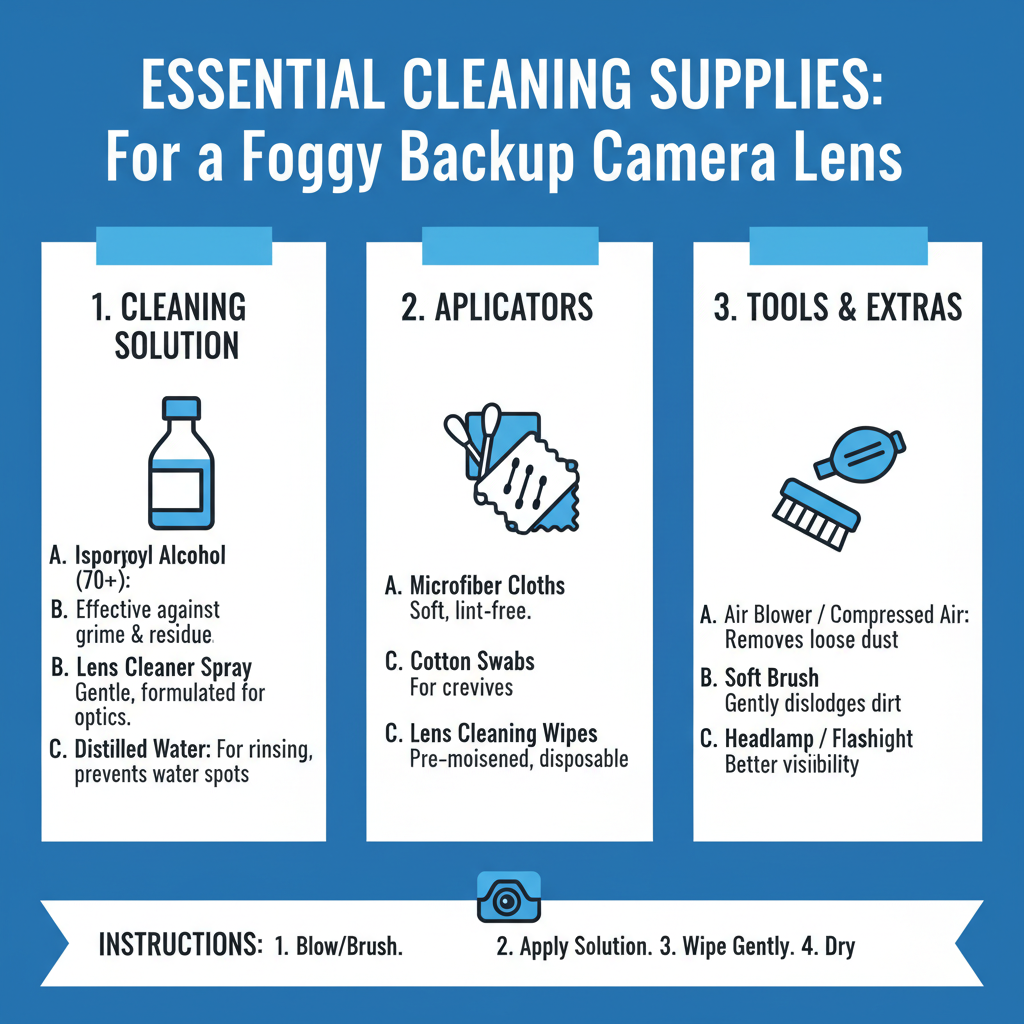
Gather these materials before starting your cleaning process:
• Microfiber cloths (at least 2-3 clean ones)
• Distilled water in a spray bottle
• 70% isopropyl alcohol for stubborn residue
• Cotton swabs for detailed work around edges
• Hair dryer for internal condensation
• Compressed air to remove loose debris
• Lens cleaning solution (optional, camera-safe only)
Avoid paper towels, regular cloth, or tissues that can scratch the lens surface. Never use household cleaners, ammonia-based products, or abrasive materials.
Step-by-Step Cleaning Process to Clean a Foggy Backup Camera Lens
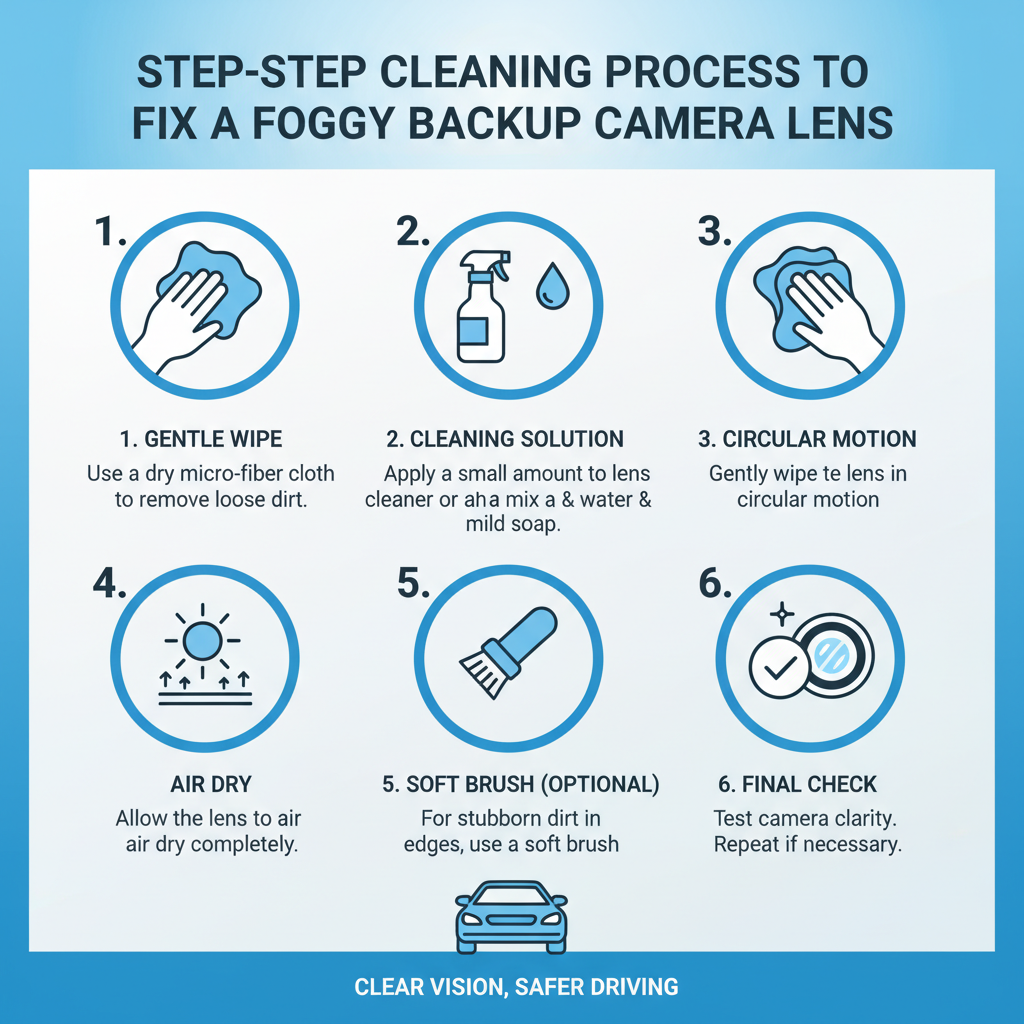
External Lens Cleaning
Step 1: Turn off your vehicle completely and engage the parking brake. Wait 10-15 minutes for the camera to cool down if you’ve been driving.
Step 2: Use compressed air to blow away loose dirt and debris from around the camera housing. This prevents scratching during the cleaning process.
Step 3: Lightly dampen a clean microfiber cloth with distilled water. The cloth should be moist, not soaking wet.
Step 4: Gently wipe the lens surface using circular motions, starting from the center and working outward. Apply minimal pressure to avoid damaging the lens coating.
Step 5: For stubborn spots or water stains, use a second microfiber cloth dampened with 70% isopropyl alcohol. Test on a small area first to ensure compatibility.
Step 6: Use cotton swabs to clean around the camera housing edges where dirt typically accumulates.
Step 7: Finish with a dry microfiber cloth to remove any remaining moisture or streaks.
Internal Condensation Removal
Step 1: Locate the camera housing and check if moisture is visible inside the lens cover.
Step 2: Set a hair dryer to low heat and hold it 12-18 inches away from the camera. Move it in gentle sweeping motions for 2-3 minutes.
Step 3: Allow the camera to cool for 10 minutes, then check if condensation has cleared.
Step 4: If moisture persists, repeat the heating process but avoid overheating the plastic housing.
Step 5: Once internal fog clears, clean the external surface following the steps above.
Dealing with Stubborn Buildup
Some situations require extra attention and specialized techniques.
Salt residue from winter roads creates a white, chalky film that regular water won’t remove. Mix equal parts distilled water and white vinegar in a spray bottle. Apply to a microfiber cloth and gently clean the lens, then rinse with distilled water and dry thoroughly.
Tree sap or tar requires careful removal to avoid lens damage. Apply a small amount of petroleum jelly to the affected area and let it sit for 5 minutes. Gently rub with a microfiber cloth, then clean with isopropyl alcohol to remove residue.
Hard water spots appear as circular, cloudy marks after the camera dries. Use a 50/50 mixture of distilled water and white vinegar, applied with a cotton swab for precise application.
In practice, field experience shows that most stubborn buildup responds to patience and gentle, repeated cleaning rather than aggressive scrubbing.
Preventing Future Fogging Issues
Regular maintenance keeps your backup camera clear and functional longer.
Weekly cleaning during normal conditions prevents buildup that becomes harder to remove. A quick wipe with a damp microfiber cloth takes less than 30 seconds.
Post-wash attention is crucial after car washes or heavy rain. Water spots form quickly as moisture evaporates, so dry the camera lens immediately.
Protective treatments can help repel water and dirt. Apply a thin layer of rain repellent designed for automotive glass every 3-4 months. Test compatibility on a small area first.
Parking considerations matter more than most people realize. Avoid parking under trees that drop sap or in areas with heavy dust. Face the camera away from prevailing winds when possible.
When Professional Help Is Needed
Some fogging issues require professional diagnosis and repair.
Persistent internal condensation that returns repeatedly indicates a compromised seal in the camera housing. This allows moisture to enter and requires seal replacement or housing repair.
Lens coating damage appears as permanent cloudiness or rainbow-like patterns on the lens surface. Professional replacement is usually more cost-effective than attempting repairs.
Electrical issues may cause the camera to malfunction after cleaning. If the display remains black or shows error messages, consult a qualified technician.
A common issue technicians encounter is customers over-cleaning cameras with harsh chemicals, which damages protective coatings and creates permanent fogging problems.
Maintenance Schedule and Best Practices
Establish a routine that keeps your backup camera consistently clear.
Daily checks during your pre-drive inspection should include a quick glance at the camera lens. Look for obvious dirt, water spots, or fogging.
Weekly cleaning with a dry microfiber cloth removes light dust and prevents buildup. This takes minimal time but makes a significant difference.
Monthly deep cleaning using the full process outlined above addresses any accumulated grime or water spots.
Seasonal maintenance should include checking camera housing seals and applying protective treatments before harsh weather periods.
Document any recurring issues or unusual fogging patterns. This information helps technicians diagnose problems if professional service becomes necessary.
Common Cleaning Mistakes to Avoid
Learning from others’ mistakes saves time and prevents damage to your camera system.
Using paper products seems convenient but creates microscopic scratches that accumulate over time. These scratches scatter light and create permanent haziness.
Applying too much pressure when cleaning can damage delicate lens coatings. Let the cleaning solution do the work rather than scrubbing aggressively.
Ignoring the housing area allows dirt to accumulate around the camera mount. This debris eventually works its way onto the lens surface.
Cleaning in direct sunlight causes cleaning solutions to evaporate too quickly, leaving streaks and residue. Work in shade or during cooler parts of the day.
Using household cleaners may seem logical, but products containing ammonia, bleach, or strong detergents can permanently damage camera components.
Frequently Asked Questions
Can I use Windex or other glass cleaners on my backup camera?
No, avoid household glass cleaners that contain ammonia or strong chemicals. These can damage the lens coating and plastic housing. Stick to distilled water, isopropyl alcohol, or automotive-specific lens cleaners.
How often should I clean my backup camera lens?
Clean weekly during normal conditions and immediately after car washes, heavy rain, or driving in dusty conditions. Regular maintenance prevents stubborn buildup that’s harder to remove.
Why does my camera fog up from the inside?
Internal fogging indicates moisture has entered the camera housing through damaged seals or poor manufacturing. While you can temporarily clear it with gentle heat, persistent internal condensation requires professional seal repair.
Is it safe to use a hair dryer on my backup camera?
Yes, but only on low heat settings and held at least 12 inches away. High heat can damage plastic components or electronic circuits. Move the dryer continuously to avoid overheating any single area.
What should I do if the lens appears permanently cloudy?
Permanent cloudiness usually indicates damaged lens coating or internal moisture damage. Professional evaluation is recommended, as replacement may be more cost-effective than attempted repairs.
Can I prevent fogging with aftermarket products?
Rain repellent products designed for automotive glass can help reduce water spotting and make cleaning easier. Test compatibility first and reapply every 3-4 months for best results.
Why does my camera get dirty so quickly after cleaning?
Rapid re-soiling often indicates incomplete cleaning that left residue attracting new dirt, or environmental factors like parking under trees or in dusty areas. Thorough cleaning and protective treatments help extend cleanliness.
Final Thoughts
Maintaining a clear backup camera lens requires consistent attention but takes minimal time when done regularly. The key is using proper techniques and materials while avoiding common mistakes that can cause permanent damage. Weekly maintenance prevents most fogging issues, while understanding when to seek professional help saves money and ensures your safety system works reliably. Remember that a clean backup camera isn’t just about convenience – it’s an essential safety feature that helps prevent accidents and protects both people and property.