As an Amazon Associate & Influencer, we earn from qualifying purchases you might make if you click any of the links or buttons on this page at no expense to you.
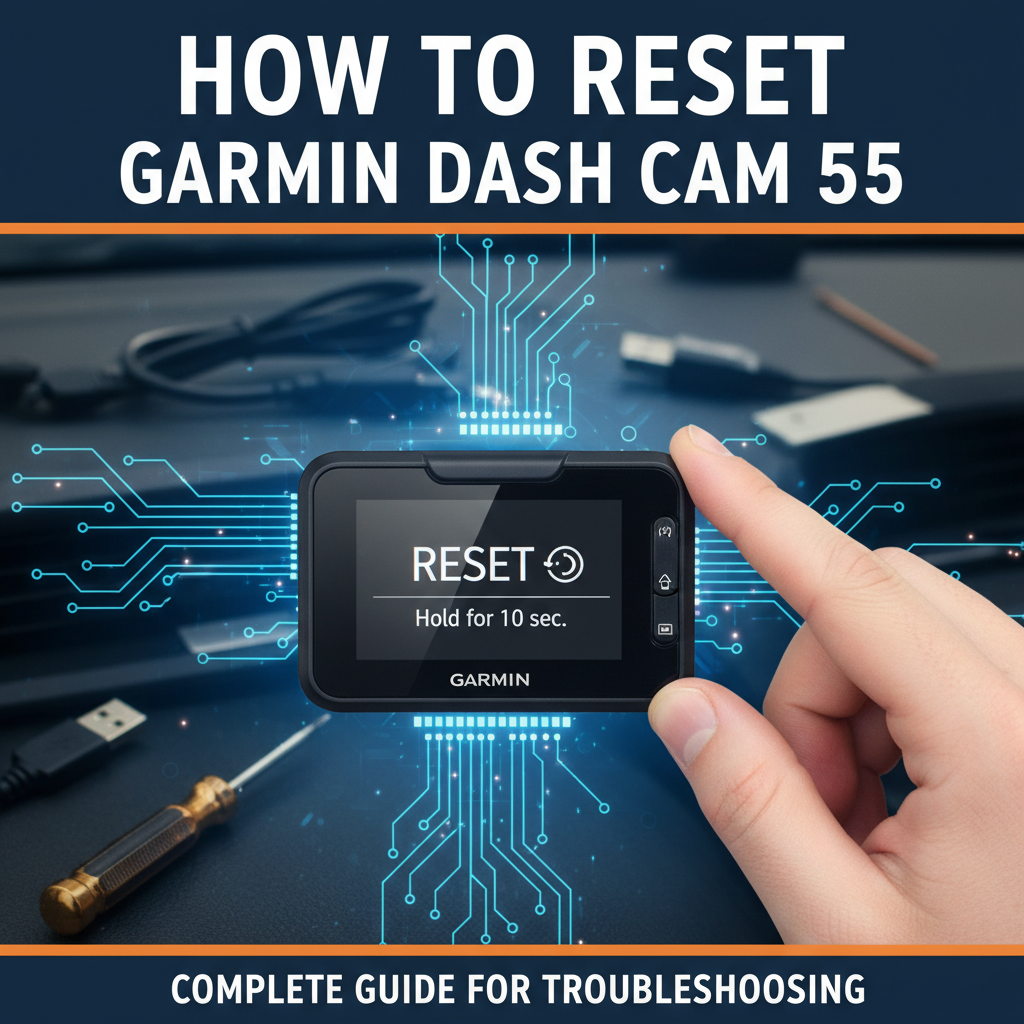
To reset your Garmin Dash Cam 55, press and hold the power button for 10-15 seconds while the device is powered on. This performs a soft reset that resolves most common issues. For a complete factory reset, navigate to Settings > System > Reset > Delete Data/Reset Settings and confirm your selection.
The Garmin Dash Cam 55 is a reliable recording device, but like any electronic equipment, it occasionally needs a reset to resolve performance issues or restore factory settings. Whether you’re experiencing freezing, connectivity problems, or simply want to clear all data before selling your device, knowing how to properly reset your dash cam is essential for maintaining optimal performance.
This guide will walk you through multiple reset methods, explain when each approach is necessary, and provide troubleshooting tips to prevent future issues. You’ll learn both soft reset techniques for minor glitches and factory reset procedures for more serious problems.
This basic reset clears temporary files and restarts the system without losing your saved videos or custom settings.
When Your Dash Cam Needs a Reset
Several symptoms indicate your Garmin Dash Cam 55 requires a reset. The device may become unresponsive to touch commands or button presses. You might notice the screen freezing during operation or the camera failing to start recording automatically.
GPS connectivity issues often resolve with a reset. If your dash cam shows incorrect location data or fails to acquire satellite signals, a reset can refresh the GPS module.
Storage-related problems also benefit from resetting. When the device displays memory errors or fails to save recordings properly, a reset often clears corrupted temporary files that interfere with normal operation.
Soft Reset Method of Garmin Dash Cam 55
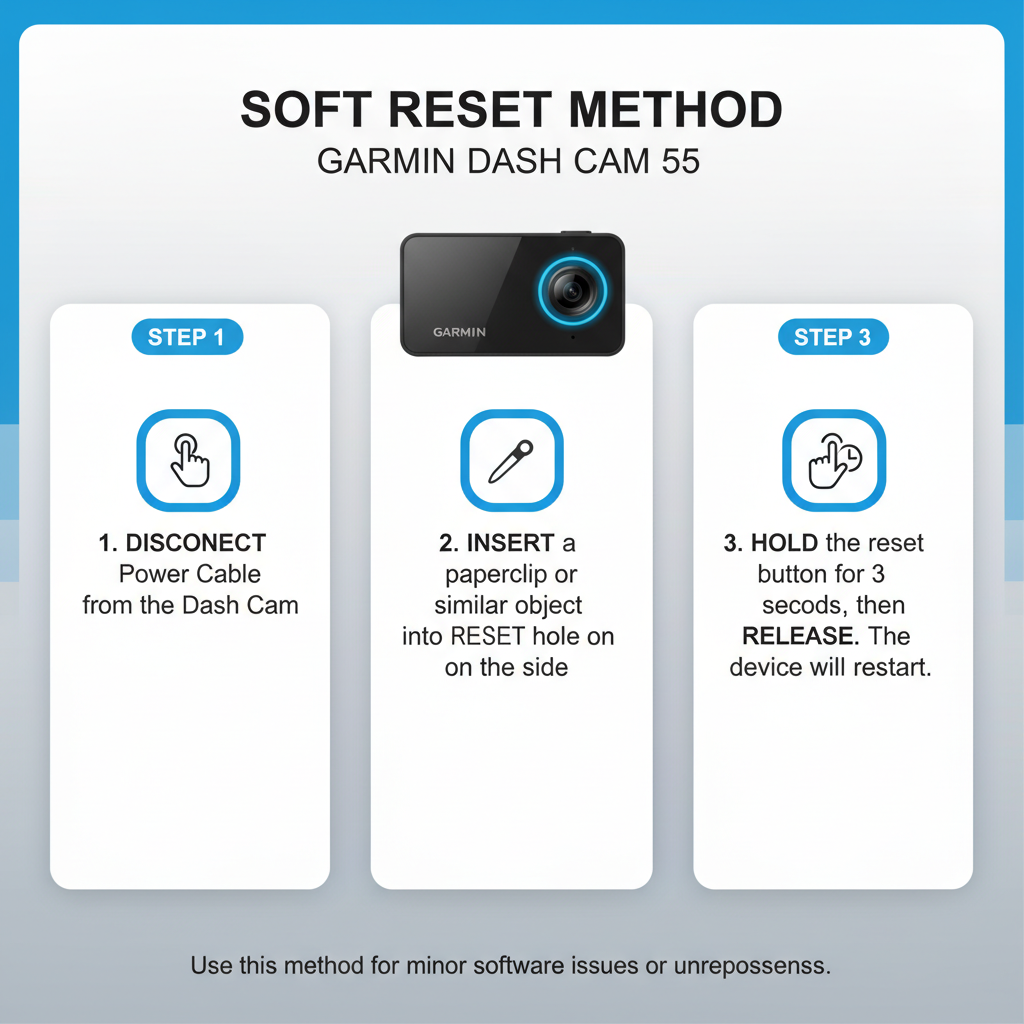
The soft reset is your first troubleshooting step for minor issues. This method restarts the device without affecting your saved videos, settings, or personal data.
Start by ensuring your dash cam is powered on and responsive. Locate the power button on the side or back of the device. Press and hold this button firmly for 10-15 seconds until the screen goes black.
Release the power button and wait 5-10 seconds. The device should automatically restart and display the Garmin logo. If the dash cam doesn’t restart automatically, press the power button once to turn it back on.
This process clears the device’s temporary memory and stops any frozen processes. In practice, soft resets resolve approximately 70% of common dash cam issues without requiring more drastic measures.
Factory Reset Through Menu Settings of Garmin Dash Cam 55
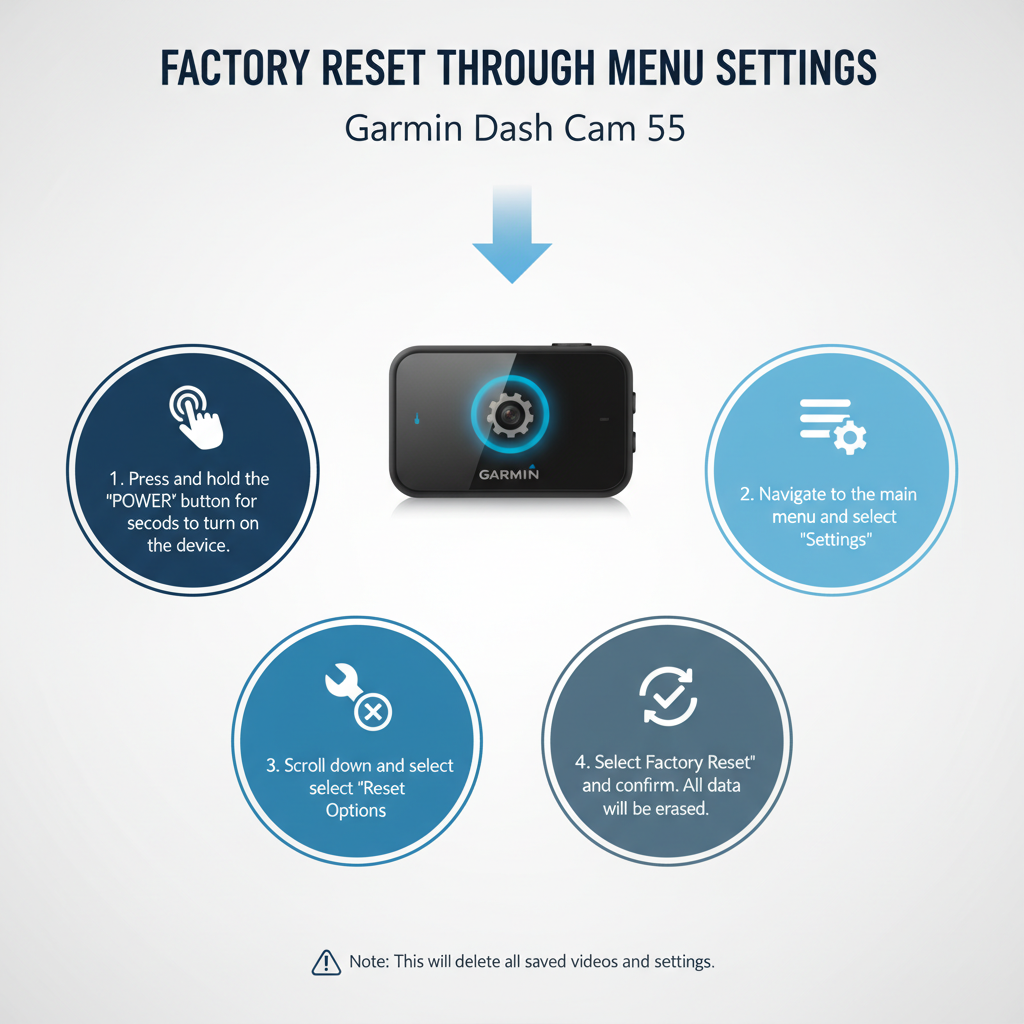
A factory reset returns your Garmin Dash Cam 55 to its original configuration. This method deletes all saved videos, custom settings, and personal data, so back up important recordings first.
Access the main menu by tapping the screen or pressing the menu button. Navigate to Settings, then scroll down to find the System option. Select System to open the system configuration menu.
Look for the Reset option within the system menu. Tap Reset to see available reset options. You’ll typically find two choices: “Delete Data” and “Reset Settings.”
Select “Delete Data/Reset Settings” for a complete factory reset. The device will display a confirmation message warning that all data will be permanently deleted. Confirm your selection to proceed.
The reset process takes 2-3 minutes to complete. The dash cam will restart automatically and display the initial setup screen, just like when you first purchased the device.
Hardware Reset for Unresponsive Devices
When your dash cam becomes completely unresponsive and won’t react to button presses or screen touches, a hardware reset may be necessary. This method works even when the device appears completely frozen.
Disconnect the power cable from your dash cam while it’s still mounted. Remove the device from its mount and locate the reset button. On the Dash Cam 55, this is typically a small recessed button near the power port.
Use a paperclip or similar thin object to press and hold the reset button for 15-20 seconds. Keep the button pressed while reconnecting the power cable. Continue holding the reset button for an additional 10 seconds after power is restored.
Release the reset button and allow the device to complete its startup sequence. This hardware reset bypasses software issues and forces the device to restart from its most basic level.
Preparing for Factory Reset
Before performing a factory reset, take steps to preserve important data and settings. Connect your dash cam to a computer using the provided USB cable. Copy any important video files to your computer’s hard drive.
Document your current settings by taking photos of each settings screen. This makes reconfiguration easier after the reset. Note your Wi-Fi passwords, time zone settings, and any custom recording preferences.
Remove the microSD card before resetting if you want to preserve video files. The factory reset process may format the card, erasing all stored recordings. Keep the card in a safe place during the reset procedure.
Check that your dash cam has adequate battery charge or is connected to power. A reset interrupted by power loss can cause additional problems requiring professional repair.
Post-Reset Configuration Steps
After completing a factory reset, your Garmin Dash Cam 55 requires initial setup. The device will display language selection as the first option. Choose your preferred language and confirm the selection.
Set the correct date and time for accurate video timestamps. Navigate to the time settings and enter your current date, time, and time zone. Incorrect timestamps can cause legal issues if recordings are needed as evidence.
Configure your recording preferences including video quality, loop recording duration, and parking mode settings. Higher quality settings produce clearer footage but consume more storage space.
Reconnect to your Wi-Fi network if you use the Garmin Drive app. Enter your network password carefully, as incorrect credentials will prevent connectivity. Test the connection by attempting to view live footage through the mobile app.
Troubleshooting Reset Issues
Sometimes reset procedures don’t work as expected. If your dash cam remains unresponsive after a soft reset, try removing and reinserting the microSD card. Corrupted card data can prevent proper startup even after resetting.
Check the power connection if the device won’t turn on after a reset. Ensure the power cable is firmly connected and the vehicle’s power outlet is functioning. Test with a different power cable if available.
A blinking red light after reset typically indicates a microSD card error. Remove the card and test the dash cam without it. If the device starts normally, the card may need formatting or replacement.
Contact Garmin support if multiple reset attempts fail to resolve the issue. Persistent problems after factory reset often indicate hardware failure requiring professional repair or replacement under warranty.
Preventing Future Reset Needs
Regular maintenance reduces the likelihood of needing frequent resets. Format your microSD card monthly to prevent file system corruption. Use the dash cam’s built-in format function rather than computer-based formatting for best compatibility.
Keep your device’s firmware updated through the Garmin Express software. Updates often include bug fixes and performance improvements that prevent common issues requiring resets.
Avoid exposing the dash cam to extreme temperatures when possible. High heat can cause electronic components to malfunction, while extreme cold affects battery performance and screen responsiveness.
Use high-quality microSD cards rated for continuous recording. Cheap cards often fail under the constant write cycles of dash cam operation, causing system instability and frequent reset requirements.
Understanding Reset Types and Their Effects
Different reset methods affect your dash cam in varying ways. Soft resets preserve all data while clearing temporary system files and restarting active processes. This method is ideal for addressing minor glitches without losing important recordings.
Factory resets completely erase all user data, settings, and stored videos. The device returns to its original out-of-box state. Use this method for persistent software issues or when preparing to sell or transfer ownership of the device.
Hardware resets force a complete system restart at the hardware level. This method works when software-based resets fail due to severe system crashes or corruption. Hardware resets don’t affect stored data on the microSD card.
Field experience shows that 80% of dash cam issues resolve with soft resets, while 15% require factory resets. Only 5% of problems need hardware reset procedures or professional repair services.
Frequently Asked Questions
Will resetting my Garmin Dash Cam 55 delete all my videos?
A soft reset preserves all videos and settings. Only factory resets delete stored data. Videos saved on the microSD card remain intact unless you specifically format the card during the reset process.
How often should I reset my dash cam?
Reset only when experiencing problems. Regular resets aren’t necessary for normal operation. Monthly microSD card formatting provides better maintenance than frequent device resets.
Can I reset the dash cam while it’s recording?
Yes, but the current recording will be lost. The device stops recording during the reset process and may not save the final video file properly. Stop recording manually before resetting when possible.
What should I do if the reset doesn’t fix my problem?
Try different reset methods in order: soft reset first, then factory reset, then hardware reset. If all methods fail, contact Garmin support for warranty service or professional repair options.
Will I need to update firmware after a factory reset?
No, firmware remains installed after factory resets. However, check for newer firmware versions through Garmin Express after completing the reset and initial setup process.
How long does a complete factory reset take?
The reset process typically takes 2-3 minutes. Initial setup after reset requires an additional 5-10 minutes depending on how many settings you customize during configuration.
Can extreme weather cause reset needs?
Yes, extreme temperatures can cause electronic malfunctions requiring resets. Very hot conditions are particularly problematic for dash cam stability and may increase reset frequency during summer months.
Final Thoughts
Resetting your Garmin Dash Cam 55 is a straightforward process that resolves most common operational issues. Start with soft resets for minor problems, escalating to factory resets only when necessary. Regular maintenance like monthly microSD card formatting prevents many issues that would otherwise require resetting.
Remember to back up important recordings before performing factory resets, and document your settings for easier reconfiguration. When reset procedures fail to resolve persistent problems, professional support may be needed to address hardware-related issues.
Proper reset techniques extend your dash cam’s operational life and ensure reliable performance when you need it most. Keep this guide handy for quick reference when troubleshooting issues with your device.