As an Amazon Associate & Influencer, we earn from qualifying purchases you might make if you click any of the links or buttons on this page at no expense to you.
Replacing a backup camera in your Cadillac SRX might seem intimidating, but with the right tools and guidance, it’s a manageable DIY project. This comprehensive guide walks you through the entire process, from diagnosing camera problems to completing the installation. You’ll learn about the tools needed, step-by-step replacement procedures, and troubleshooting tips to ensure your new backup camera functions properly.
To replace a Cadillac SRX backup camera, disconnect the battery, remove the rear hatch trim panel, unplug the old camera’s electrical connector, remove mounting screws, install the new camera, and reconnect all components. The process typically takes 1-2 hours and requires basic tools like screwdrivers and trim removal tools.
Contents
- Signs Your Backup Camera Needs Replacement
- Tools and Parts Required
- Preparation and Safety Steps
- Removing Interior Trim Components
- Disconnecting the Old Camera
- Installing the New Backup Camera
- Testing Camera Functionality
- Reassembling Trim Components
- Common Installation Challenges
- Maintenance Tips for Longevity
- Frequently Asked Questions
- Final Thoughts
Signs Your Backup Camera Needs Replacement
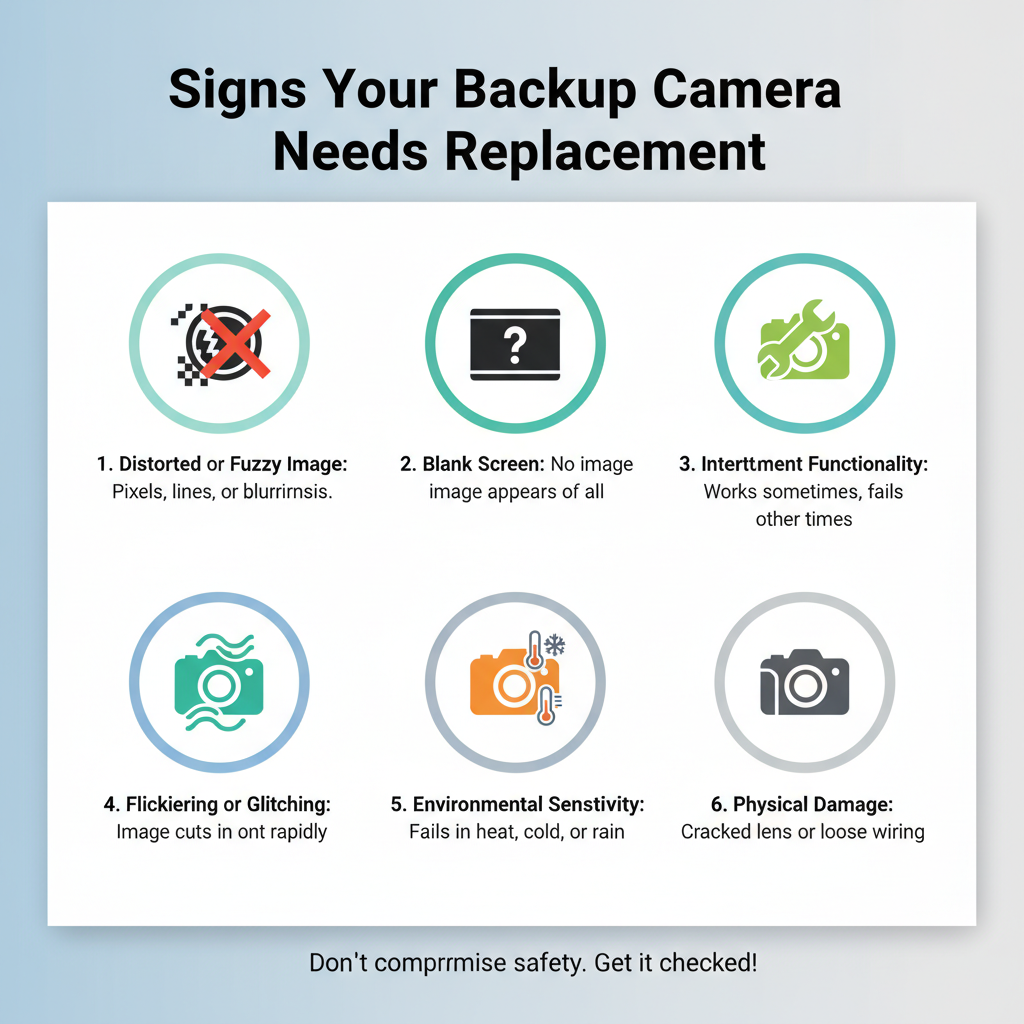
Several symptoms indicate your Cadillac SRX backup camera requires replacement. The most obvious sign is a completely black screen when shifting into reverse. You might also notice distorted images, flickering displays, or intermittent functionality where the camera works sporadically.
Water damage creates another common failure pattern. If you see corrosion or moisture inside the connector, replacement becomes necessary. Physical damage from impacts or vandalism also requires immediate attention.
Some drivers experience delayed camera activation or poor image quality in certain lighting conditions. While these issues might seem minor, they often worsen over time and compromise safety during backing maneuvers.
Tools and Parts Required
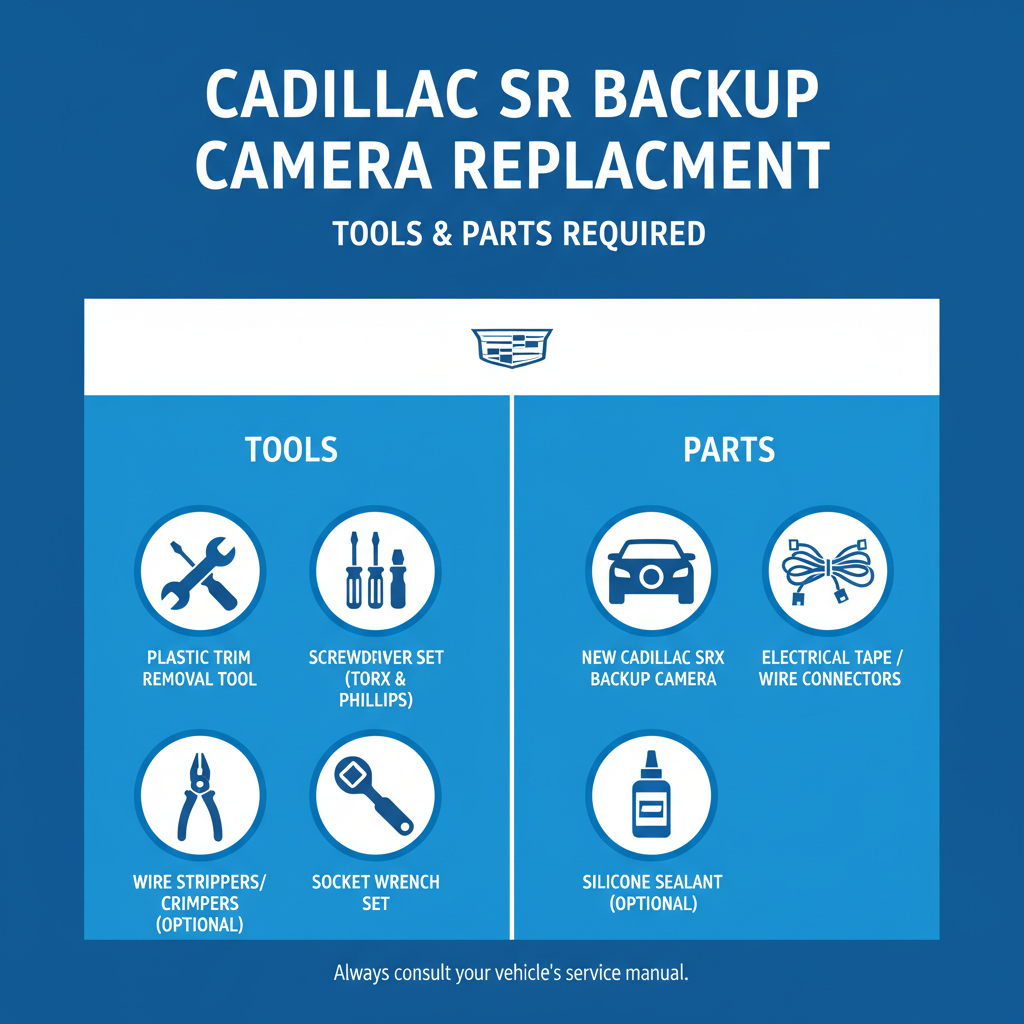
Successful camera replacement depends on having the correct tools and components ready. You’ll need a basic screwdriver set including Phillips head and flathead varieties. Trim removal tools prevent damage to plastic panels during disassembly.
A socket wrench set helps with any stubborn mounting hardware. Electrical tape and zip ties secure connections and prevent future issues. A multimeter assists with electrical troubleshooting if problems arise.
The replacement camera should match your SRX’s model year and trim level specifications. OEM cameras ensure perfect fit and compatibility, while aftermarket options might require additional wiring modifications. Always verify part numbers before purchasing.
Preparation and Safety Steps
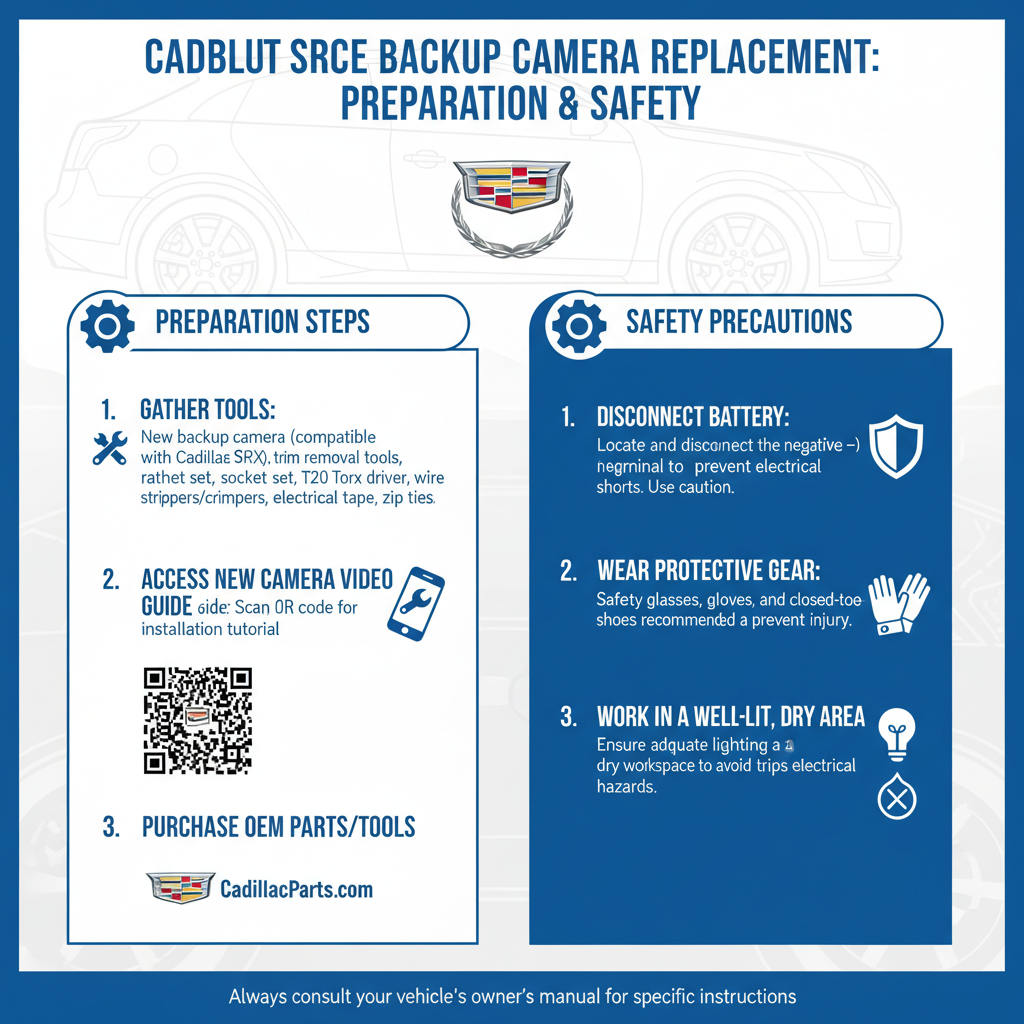
Begin by parking your SRX on level ground in a well-lit workspace. Engage the parking brake and turn off the engine completely. Disconnect the negative battery terminal to prevent electrical shorts during the installation process.
Gather all tools and the replacement camera in your work area. Clean the rear hatch area to prevent dirt from falling into electrical connections. Take photos of the existing installation before disassembly for reference during reassembly.
Wear safety glasses when working around electrical components. Keep small screws and hardware organized in labeled containers to avoid losing critical parts during the process.
Removing Interior Trim Components
Access to the backup camera requires removing specific interior trim pieces. Start by opening the rear hatch completely and locating the upper trim panel that conceals the camera wiring.
Carefully pry off the trim panel using plastic trim tools to avoid scratches or cracks. Most panels use plastic clips that release with gentle pressure applied at specific points. Work systematically around the panel perimeter rather than forcing any single area.
Once the main panel releases, you’ll see the camera’s electrical connector and mounting hardware. Some SRX models have additional smaller trim pieces that require removal for complete access.
Disconnecting the Old Camera
Locate the electrical connector attached to the backup camera. These connectors typically use a locking tab mechanism that requires pressing while pulling the connector apart. Never force electrical connections as this can damage the wiring harness.
The camera mounting usually involves two or three screws accessible from inside the hatch area. Remove these screws carefully and keep them organized for reinstallation. Some cameras have additional clips or brackets that secure the unit.
Gently pull the old camera through the mounting hole from the exterior. Inspect the mounting area for any corrosion or damage that might affect the new installation.
Installing the New Backup Camera
Position the new camera in the mounting hole from the exterior side. Ensure the camera orientation matches the original installation with the lens facing the correct direction. Most cameras have alignment marks or asymmetrical mounting holes to prevent incorrect installation.
Thread the electrical connector through the mounting hole and secure it to the interior wiring harness. The connector should click firmly into place with no loose connections. Verify the connection by gently tugging on both sides.
Install the mounting screws finger-tight initially, then use a screwdriver to secure them properly. Avoid over-tightening as this can crack the camera housing or strip the mounting holes.
Testing Camera Functionality
Reconnect the battery negative terminal and start the vehicle. Shift into reverse to activate the backup camera system. The display should show a clear image within 2-3 seconds of engaging reverse gear.
Test the camera under different lighting conditions if possible. Check that guidelines appear correctly on the screen and that the image quality meets your expectations. Verify that the camera deactivates properly when shifting out of reverse.
If the camera doesn’t function immediately, double-check all electrical connections and ensure the camera is properly seated in its mounting location.
Reassembling Trim Components
Replace all interior trim pieces in reverse order of removal. Ensure each panel aligns properly before pressing clips into place. Misaligned panels can cause rattles or poor fit over time.
Check that no wires are pinched between trim pieces during reassembly. Route all wiring through designated channels to prevent interference with hatch operation or other vehicle systems.
Test hatch operation after completing reassembly to ensure nothing interferes with normal function.
Common Installation Challenges
Water intrusion represents the most frequent post-installation problem. Ensure the camera mounting area has proper sealing to prevent moisture entry. Apply automotive-grade sealant around the mounting perimeter if necessary.
Electrical compatibility issues can arise with aftermarket cameras. Some units require additional wiring or programming to function correctly with the SRX’s infotainment system. Consult installation instructions carefully before proceeding.
Image quality problems often result from incorrect camera positioning or dirty lens surfaces. Clean the camera lens thoroughly and verify proper alignment before finalizing the installation.
Maintenance Tips for Longevity
Regular cleaning extends backup camera life significantly. Use a soft cloth and appropriate cleaning solution to remove dirt and debris from the lens surface. Avoid harsh chemicals that might damage the camera housing.
Inspect the mounting area periodically for signs of water intrusion or corrosion. Address any issues immediately to prevent more extensive damage. Winter conditions with road salt require more frequent inspections.
Keep software updates current if your SRX has updateable infotainment systems. These updates sometimes include camera performance improvements or bug fixes.
Frequently Asked Questions
How long does it take to replace a Cadillac SRX backup camera?
Most DIY installations take 1-2 hours depending on your experience level and any complications encountered. Professional installation typically requires 45-60 minutes.
Can I use an aftermarket camera instead of OEM parts?
Aftermarket cameras can work but may require additional wiring or programming. OEM cameras ensure perfect compatibility and easier installation.
What causes backup cameras to fail in the SRX?
Water damage, physical impact, and electrical connector corrosion are the most common failure causes. Age-related component degradation also contributes to camera problems.
Do I need special tools for this replacement?
Basic hand tools suffice for most installations. Trim removal tools prevent panel damage, and a multimeter helps with electrical troubleshooting if needed.
How much does a replacement camera cost?
OEM cameras typically cost $150-300 depending on the model year. Aftermarket options range from $50-150 but may require additional installation complexity.
Will replacing the camera affect my vehicle warranty?
DIY camera replacement shouldn’t affect unrelated warranty coverage, but improper installation could void coverage for related systems. Consider professional installation if warranty concerns exist.
Can I upgrade to a higher-resolution camera during replacement?
Upgrades depend on your SRX’s infotainment system compatibility. Some systems support higher-resolution cameras while others have fixed specifications that limit upgrade options.
Final Thoughts
Replacing your Cadillac SRX backup camera restores essential safety functionality while saving money compared to professional installation. Success depends on careful preparation, proper tools, and attention to electrical connections. Take your time during each step and don’t hesitate to consult professional help if complications arise. With patience and the right approach, you’ll have your backup camera working perfectly again, providing the clear rear visibility that makes parking and backing maneuvers safer and more confident.