As an Amazon Associate & Influencer, we earn from qualifying purchases you might make if you click any of the links or buttons on this page at no expense to you.
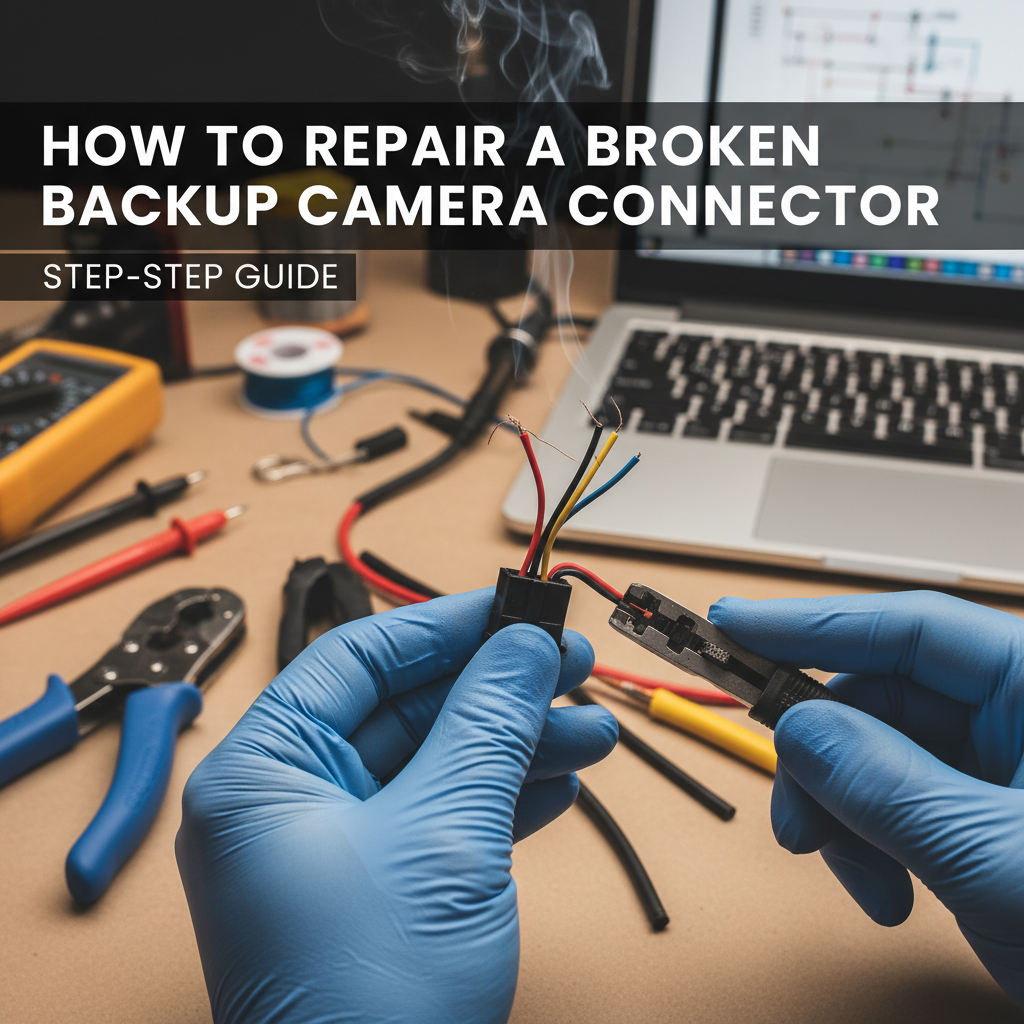
A faulty backup camera connector can instantly make your reverse camera useless—putting both safety and convenience at risk. Whether your screen is flickering, showing no signal, or cutting out intermittently, the issue often comes down to a damaged connector or wiring problem.
The good news? You don’t always need a professional repair. In many cases, you can fix a broken backup camera connector yourself using basic tools and a simple step-by-step process.
This guide will show you exactly how to diagnose, fix, and prevent backup camera connector problems—saving you time and costly repairs.
Contents
- Quick Answer (Fix It Fast)
- Common Symptoms of a Bad Backup Camera Connector
- Types of Backup Camera Connectors (Important for Repair)
- Tools You Need for a Proper Repair
- Step 1: Diagnose the Problem Correctly
- Step 2: Clean Corroded Connectors (Easiest Fix)
- Step 3: Fix Broken Wires (Splicing Method)
- Step 4: Replace the Connector (Permanent Fix)
- Step 5: Weatherproof the Repair (CRITICAL)
- Mistakes That Cause Repair Failure
- Final Testing Checklist
- FAQs
- Final Thoughts
Quick Answer (Fix It Fast)
To repair a broken backup camera connector:
- Identify the connector type (RCA, 4-pin, or factory).
- Clean corrosion using electrical contact cleaner.
- Splice damaged wires with heat-shrink connectors.
- Replace the connector if it’s physically damaged.
Most issues happen due to moisture, vibration, or poor installation.
Common Symptoms of a Bad Backup Camera Connector

Before jumping into repair, confirm the problem:
- Screen flickers when reversing
- “No Signal” message appears
- Camera works intermittently
- Image shows static or distortion
- Works only when wire is moved
👉 If moving the cable changes the signal, it’s almost always a connector or wiring issue.
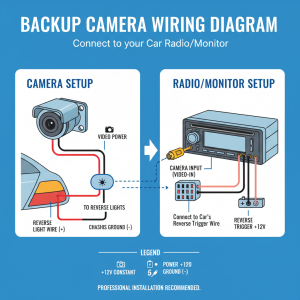
Types of Backup Camera Connectors (Important for Repair)
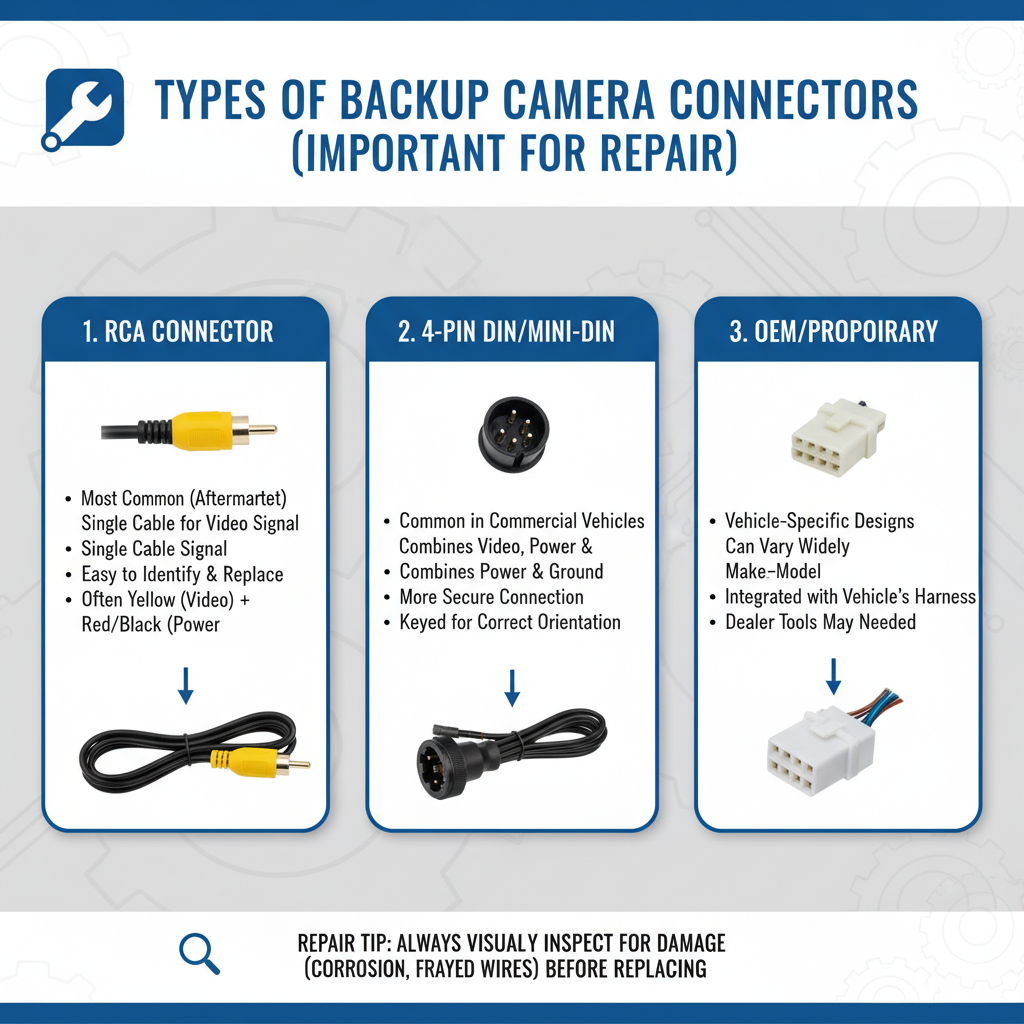
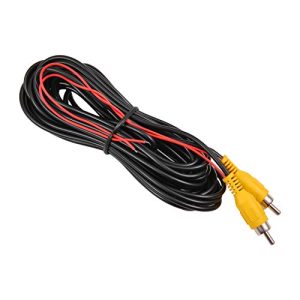
1. RCA Connectors (Most Common Aftermarket)
- Yellow = video
- Red = power
- Easy to repair and replace
- Found in most budget systems
2. 4-Pin Aviation Connectors
- Combines power + video
- Screw-lock design (more secure)
- Weather-resistant
- Slightly harder to repair
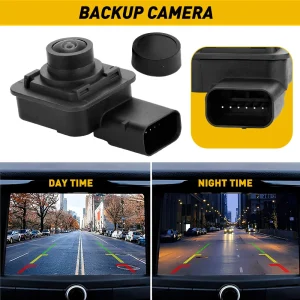
3. Factory/OEM Connectors
- Vehicle-specific
- Harder to find replacements
- Often requires adapter or full harness replacement
Tools You Need for a Proper Repair
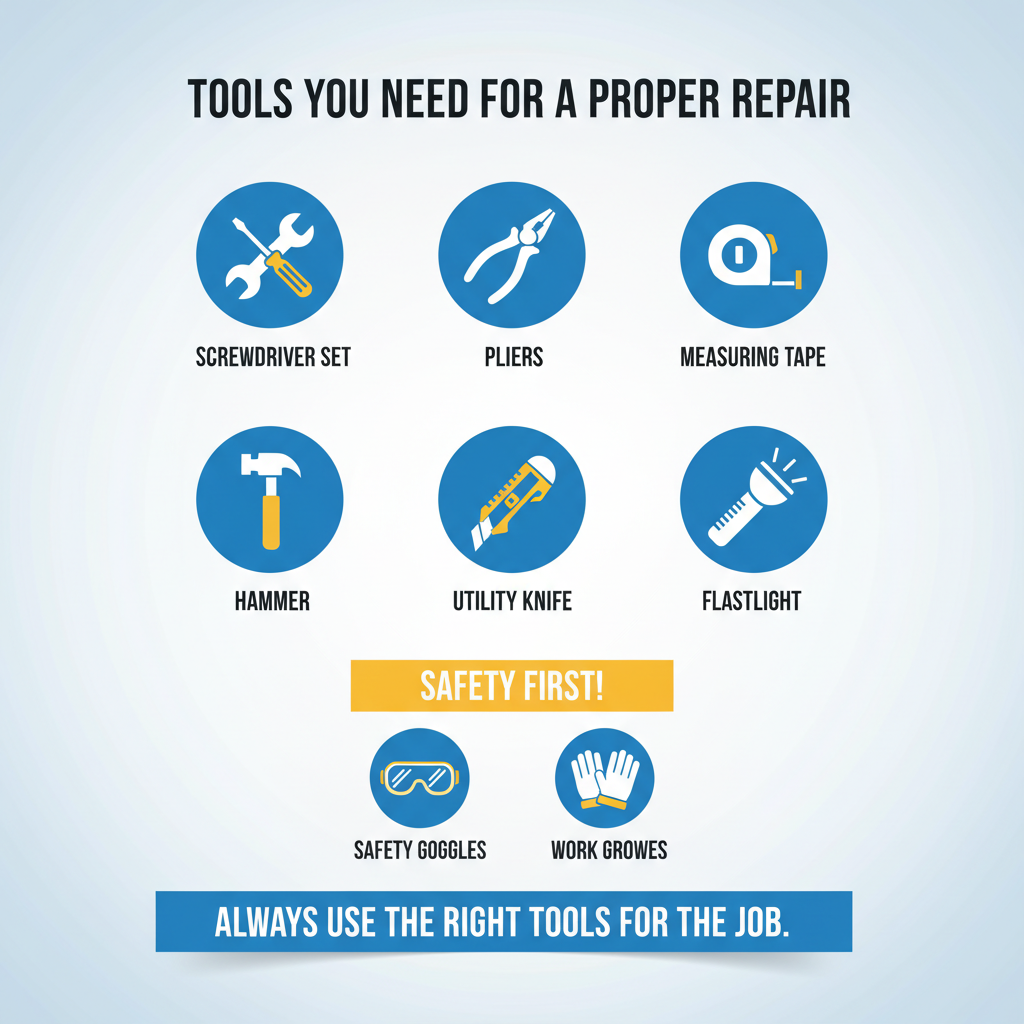
Using the right tools ensures long-lasting results:
- Wire stripper (18–22 AWG)
- Heat shrink tubing
- Electrical contact cleaner
- Multimeter
- Heat gun or lighter
- Dielectric grease
👉 Avoid cheap tape-only fixes—they fail quickly in cars.
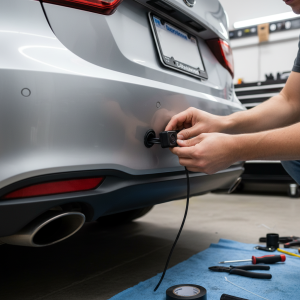
Step 1: Diagnose the Problem Correctly
Before fixing, confirm the exact issue:
- Visual check: Look for corrosion, bent pins, or cracks
- Wiggle test: If signal cuts in/out → loose connector
- Multimeter test: Check continuity and voltage
👉 If there’s no continuity → wire is broken
👉 If voltage is missing → power issue
Step 2: Clean Corroded Connectors (Easiest Fix)
Many “broken” connectors just need cleaning.
Steps:
- Disconnect the car battery
- Spray electrical contact cleaner
- Gently scrub with a soft brush
- Let it dry completely
- Apply dielectric grease
- Reconnect and test
✔ This alone fixes a large percentage of cases.
Step 3: Fix Broken Wires (Splicing Method)
If wires are damaged:
Steps:
- Cut out the damaged section
- Strip ~0.5 inch insulation
- Twist matching wires together
- Add heat shrink tubing
- Heat until sealed tightly
👉 Important:
- Don’t leave exposed copper
- Stagger splices to avoid bulk
Step 4: Replace the Connector (Permanent Fix)
If connector is cracked, burnt, or heavily corroded:
Steps:
- Cut off old connector
- Match wiring diagram carefully
- Solder or crimp new connector
- Seal each wire with heat shrink
- Test before final assembly
👉 Always match pin configuration exactly.
Step 5: Weatherproof the Repair (CRITICAL)
Most failures happen again due to moisture.
Do this:
- Use heat shrink (not tape only)
- Apply dielectric grease
- Use protective rubber boot if possible
- Secure cables to avoid vibration
✔ This step determines long-term success.
Mistakes That Cause Repair Failure
Avoid these common errors:
- ❌ Using normal electrical tape
- ❌ Wrong wire matching
- ❌ Loose connections
- ❌ Skipping waterproofing
- ❌ Mixing connector types
👉 These are the main reasons repairs fail within months.
Final Testing Checklist
Before finishing:
- Camera gets 12V power in reverse
- Image is stable (no flicker)
- No interference or noise
- Works after driving / vibration
👉 Test multiple times to be sure.
FAQs
Can I fix a backup camera connector without tools?
Basic cleaning—yes. But proper repair requires tools.
How long does a repair last?
A proper repair lasts 5–10 years.
Why does my camera still flicker after repair?
Likely causes:
- Loose splice
- Poor grounding
- No shielding
RCA vs 4-pin – which is better?
- RCA → easier repair
- 4-pin → more durable & weatherproof
Final Thoughts
Repairing a backup camera connector is one of the easiest and most cost-effective car electronics fixes. In many cases, a simple cleaning or wire splice restores full functionality without replacing the entire system.
However, the key to long-term success is proper sealing and correct wiring. Skipping these steps often leads to repeat failure.
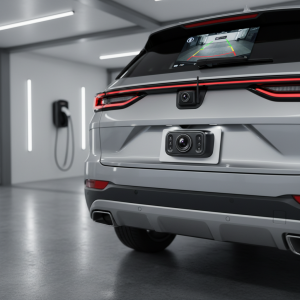
👉 If your current camera system keeps failing, it may be worth upgrading to a more durable connector type or a weatherproof backup camera setup.