As an Amazon Influencer, we earn from qualifying purchases you might make if you click any of the links or buttons on this page at no expense to you.
Backup camera lines help drivers judge distance and navigate safely while reversing. However, these guidelines often become misaligned due to camera movement, vehicle modifications, or system updates. When your backup camera lines don’t match your vehicle’s actual path, parking and maneuvering becomes frustrating and potentially dangerous.
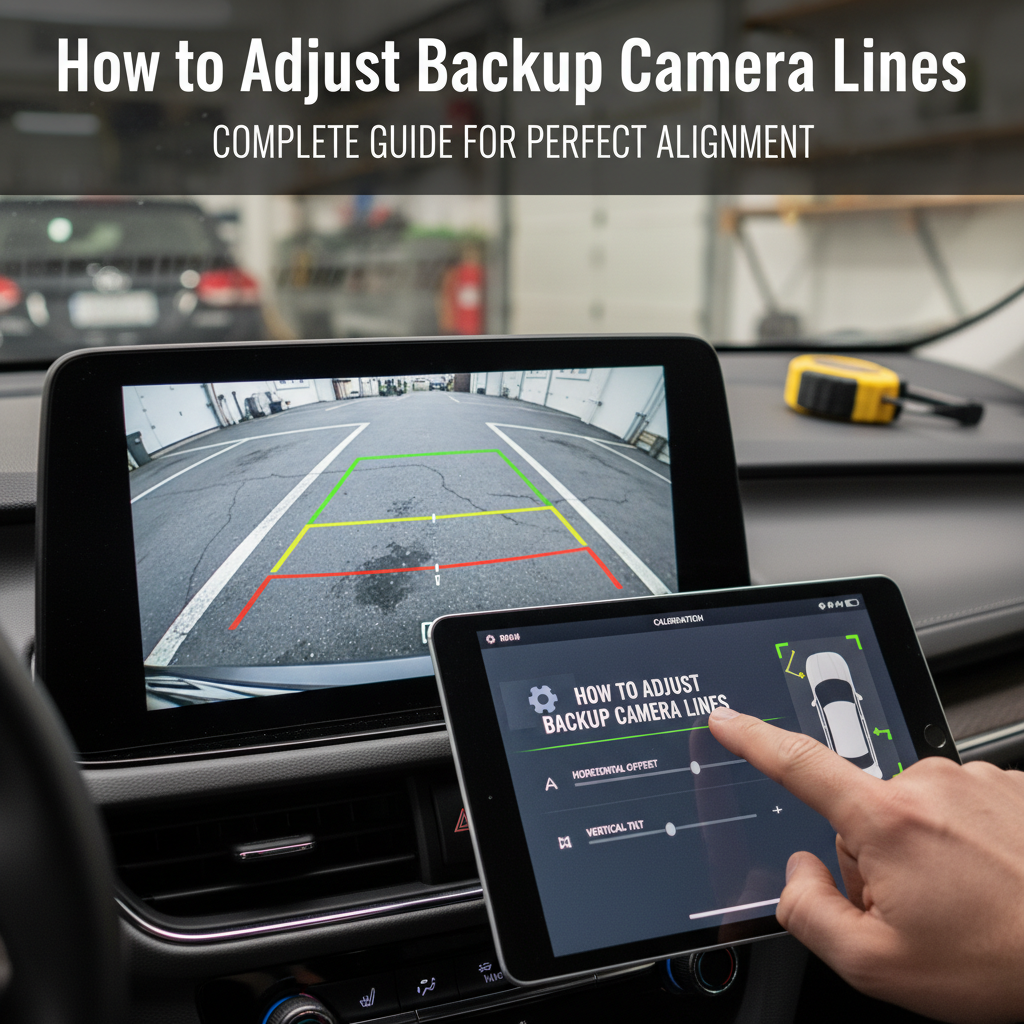
This guide explains how to adjust backup camera lines across different vehicle systems, troubleshoot common alignment issues, and maintain accurate guidelines for safer reversing.
Most backup camera lines can be adjusted through your vehicle’s infotainment system settings under “Camera,” “Display,” or “Vehicle Settings.” Access the calibration menu, select line adjustment options, and use on-screen controls to move guidelines up, down, left, or right until they align with your vehicle’s actual path. Some systems require the vehicle to be in reverse during adjustment.
Contents
Backup Camera Line System Basics
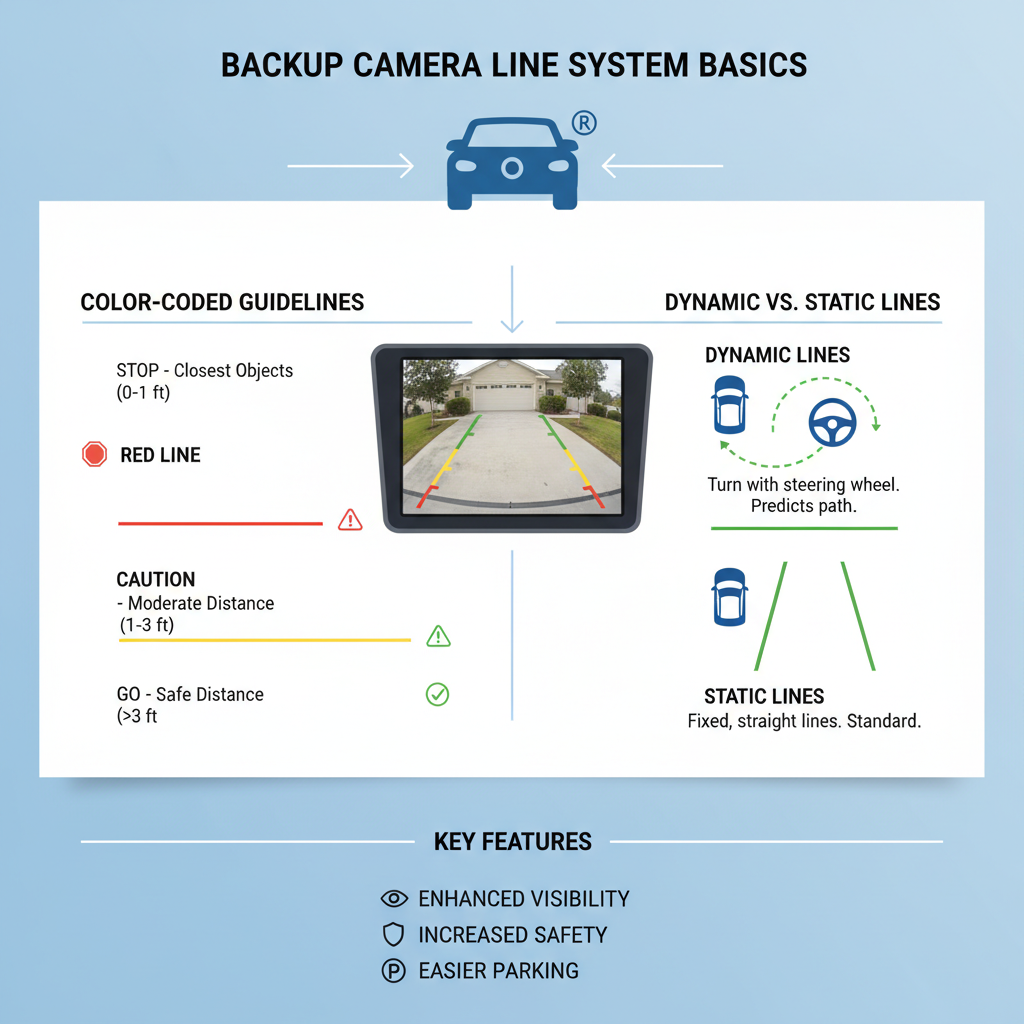
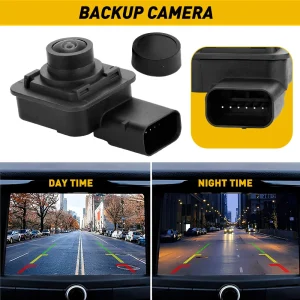
Backup camera guidelines serve as visual references to help drivers estimate distance and trajectory while reversing. These lines typically appear as colored overlays on your display screen, showing where your vehicle will travel based on current steering wheel position.
Most systems display three types of lines. Static guidelines remain fixed regardless of steering input and show your vehicle’s width boundaries. Dynamic guidelines move with steering wheel rotation, indicating your projected path. Distance markers help estimate how far objects are from your vehicle.
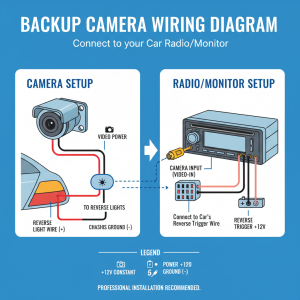
Modern vehicles use either factory-integrated systems or aftermarket installations. Factory systems often provide more sophisticated calibration options through the vehicle’s main computer. Aftermarket systems may have simpler adjustment methods but can still be fine-tuned for accuracy.
Accessing Camera Settings in Different Vehicle Systems
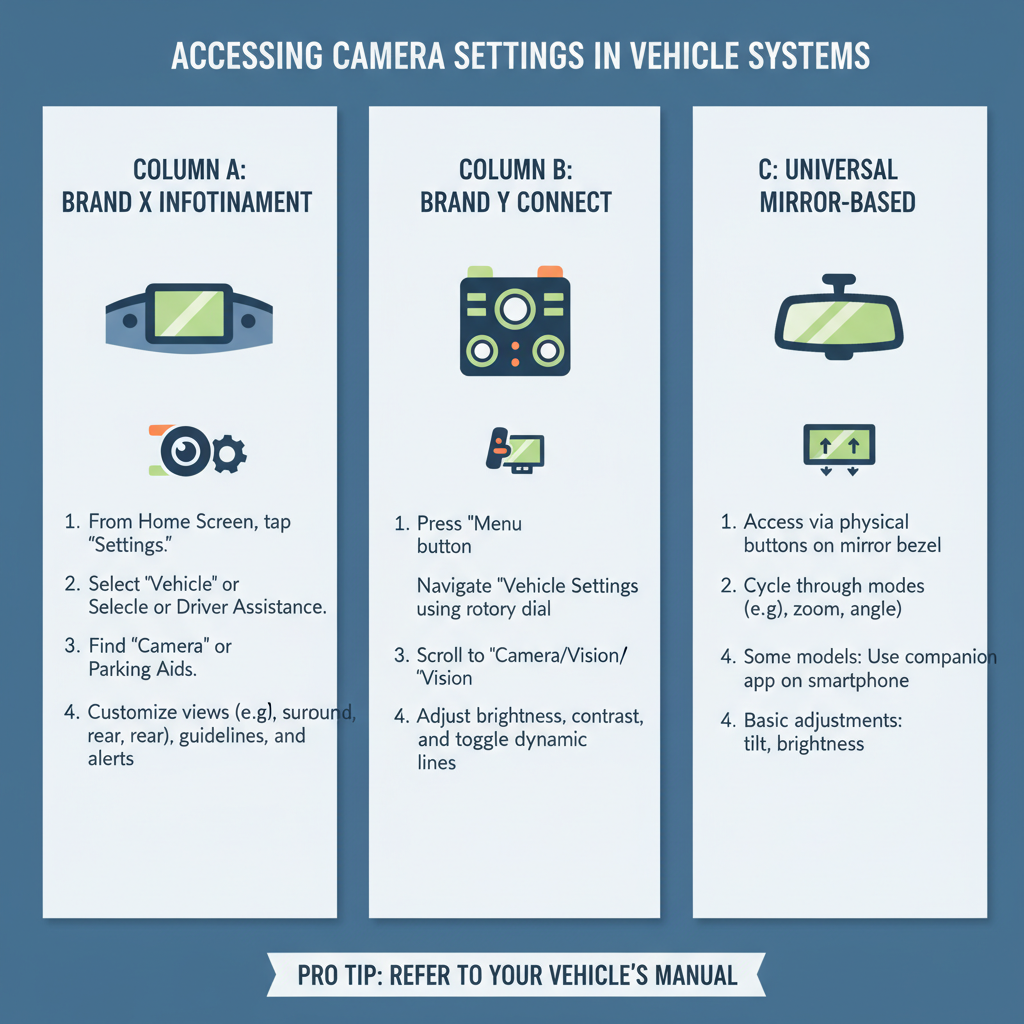
The method for accessing backup camera settings varies significantly between manufacturers and model years. Understanding your specific system is crucial for successful adjustment.
Toyota and Lexus vehicles typically require accessing the “Setup” menu through the infotainment display. Navigate to “Vehicle Settings,” then “Camera,” where you’ll find “Guidelines” or “Parking Assist” options. Some models require holding specific buttons while in reverse.
Honda and Acura systems usually place camera settings under “Settings” then “Vehicle.” Look for “Rear Camera” or “Multi-View Camera” options. Newer models may have these settings integrated into the main display interface.
Ford vehicles often require accessing settings through the SYNC system. Go to “Settings,” then “Vehicle,” followed by “Rear View Camera.” Some F-150 and Explorer models have dedicated camera buttons on the dashboard.
General Motors vehicles (Chevrolet, GMC, Cadillac) typically use the “Vehicle” menu in their infotainment systems. Navigate to “Camera” or “Parking Assistance” to find guideline adjustment options.
Step-by-Step Calibration Process
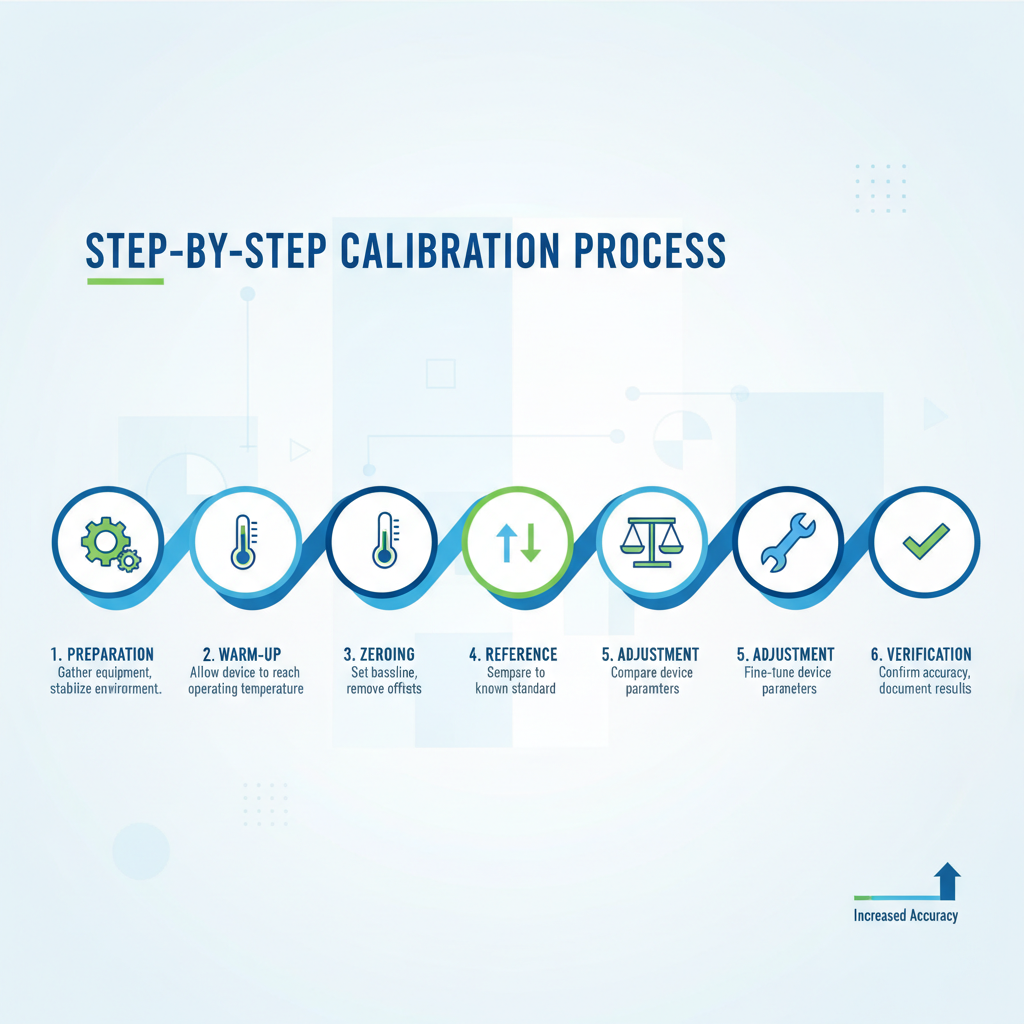
Proper calibration requires a controlled environment and systematic approach. Start by parking on level ground in a safe area where you can reverse without obstacles.
Preparation steps begin with ensuring your vehicle is on level pavement. Uneven surfaces will create inaccurate calibration results. (as dirt or moisture can affect line positioning accuracy.
Initial setup involves putting your vehicle in park and accessing your camera settings menu. Some systems require the engine to be running, while others work with just the ignition on. Locate the guideline or calibration option in your settings menu.
Calibration procedure starts with shifting into reverse to activate the camera display. Access the adjustment menu while the camera is active. Most systems provide directional arrows or slider controls for moving guidelines.
Fine-tuning process requires making small adjustments and testing results. Move guidelines incrementally, then drive forward and reverse again to check alignment. Use reference points like parking space lines or objects at known distances to verify accuracy.
Manual Adjustment Techniques
When automatic calibration isn’t available or doesn’t work properly, manual adjustment becomes necessary. This process requires patience and attention to detail.
Reference point method involves using known measurements to establish accurate guidelines. Place objects at specific distances behind your vehicle – typically 3 feet, 6 feet, and 10 feet. Use these as reference points while adjusting your camera lines to match actual distances.
Parking space technique utilizes standard parking spaces for calibration. Most parking spaces are 8.5 to 9 feet wide, providing reliable width references. Back into a parking space and adjust your guidelines to match the space boundaries.
Measurement verification requires checking your adjustments against real-world distances. Use a measuring tape to verify that your 6-foot guideline actually corresponds to 6 feet behind your vehicle. This step ensures practical accuracy for daily use.
Common Calibration Problems and Solutions
Several issues can prevent successful backup camera line adjustment. Identifying these problems early saves time and frustration during the calibration process.
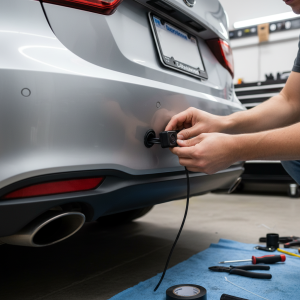
Camera mounting issues often cause persistent alignment problems. If your camera has shifted due to impact or vibration, no amount of software adjustment will create accurate guidelines. Physical camera repositioning may be necessary.
Software glitches can prevent access to calibration menus or cause settings to reset unexpectedly. Try performing a system reset or checking for software updates. Some vehicles require specific key sequences to access hidden calibration menus.
Display calibration conflicts occur when your screen settings don’t match camera output. Check your display’s aspect ratio and resolution settings. Some aftermarket displays require specific configurations to show guidelines correctly.
Environmental factors like extreme temperatures can affect camera positioning and guideline accuracy. Cold weather may cause camera housing to contract, while heat can cause expansion. Recalibration may be needed seasonally.
Professional vs DIY Adjustment
Deciding between professional service and DIY adjustment depends on your system’s complexity and your comfort level with vehicle electronics.
DIY adjustment works well for most factory systems with accessible settings menus. If your vehicle provides clear calibration options and you can access them easily, self-adjustment is typically successful and cost-effective.
Professional service becomes necessary for complex systems, aftermarket installations with integration issues, or when physical camera repositioning is required. Dealership technicians have access to specialized diagnostic tools and manufacturer-specific calibration procedures.
Cost considerations vary significantly. DIY adjustment costs nothing beyond your time, while professional calibration can range from $50 to $200 depending on system complexity. Consider professional service if multiple attempts at self-adjustment have failed.
Maintaining Accurate Guidelines
Proper maintenance keeps your backup camera lines accurate over time. Regular attention prevents major calibration issues from developing.
Regular cleaning of your camera lens prevents image distortion that can make guidelines appear misaligned. Use appropriate cleaning solutions and microfiber cloths to avoid scratching the lens surface.
Periodic verification involves checking guideline accuracy monthly or after any vehicle modifications. Changes like new tires, suspension adjustments, or cargo loading can affect your vehicle’s ground clearance and guideline accuracy.
System updates may reset calibration settings. After infotainment system updates or battery disconnection, verify that your guidelines remain accurate. Some systems automatically recalibrate, while others require manual adjustment.
Frequently Asked Questions
Why do my backup camera lines keep moving or disappearing?
This usually indicates a loose connection in your camera system or software issues. Check all cable connections and consider having your system diagnosed by a professional. Some vehicles have known software bugs that cause guideline instability.
Can I adjust backup camera lines on aftermarket systems?
Most aftermarket backup camera systems include guideline adjustment features, though the process varies by manufacturer. Check your system’s manual or contact the manufacturer for specific instructions. Some basic systems may not offer guideline adjustment capabilities.
How often should I recalibrate my backup camera lines?
Recalibrate whenever you notice guidelines don’t match your vehicle’s actual path, after tire changes, suspension modifications, or if you frequently carry heavy loads that affect vehicle height. Most drivers find annual verification sufficient for normal use.
What should I do if my vehicle doesn’t have guideline adjustment options?
Some older or basic systems lack user-adjustable guidelines. You may be able to have guidelines added through dealer programming or aftermarket modification. Alternatively, learn to judge distances without relying on guidelines.
Can weather conditions affect backup camera line accuracy?
Yes, extreme temperatures can cause camera mounting hardware to expand or contract slightly, affecting alignment. Ice, snow, or water on the camera lens can also create visual distortion. Clean your camera regularly and recalibrate if you notice seasonal accuracy changes.
Is it safe to adjust camera settings while driving?
Never attempt to adjust camera settings while driving. Always park safely and engage the parking brake before accessing any vehicle settings. Some systems prevent adjustment unless the vehicle is stationary.
Why are my guidelines accurate in the center but wrong on the sides?
This typically indicates camera lens distortion or incorrect mounting angle. Wide-angle camera lenses naturally create some distortion at the edges. If the problem is severe, professional camera repositioning may be necessary.
Final Thoughts
Properly adjusted backup camera lines significantly improve parking safety and confidence while reversing. Most modern vehicles provide accessible calibration options that allow drivers to maintain accurate guidelines with minimal effort. Regular verification and maintenance ensure your backup camera system continues providing reliable assistance for safe vehicle operation.
Remember that backup cameras and guidelines are aids to safe driving, not replacements for careful observation and proper reversing techniques. Always check mirrors, look over your shoulder, and be aware of your surroundings regardless of camera system accuracy.