As an Amazon Influencer, we earn from qualifying purchases you might make if you click any of the links or buttons on this page at no expense to you.
To pair a Furrion backup camera, connect the camera cable to the monitor’s input port, power on both devices, and access the pairing menu through the monitor’s settings. Select “Add Camera” or “Pair Device,” then press the pairing button on the camera unit. The devices will automatically sync within 30-60 seconds when properly connected.
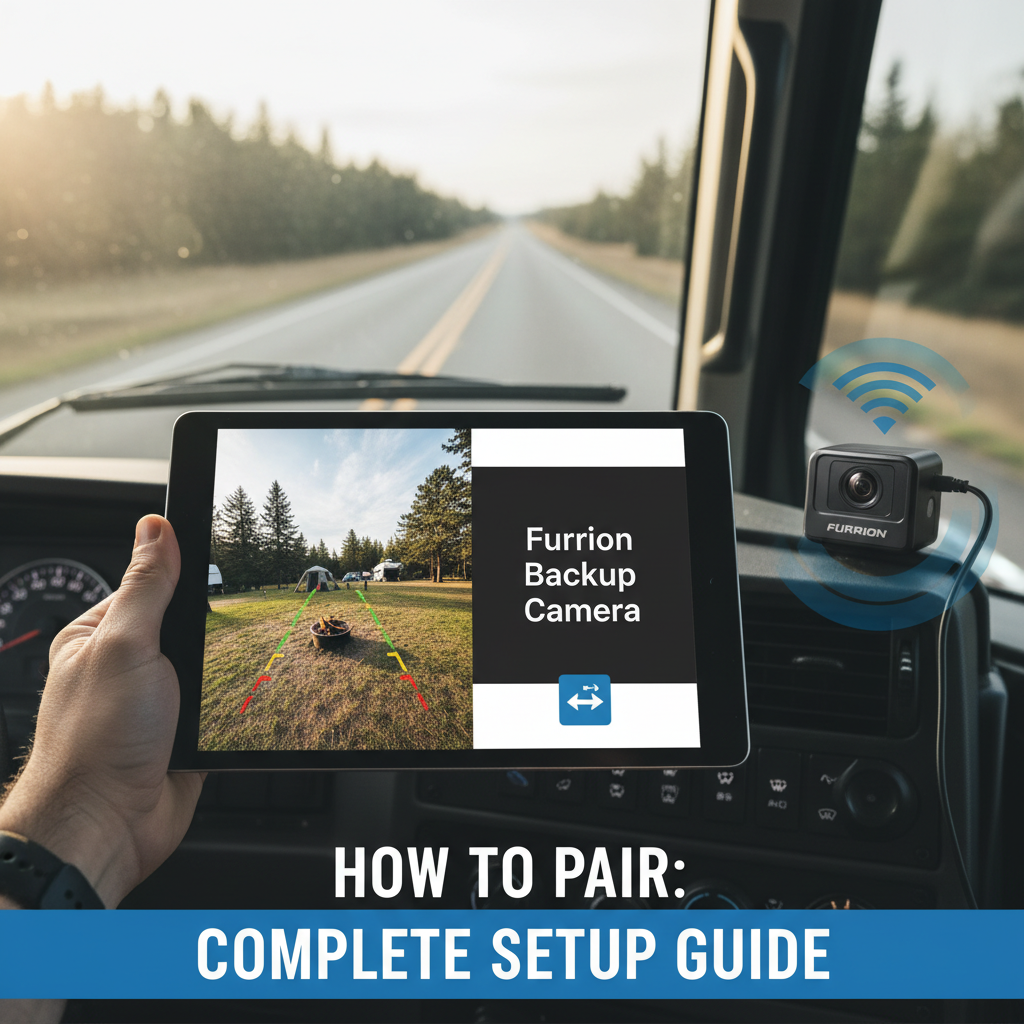
Setting up your Furrion backup camera system properly ensures clear visibility and safer reversing for your RV or vehicle. This guide walks you through the complete pairing process, from initial installation to troubleshooting common connection issues.
You’ll learn the exact steps to pair your camera with the monitor, understand different connection methods, and discover solutions to typical setup problems that can prevent proper operation.
Contents
- Furrion Backup Camera System Basics
- Pre-Pairing Setup Requirements to Pair Furrion Backup Camera
- Step-by-Step Pairing Process to Pair Furrion Backup Camera
- Wireless vs Wired Connection Methods
- Troubleshooting Connection Issues
- Signal Range and Positioning Considerations
- Multiple Camera Setup
- Common Pairing Problems and Solutions
- Advanced Configuration Options
- FAQ
- Final Thoughts
Furrion Backup Camera System Basics
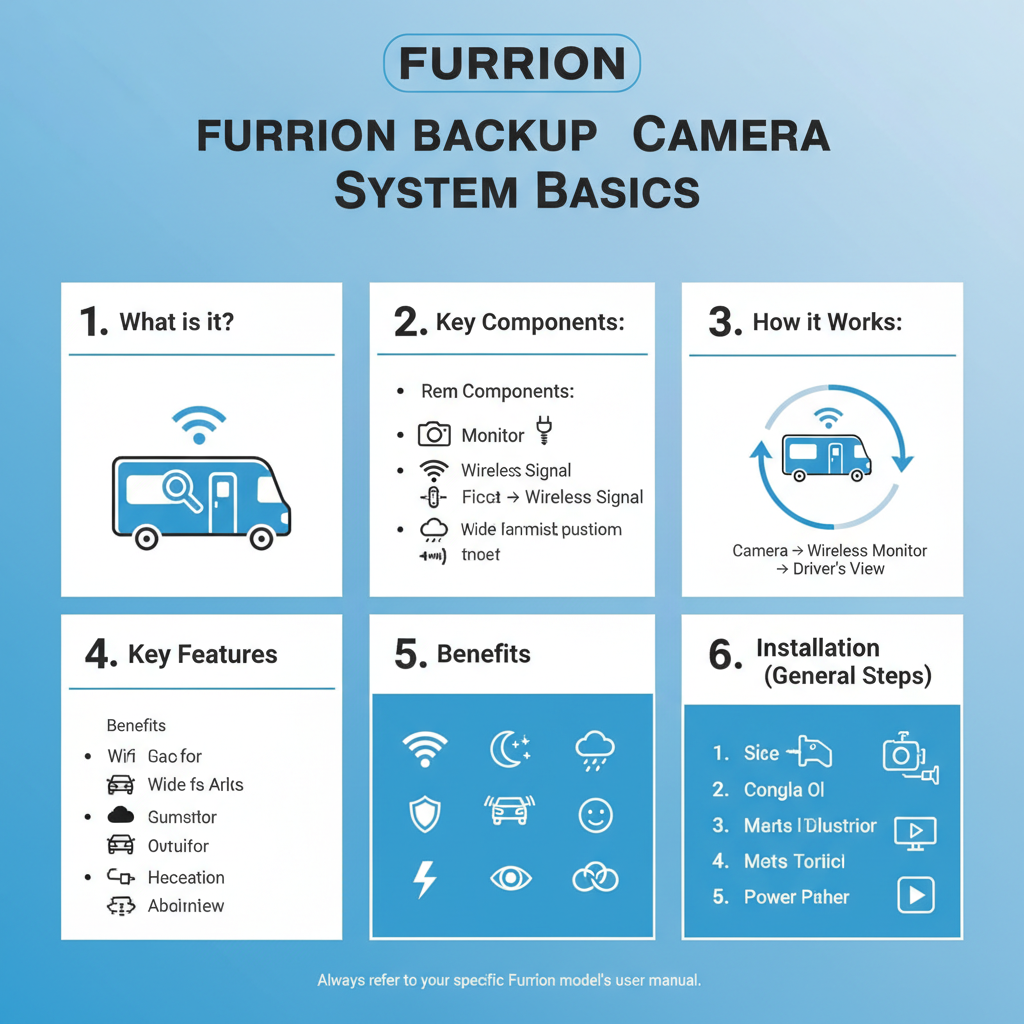
Furrion backup cameras use either wired or wireless connections depending on the model. The Vision S and Observe series typically feature wireless pairing capabilities, while basic models rely on direct cable connections.
Wireless models communicate through a dedicated frequency band that reduces interference from other devices. The pairing process establishes a secure connection between the camera transmitter and monitor receiver.
Most Furrion systems include a 7-inch monitor, camera unit, mounting hardware, and connection cables. Some models feature multiple camera inputs for comprehensive vehicle coverage.
Pre-Pairing Setup Requirements to Pair Furrion Backup Camera
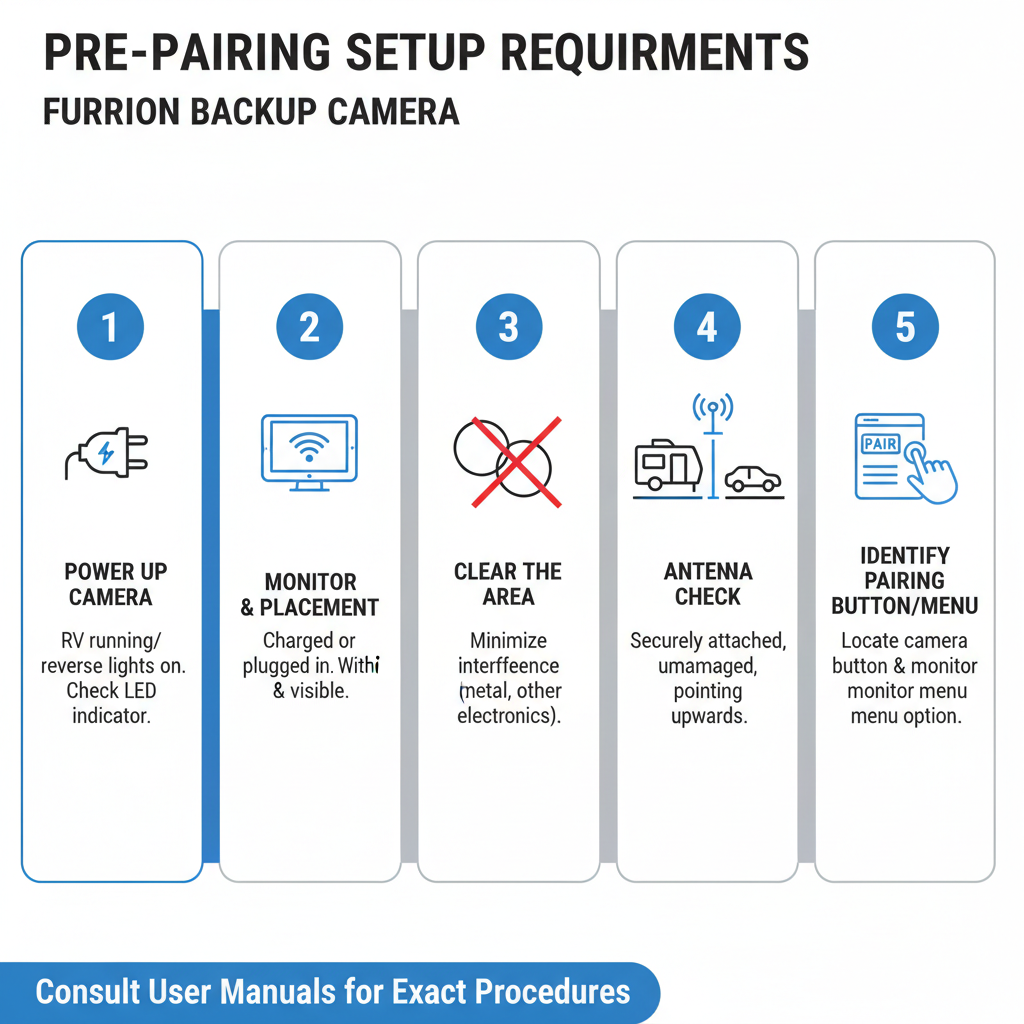
Before attempting to pair your devices, ensure both the camera and monitor receive adequate power. The camera typically connects to your vehicle’s reverse light circuit, while the monitor plugs into a 12V power source.
Check that all cable connections are secure and properly seated. Loose connections cause intermittent signals and pairing failures.
Position the camera and monitor within reasonable range during initial setup. Even wireless models require proximity during the pairing process, typically within 10-15 feet.
Step-by-Step Pairing Process to Pair Furrion Backup Camera
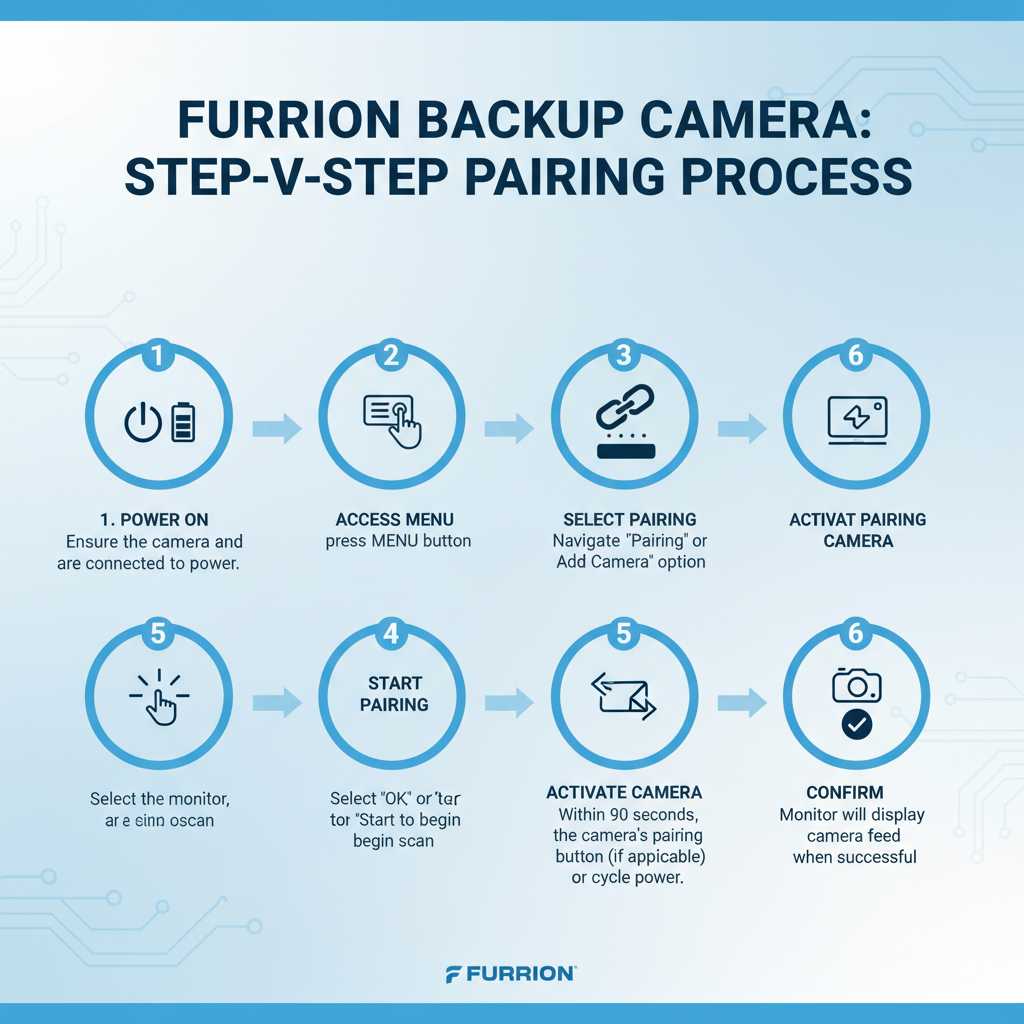
Start by powering on the monitor and allowing it to complete its startup sequence. The screen should display the main menu or camera view depending on your model.
Access the settings menu by pressing the menu button on the monitor or remote control. Navigate to the “Camera Settings” or “System Settings” section.
Look for options labeled “Add Camera,” “Pair Device,” or “Camera Pairing.” Select this option to enter pairing mode. The monitor will display a pairing screen with instructions.
Power on the camera by connecting it to the reverse light circuit or using the manual power switch if available. The camera’s LED indicator should illuminate, showing it’s receiving power.
Press and hold the pairing button on the camera unit for 3-5 seconds. This button is typically located on the camera housing or connection box. Some models require pressing a small recessed button with a paperclip.
The monitor screen will show “Searching for Camera” or similar text. Within 30-60 seconds, the devices should establish connection and display the camera feed.
Wireless vs Wired Connection Methods
Wireless Furrion cameras offer easier installation since they don’t require running video cables through your vehicle. The wireless signal typically has a range of 100-150 feet with clear line of sight.
Wired connections provide more stable video quality and aren’t affected by wireless interference. However, installation requires routing cables from the camera location to the monitor position.
Some Furrion models support both connection types, allowing you to choose based on your installation preferences and vehicle layout.
Troubleshooting Connection Issues
If pairing fails, verify that both devices are compatible models. Furrion cameras and monitors must be from the same product series to pair successfully.
Check for interference from other wireless devices. WiFi routers, cell phones, and other electronics can disrupt the pairing process. Try pairing in a location away from these devices.
Ensure the camera receives proper power voltage. Low voltage can prevent successful pairing even if the camera appears to power on. Use a multimeter to verify 12V power at the camera connection.
Reset both devices to factory settings if pairing continues to fail. This process varies by model but typically involves holding specific button combinations during power-on.
Signal Range and Positioning Considerations
Wireless Furrion cameras work best with clear line of sight between the camera and monitor. Metal structures, thick walls, and other obstacles can reduce signal strength.
In practice, most RV installations achieve reliable connections within 50-75 feet. Longer distances may require repositioning the monitor or using a signal booster.
The camera’s transmitter antenna should remain unobstructed. Avoid mounting the camera where metal brackets or vehicle components block the antenna.
Multiple Camera Setup
Many Furrion monitors support multiple camera inputs for comprehensive vehicle monitoring. Each camera requires individual pairing following the same basic process.
Access the multi-camera menu and select the input number for each camera during pairing. Label each input clearly to identify camera locations later.
Some models automatically cycle between cameras, while others require manual switching using the monitor controls or remote.
Common Pairing Problems and Solutions
“No Signal” errors typically indicate power issues or incorrect cable connections. Verify that the camera receives 12V power and all connections are secure.
Intermittent connections often result from loose cable connections or low voltage. Check all connection points and ensure adequate power supply to both devices.
If the pairing button doesn’t respond, the camera may be in sleep mode or have a defective switch. Try disconnecting and reconnecting power to reset the camera.
Poor video quality after successful pairing can indicate wireless interference or voltage problems. Test the system with the vehicle engine running to ensure adequate power.
Advanced Configuration Options
Most Furrion monitors offer brightness, contrast, and color adjustments for optimal viewing in different lighting conditions. Access these settings through the main menu after successful pairing.
Some models include parking guidelines that overlay on the camera feed. These guidelines help judge distances when backing up and can be adjusted for your specific vehicle.
Audio settings allow you to enable or disable camera audio if your model supports this feature. Audio can be helpful for detecting obstacles but may be distracting during normal driving.
FAQ
How long does the pairing process typically take?
The pairing process usually completes within 30-60 seconds once both devices are powered on and in pairing mode. If pairing takes longer than 2 minutes, reset both devices and try again.
Can I pair multiple cameras to one monitor?
Yes, most Furrion monitors support 2-4 camera inputs. Each camera must be paired individually, and you can switch between cameras using the monitor controls.
What should I do if the pairing button doesn’t work?
If the pairing button is unresponsive, try disconnecting power from the camera for 30 seconds, then reconnect. Some models require holding the button for 5-10 seconds rather than a quick press.
Why does my camera lose connection intermittently?
Intermittent connections usually indicate loose cable connections, low voltage, or wireless interference. Check all connections and ensure the camera receives stable 12V power.
Do I need to re-pair after disconnecting the battery?
Most Furrion systems retain pairing information even after power disconnection. However, some models may require re-pairing if the battery is disconnected for extended periods.
Can weather affect the pairing process?
Extreme temperatures can affect electronic components, but normal weather conditions shouldn’t impact pairing. However, ensure connections remain dry during the setup process.
How do I know if pairing was successful?
Successful pairing is confirmed when the monitor displays a clear video feed from the camera. The monitor may also show a “Connected” or “Paired” message briefly.
Final Thoughts
Successfully pairing your Furrion backup camera requires attention to power connections, proper device compatibility, and following the correct sequence of steps. Most pairing issues stem from inadequate power supply or loose connections rather than device defects.
Take time to verify all connections before starting the pairing process, and don’t hesitate to reset both devices if initial attempts fail. Once properly paired, your Furrion camera system will provide reliable backup assistance for safer vehicle operation.
Remember to test the system regularly and keep connections clean and secure for optimal long-term performance.