As an Amazon Influencer, we earn from qualifying purchases you might make if you click any of the links or buttons on this page at no expense to you.
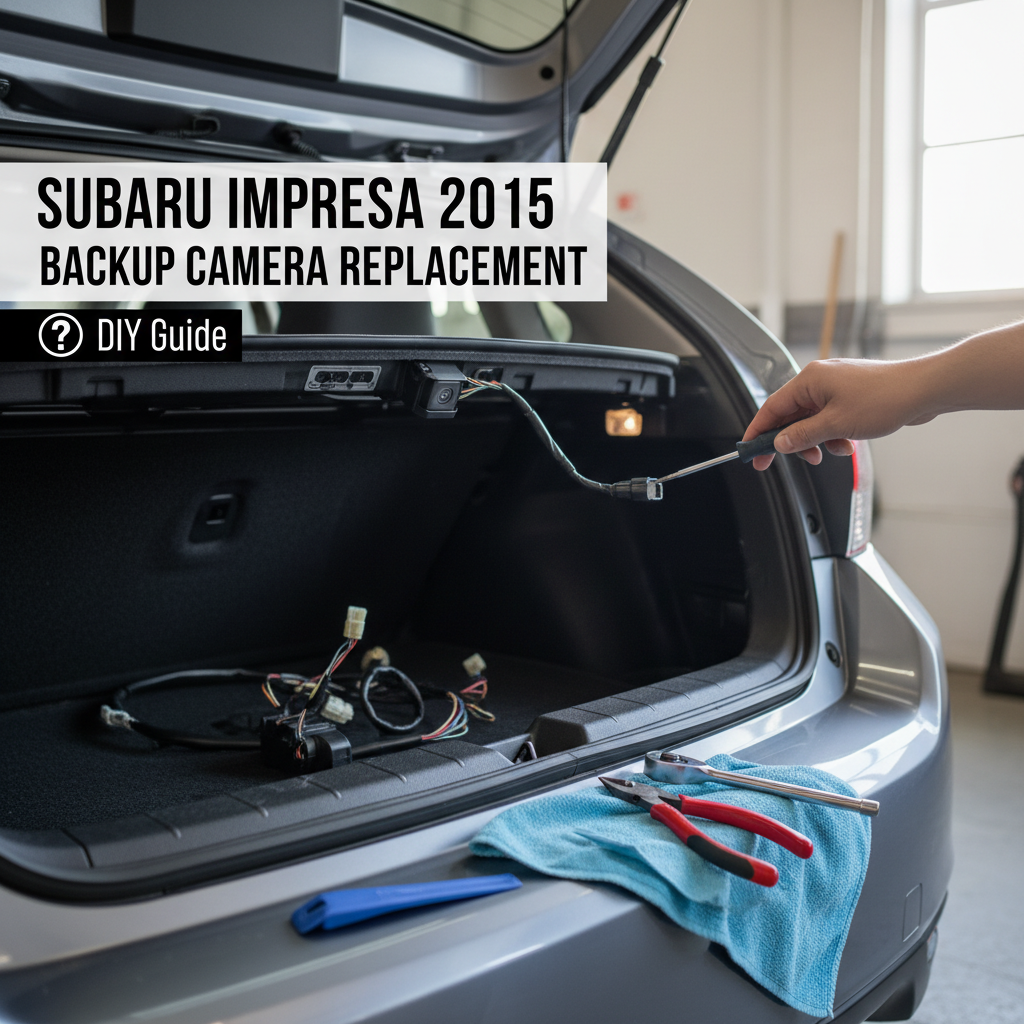
Replacing the factory backup camera in your 2015 Subaru Impreza requires removing the rear hatch trim, disconnecting the old camera, and installing the new unit with proper wiring connections. This repair typically takes 1-2 hours and requires basic tools like screwdrivers, trim removal tools, and electrical tape. While the process involves working with electrical components, most DIY mechanics can complete this replacement successfully with careful attention to wiring connections and proper reassembly.
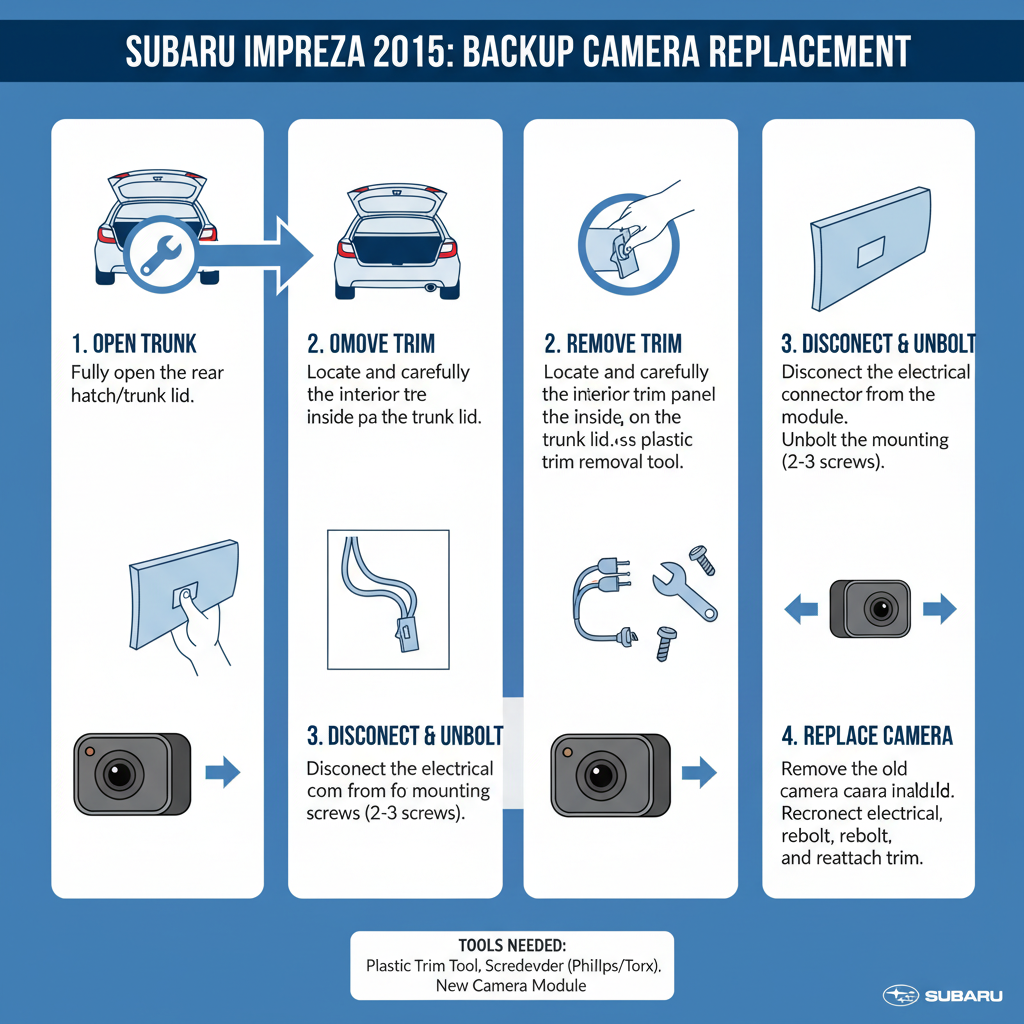
To replace your 2015 Impreza backup camera: Remove the rear hatch interior trim panel, disconnect the wiring harness from the old camera, unscrew the mounting bolts, install the new camera in reverse order, and reconnect all electrical connections. Test the system before final assembly.
Contents
- Tools and Parts You’ll Need to replace factory backup camera subaru impreza 2015
- Accessing the Camera Location to replace factory backup camera subaru impreza 2015
- Removing the Old Camera to replace factory backup camera subaru impreza 2015
- Wiring Considerations
- Installing the New Camera
- Testing the System
- Calibration and Alignment
- Reassembly Process
- Frequently Asked Questions
- Final Thoughts
Tools and Parts You’ll Need to replace factory backup camera subaru impreza 2015
Before starting this repair, gather the necessary equipment to avoid interruptions during the process. Having everything ready ensures a smoother installation and reduces the risk of losing small components.
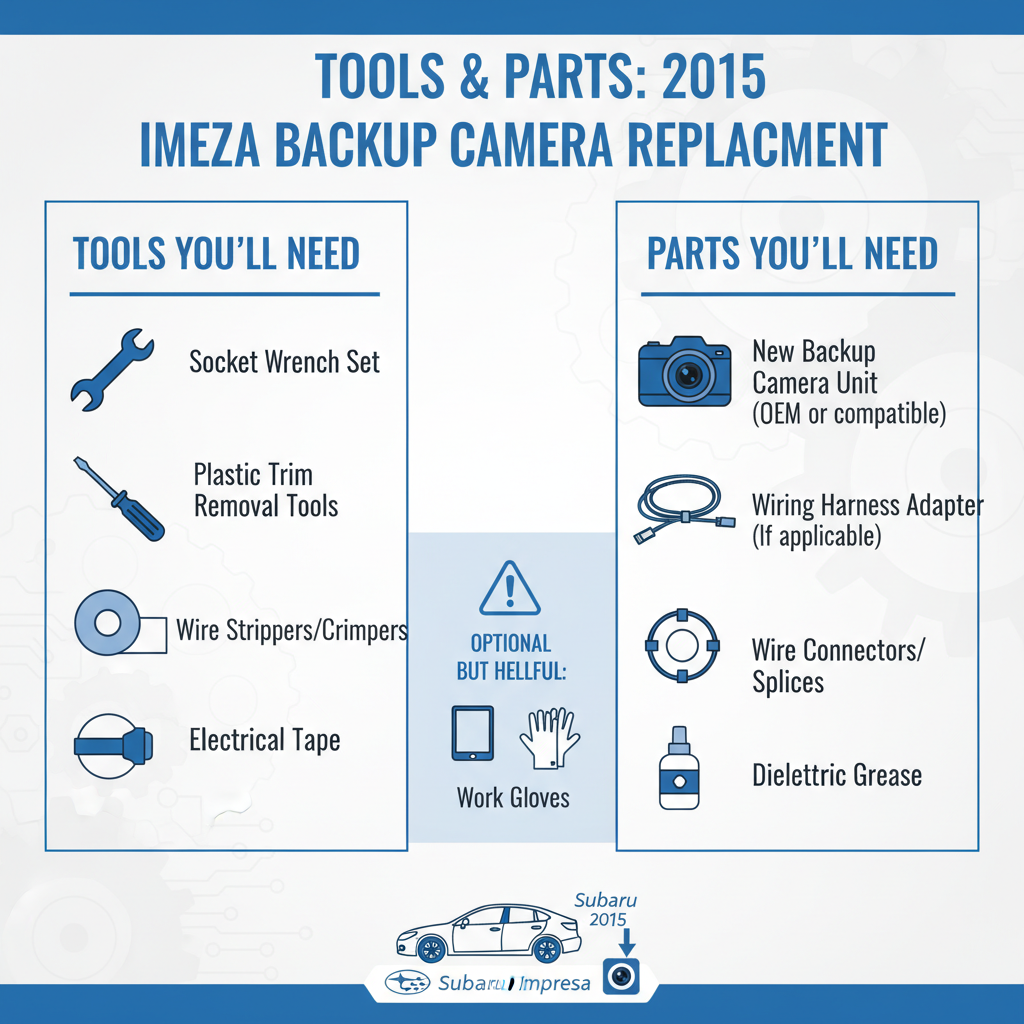
Essential tools include:
• Phillips head screwdriver set
• Flathead screwdriver or trim removal tools
• Socket wrench set (10mm socket typically needed)
• Electrical tape
• Wire strippers (if splicing connections)
• Multimeter for testing connections
The replacement camera should match your vehicle’s specifications. OEM Subaru cameras ensure perfect fit and compatibility, though aftermarket options may offer cost savings. Verify the new camera includes the necessary wiring harness and mounting hardware.
Accessing the Camera Location to replace factory backup camera subaru impreza 2015
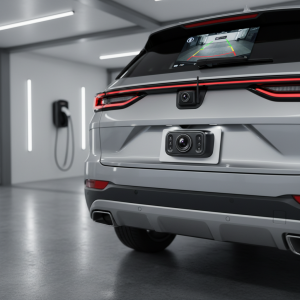
The backup camera in the 2015 Impreza mounts behind the rear Subaru emblem on the hatch. Accessing it requires removing interior trim panels, which can be tricky without proper technique.
Start by opening the rear hatch completely. Look for plastic clips and screws securing the interior trim panel around the hatch opening. These panels typically have a combination of visible screws and hidden plastic clips that require careful removal.
Use trim removal tools or a wrapped flathead screwdriver to avoid scratching the plastic. Work slowly around the perimeter, listening for the distinctive “pop” sound as clips release. Some technicians recommend starting from one corner and working systematically to prevent breaking clips.
Removing the Old Camera to replace factory backup camera subaru impreza 2015
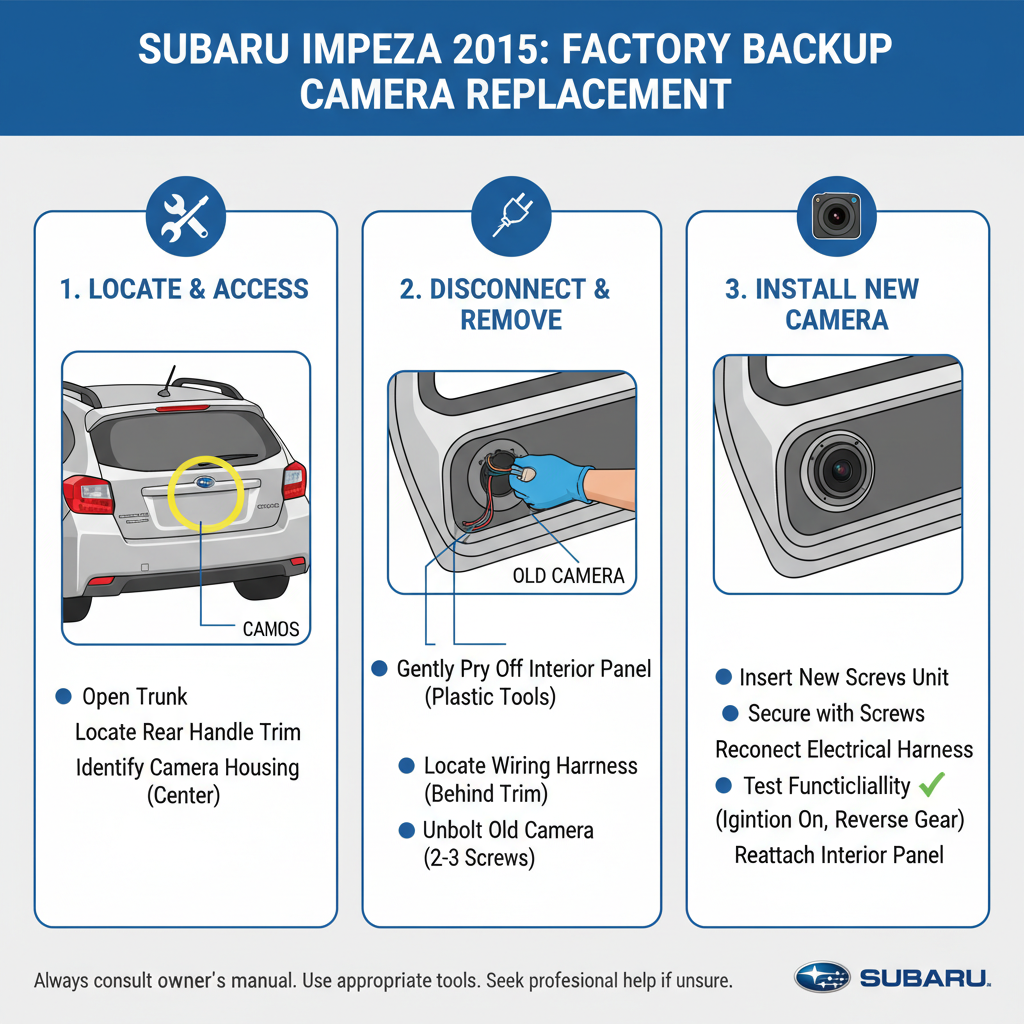
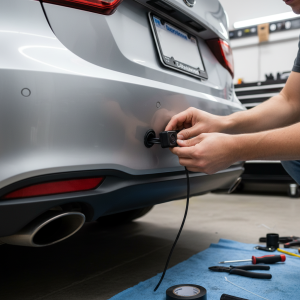
Once you’ve exposed the camera mounting area, locate the wiring harness connection. This connector usually has a locking tab that must be pressed while pulling the connector apart.
The camera itself typically mounts with two or three small bolts accessible from inside the hatch. These bolts may be covered by small plastic caps that need removal first. Keep track of all hardware as replacement bolts can be difficult to source.
In practice, the camera housing may be sealed with weatherstripping or gaskets. Clean any old sealant thoroughly before installing the new unit to prevent water intrusion, which commonly causes camera failures in this model year.
Wiring Considerations
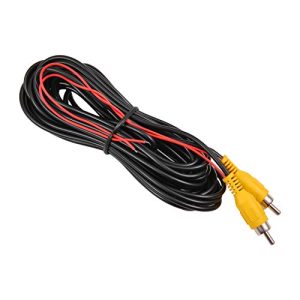
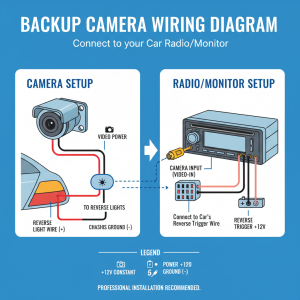
The 2015 Impreza backup camera uses a standard video signal wire and power connection. The wiring harness typically includes three main connections: power (usually red), ground (black), and video signal (often yellow or white).
Field experience shows that corrosion at connection points causes many backup camera failures in this vehicle. Inspect all connections carefully and clean any corrosion with electrical contact cleaner before connecting the new camera.
Some replacement cameras may have slightly different connector types. If the connectors don’t match exactly, you may need to splice connections using appropriate automotive-grade wire connectors and heat shrink tubing.
Installing the New Camera
Position the new camera in the mounting location, ensuring the lens faces the correct direction. The camera should sit flush with the exterior surface when properly installed.
Apply a thin bead of automotive silicone sealant around the mounting area if the original installation used sealant. This prevents water intrusion that can damage the camera electronics over time.
Thread the wiring harness through the same path as the original camera before securing the mounting bolts. Tighten bolts to manufacturer specifications – typically hand-tight plus a quarter turn to avoid cracking the camera housing.
Testing the System
Before reassembling all trim panels, test the new camera system thoroughly. Turn on the vehicle and shift into reverse to activate the camera display.
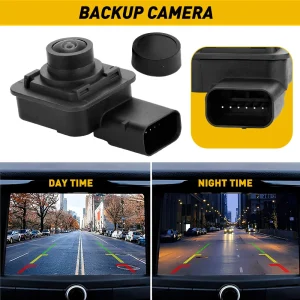
Check for clear image quality, proper color reproduction, and correct viewing angle. The camera should activate immediately when shifting to reverse and display a clear image on the infotainment screen.
A common issue technicians encounter is reversed or upside-down images due to incorrect camera orientation. If this occurs, verify the camera mounting position and adjust as needed.
Calibration and Alignment
The 2015 Impreza backup camera system includes overlay guidelines that help with parking and reversing. These guidelines should align properly with the camera’s field of view after installation.
Some vehicles may require recalibration through the infotainment system menu after camera replacement. Check your owner’s manual for specific calibration procedures, as this varies between trim levels and infotainment system versions.
If guidelines appear misaligned, the camera angle may need adjustment. Most cameras allow slight angle modifications by loosening the mounting bolts and repositioning before final tightening.
Reassembly Process
Reinstall all trim panels in reverse order of removal. Pay special attention to clip alignment – forcing clips can cause them to break, leading to loose or rattling trim pieces.
Ensure all wiring is properly routed and secured to prevent interference with moving parts. Use zip ties or factory wire clips to secure loose wiring harnesses.
Test the hatch operation after reassembly to verify nothing interferes with normal opening and closing. The camera should remain stable and not shift position during hatch movement.
Frequently Asked Questions
How long does backup camera replacement take on a 2015 Impreza?
Most DIY mechanics complete this repair in 1-2 hours. Professional technicians typically finish in 45-60 minutes due to experience with trim removal and wiring connections.
Can I use an aftermarket camera instead of OEM?
Yes, but ensure the replacement camera matches the original specifications for voltage, connector type, and mounting dimensions. Some aftermarket units may require wiring modifications.
Why did my original backup camera fail?
Common causes include water intrusion through worn seals, wiring corrosion, and impact damage from road debris. The 2015 model year had some issues with camera seal durability.
Do I need special tools for this repair?
Basic hand tools suffice for most installations. Trim removal tools help prevent damage to plastic panels, but careful use of wrapped screwdrivers works as an alternative.
Will replacing the camera affect my warranty?
Using OEM parts typically maintains warranty coverage. Aftermarket parts may void warranty on related systems, so check with your dealer if warranty coverage is a concern.
How do I know if the problem is the camera or the display screen?
If the screen shows “No Signal” or similar messages when in reverse, the issue is likely the camera. If the screen doesn’t activate at all in reverse, check the display unit and wiring first.
Should I disconnect the battery before starting this repair?
While not strictly necessary, disconnecting the battery prevents accidental airbag deployment and protects electronic components from power surges during wiring work.
Final Thoughts
Replacing the backup camera in your 2015 Subaru Impreza is a manageable DIY repair that can save significant money compared to dealer service. The key to success lies in careful trim removal, proper wiring connections, and thorough testing before final assembly. Take your time with each step, especially when working with plastic trim pieces that can break easily. Most camera failures in this model result from water intrusion or wiring issues, so pay special attention to sealing and connection quality during installation. With proper technique and patience, you’ll have your backup camera working reliably for years to come.