As an Amazon Associate & Influencer, we earn from qualifying purchases you might make if you click any of the links or buttons on this page at no expense to you.
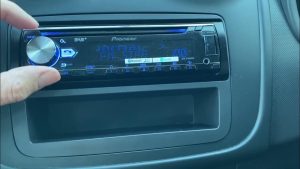
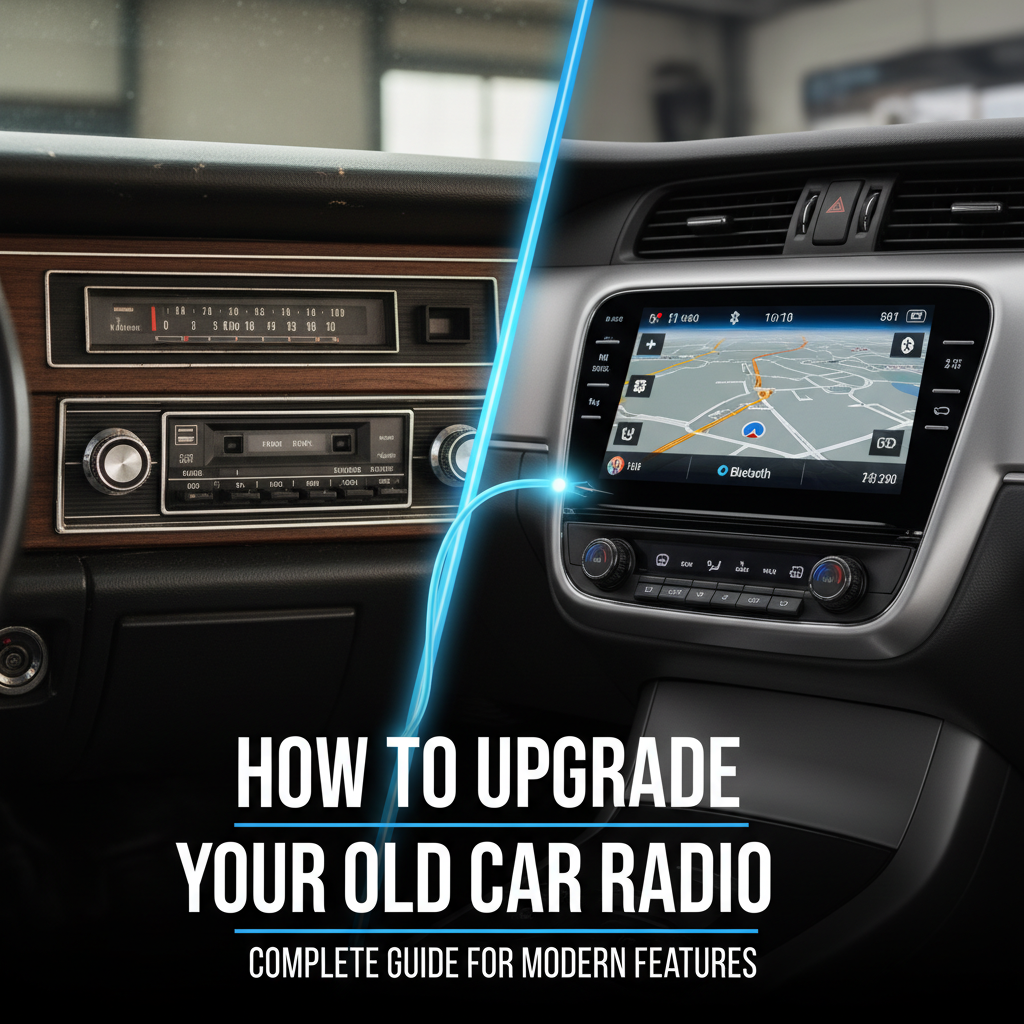
Upgrading an old car radio can transform your driving experience with modern features like Bluetooth, smartphone integration, and better sound quality. Whether your factory radio is outdated or broken, installing a new head unit is one of the most impactful car modifications you can make.
To upgrade your old car radio, you’ll need to remove the existing unit, install a compatible aftermarket head unit, and connect the wiring harness. Most upgrades require a dash kit, wiring adapter, and antenna adapter specific to your vehicle. The process typically takes 1-3 hours and costs $100-800 depending on features desired.
Contents
Why Upgrade Your Car Old Radio?

Modern car radios offer features that weren’t available in older vehicles:
Connectivity Features:
– Bluetooth for hands-free calling and music streaming
– Apple CarPlay and Android Auto integration
– USB ports for device charging and music playback
– Auxiliary inputs for various devices
Audio Improvements:
– Better sound processing and equalization
– Higher power output for clearer audio
– Support for modern audio formats
– Improved AM/FM reception
Safety Benefits:
– Voice control reduces driver distraction
– Hands-free calling keeps eyes on the road
– GPS navigation with real-time traffic updates
What You Need Before Starting To Upgrade Your Old Radio
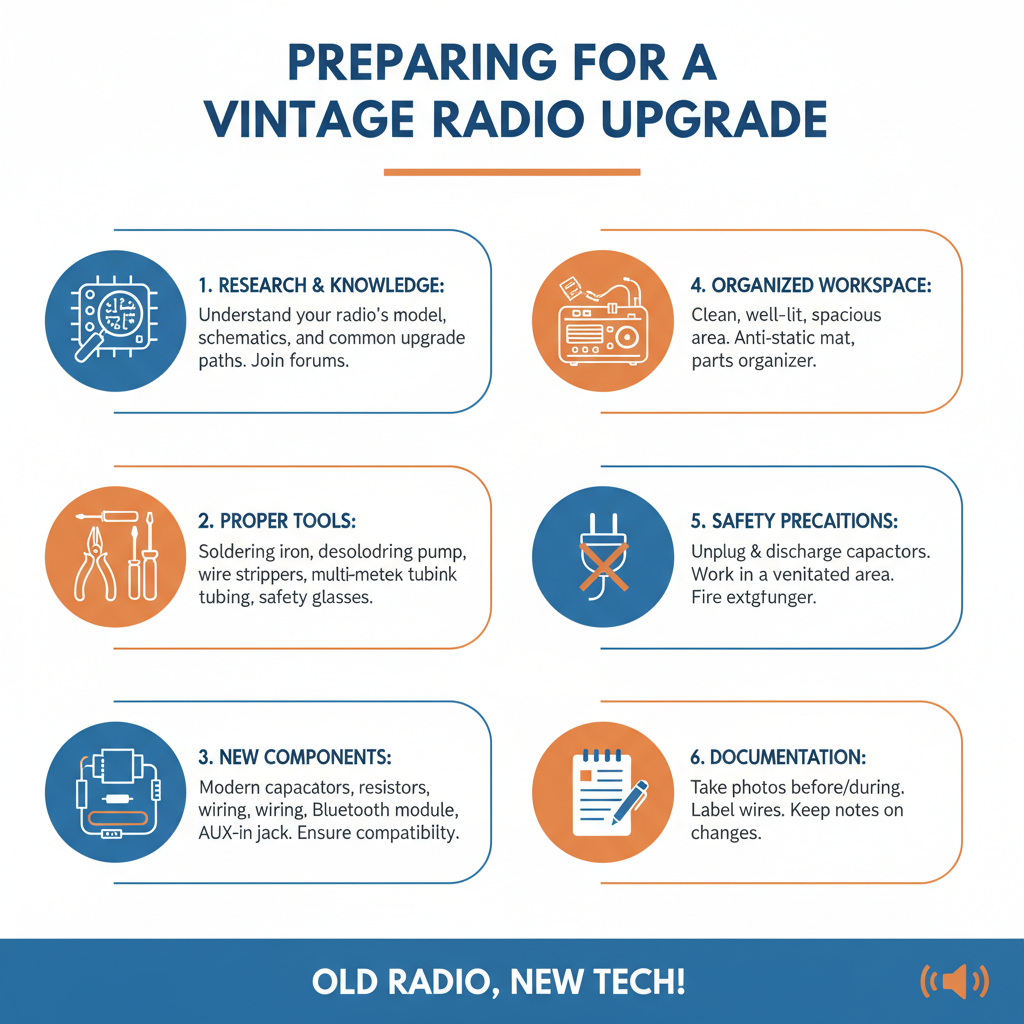
Essential Tools
– Panel removal tools or flathead screwdriver
– Phillips and flathead screwdrivers
– Wire strippers and electrical tape
– Multimeter (optional but helpful)
Required Parts
– New aftermarket head unit
– Dash kit (vehicle-specific mounting bracket)
– Wiring harness adapter
– Antenna adapter (if needed)
– Steering wheel control adapter (if applicable)
Check Compatibility
Before purchasing, verify your vehicle’s radio size. Most cars use either single-DIN (2″ x 8″) or double-DIN (4″ x 8″) openings. Measure your current radio or check your vehicle’s specifications online.
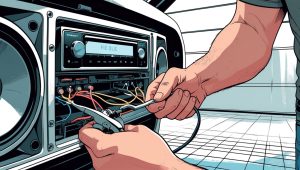
Step-by-Step Installation Process To Upgrade Your Car Old Radio
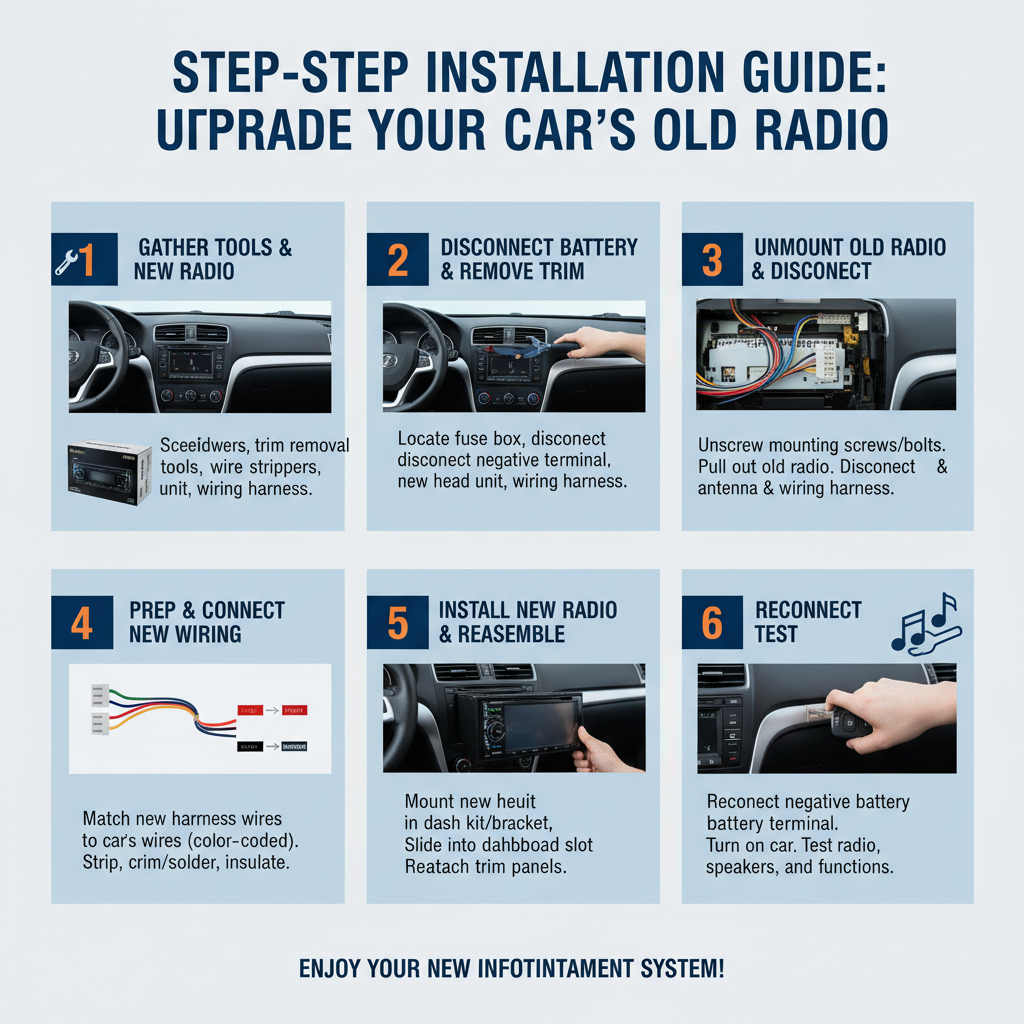
Step 1: Disconnect the Battery
Always disconnect the negative battery terminal before starting. This prevents electrical shorts and protects your vehicle’s computer systems.
Step 2: Remove the Old Radio
Most factory radios are held in place by clips or screws behind the dashboard trim. Remove any necessary trim panels using panel removal tools to avoid scratches.
Some radios require special removal keys that slide into slots on either side of the unit. Others are accessed by removing screws from behind the dashboard.
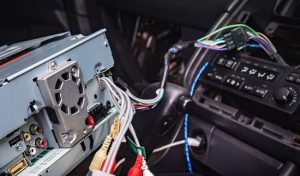
Step 3: Disconnect Wiring
Once the radio is loose, carefully disconnect:
– Main wiring harness
– Antenna cable
– Any additional connectors
Take photos before disconnecting to remember the original configuration.
Step 4: Prepare the New Radio
Connect your wiring harness adapter to the new radio before installation. This adapter allows you to connect the new radio without cutting your vehicle’s original wiring.
Match wire colors according to the included instructions:
– Red: Switched power (ignition)
– Yellow: Constant power (battery)
– Black: Ground
– Blue: Power antenna/amplifier remote
– Speaker wires (usually paired colors)
Step 5: Install Dash Kit
The dash kit fills any gaps between your new radio and the vehicle’s dashboard opening. Follow the kit’s instructions for proper fitment.
Step 6: Connect and Test
Before final installation:
– Connect all wiring harnesses
– Attach the antenna cable
– Reconnect the battery
– Test all functions
Verify that the radio powers on, receives stations, and all buttons work properly.
Step 7: Final Installation
Once everything works correctly, secure the radio in the dash kit and reinstall any trim panels.
Popular Aftermarket Radio Options
Budget-Friendly Options
Entry-level units typically offer basic features like Bluetooth and USB connectivity. The Pioneer DEH-S1200UB provides essential modern features at an affordable price point.
Mid-Range Choices
These units often include touchscreens and smartphone integration. Many drivers choose units with both Apple CarPlay and Android Auto compatibility for maximum versatility.
Premium Features
High-end units may include built-in navigation, premium audio processing, and larger touchscreens. Some integrate with factory amplifiers and steering wheel controls seamlessly.
Common Installation Challenges
Wiring Complications
Older vehicles may have non-standard wiring colors or configurations. Always use a multimeter to verify wire functions if you’re unsure.
Dashboard Fit Issues
Some vehicles require additional modification for proper fitment. Research your specific make and model before purchasing to avoid compatibility problems.
Steering Wheel Controls
If your vehicle has steering wheel audio controls, you’ll need a compatible adapter to maintain this functionality with your new radio.
Factory Amplifiers
Vehicles with premium sound systems often have external amplifiers that require special wiring considerations. Check if your car has a factory amp before installation.
Professional vs. DIY Installation
DIY Installation Benefits
– Cost savings (typically $100-200 in labor)
– Learning experience
– Complete control over the process
When to Choose Professional Installation
Consider professional installation if:
– Your vehicle has complex factory integration
– You’re uncomfortable with electrical work
– Special tools or programming are required
– You want warranty coverage on the installation
Maintaining Your New Radio
Regular Updates
Keep firmware updated for optimal performance and new features. Many modern units can update via USB or Wi-Fi.
Cleaning and Care
Use appropriate screen cleaners for touchscreen units. Avoid harsh chemicals that can damage the display or buttons.
Protecting Your Investment
Consider using a sunshade to prevent screen damage from UV exposure. Extreme temperatures can affect electronic components over time.
FAQ
How much does it cost to upgrade a car radio?
Basic aftermarket radios start around $50-100, while premium units can cost $300-800. Add $50-150 for installation accessories and $100-200 for professional installation if needed.
Will upgrading my radio void my car’s warranty?
Aftermarket radio installation typically doesn’t void your vehicle warranty, but any damage caused during installation might not be covered. Keep original parts if your car is still under warranty.
Can I install a touchscreen radio in any car?
Most vehicles can accommodate touchscreen radios, but you need adequate dashboard depth and the correct DIN size. Measure your current radio opening and dashboard depth before purchasing.
Do I need special tools to remove my old radio?
Some factory radios require specific removal keys or tools. Check your vehicle’s manual or search online for your specific make and model’s requirements.
Will my steering wheel controls still work with a new radio?
Steering wheel controls can work with aftermarket radios using a compatible interface adapter. These adapters translate your vehicle’s control signals for the new radio.
How do I know if my car has a factory amplifier?
Check your vehicle’s specifications or look for an amplifier unit, usually located in the trunk or under seats. Premium sound system badges on your current radio often indicate a factory amp.
Can I upgrade to Apple CarPlay in an older car?
Yes, many aftermarket radios offer Apple CarPlay and Android Auto compatibility for older vehicles. You’ll need a compatible head unit and smartphone with the appropriate operating system version.
Conclusion
Upgrading your old car radio is an excellent way to modernize your vehicle with contemporary features like Bluetooth connectivity, smartphone integration, and improved audio quality. While the installation process requires some technical knowledge, most car owners can successfully complete the upgrade with proper preparation and the right tools.
The key to a successful installation lies in choosing compatible components, taking time to understand your vehicle’s wiring, and following installation instructions carefully. Whether you choose a budget-friendly option or a premium unit with advanced features, a new car radio can significantly enhance your daily driving experience.
Remember to research your specific vehicle’s requirements, gather all necessary installation accessories, and don’t hesitate to seek professional help if you encounter complications during the process.