As an Amazon Associate & Influencer, we earn from qualifying purchases you might make if you click any of the links or buttons on this page at no expense to you.
Connecting your Dixon tweeter DNTS20 properly is essential for optimal sound quality and preventing damage to your audio system. This guide covers everything you need to know about wiring, positioning, and configuring this tweeter for the best performance.
To connect the Dixon DNTS20 tweeter, wire the positive terminal to your amplifier’s positive output and negative to negative. Use 16-18 gauge speaker wire for runs under 50 feet. Install a crossover network to filter frequencies below 3kHz, and mount the tweeter at ear level angled toward the listening position for optimal sound dispersion.
What You’ll Need Before Starting To Connect Dixon Tweeter DNTS20
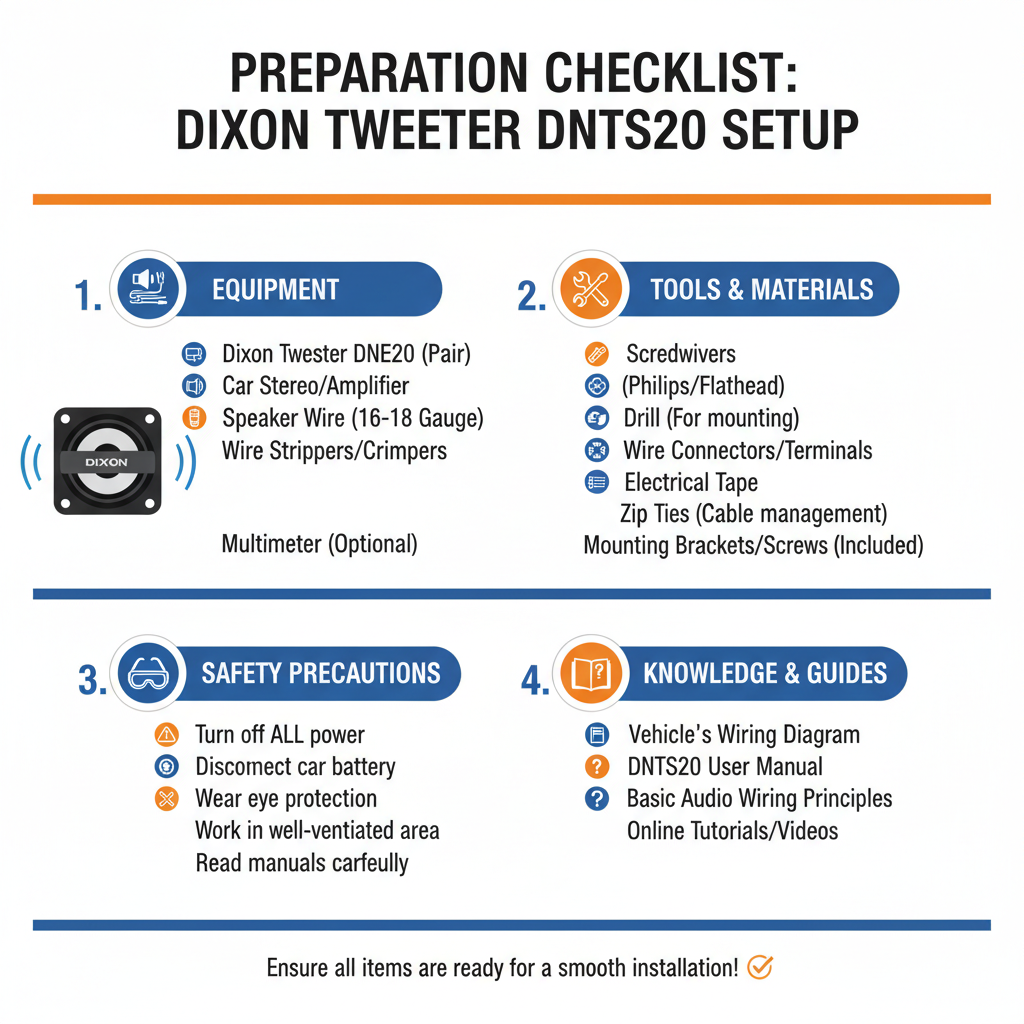
Before connecting your Dixon DNTS20, gather these essential items:
• 16-18 gauge speaker wire
• Wire strippers
• Screwdriver set
• Crossover network (passive or active)
• Mounting hardware
• Multimeter (optional but recommended)
Having the right tools ensures a clean, secure connection that will last for years.
Step-by-Step Connection Process Of Dixon Tweeter DNTS20
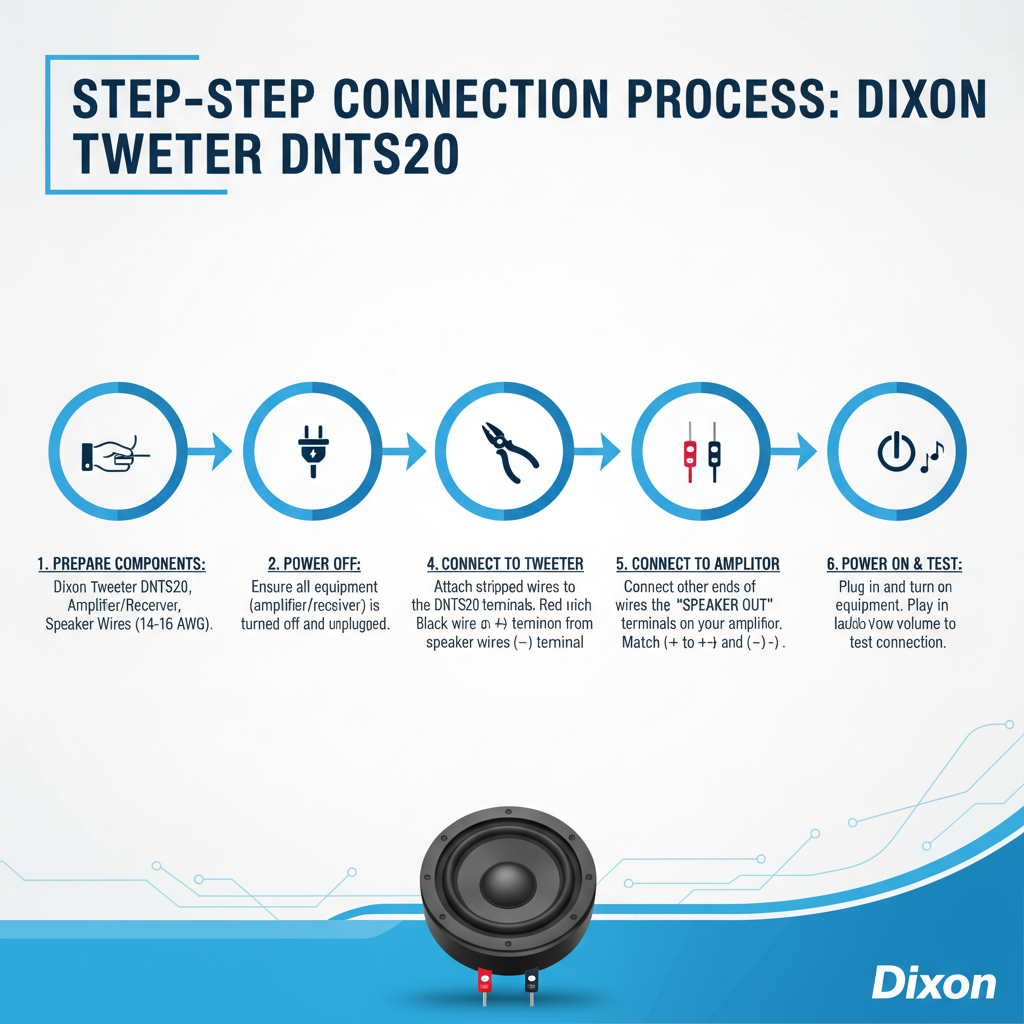
1. Plan Your Wiring Route
Start by mapping the wire path from your amplifier to the tweeter location. Keep speaker wires away from power cables to prevent interference.
Measure the distance and add 20% extra wire length for flexibility during installation.
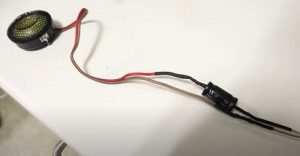
2. Prepare the Speaker Wire
Strip about 1/2 inch of insulation from each wire end. Twist the exposed copper strands tightly to prevent fraying.
For the Dixon DNTS20, clean connections are crucial since tweeters are sensitive to resistance changes.
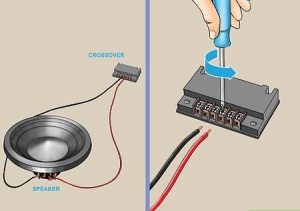
3. Connect to the Crossover Network
The Dixon DNTS20 requires frequency filtering to prevent damage from low frequencies. Connect the tweeter to the high-pass output of your crossover.
Wire the crossover input to your amplifier output, maintaining proper polarity throughout the chain.
4. Make the Final Connections
Connect the positive wire to the tweeter’s positive terminal (usually marked with + or red). Connect the negative wire to the negative terminal (marked with – or black).
Ensure connections are tight but don’t overtighten, as this can damage the terminals.
Understanding Crossover Requirements
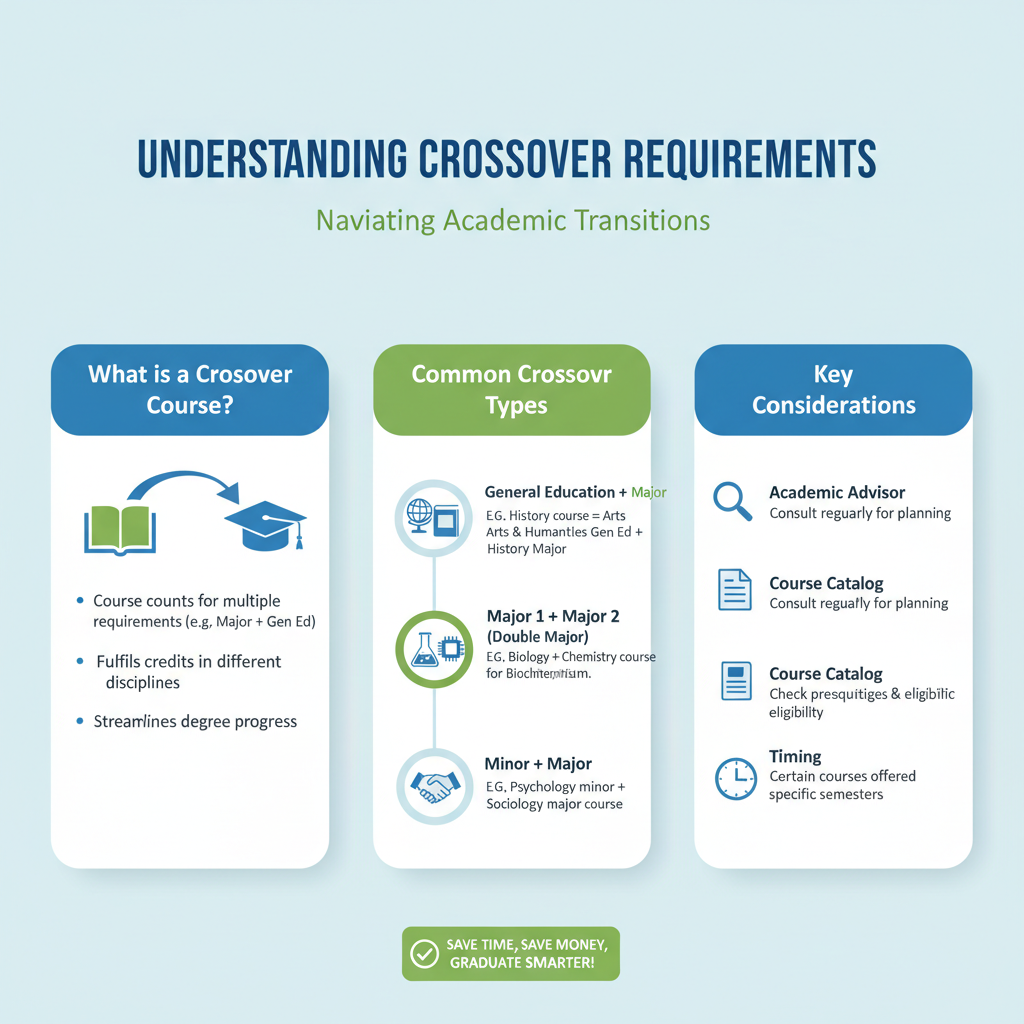
Why Crossovers Are Essential
The Dixon DNTS20 is designed to reproduce high frequencies, typically above 3kHz. Without proper filtering, low frequencies can damage the delicate tweeter components.
A crossover network acts as a frequency filter, sending only appropriate frequencies to each driver.
Choosing the Right Crossover
For the Dixon DNTS20, use a crossover with these specifications:
• High-pass filter at 3kHz or higher
• 12dB or 18dB per octave slope
• Power handling matching your amplifier output
• Impedance matching your system (typically 4 or 8 ohms)
Passive crossovers are simpler to install, while active crossovers offer more precise control.
Proper Mounting and Positioning
Mounting Location Guidelines
Position your Dixon DNTS20 at or slightly above ear level when seated in your primary listening position.
Tweeters should be angled toward the listening area, typically 15-30 degrees off-axis for the smoothest frequency response.
Mounting Considerations
• Secure mounting prevents vibration and rattling
• Allow adequate clearance for wire connections
• Consider tweeter protection if mounted in high-traffic areas
• Ensure mounting surface can support the tweeter weight
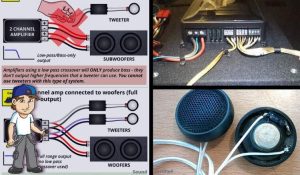
Wiring for Different System Configurations
Single Amplifier Setup
In a basic setup, connect the Dixon DNTS20 through a passive crossover to your main amplifier. This configuration works well for most home audio applications.
The crossover divides the signal, sending highs to the tweeter and mids/lows to your main speakers.
Bi-Amplified Systems
For advanced setups, you can use separate amplifiers for different frequency ranges. Connect the Dixon DNTS20 to a dedicated tweeter amplifier through an active crossover.
This approach offers better control and potentially higher sound quality but requires more equipment.
Multi-Zone Applications
When using the Dixon DNTS20 in multi-zone systems, ensure each zone has appropriate crossover filtering and impedance matching.
Consider using impedance matching transformers if connecting multiple tweeters to a single amplifier channel.
Testing Your Connection
Initial Power-Up
Start with low volume levels when first testing your Dixon DNTS20 connection. Gradually increase volume while listening for any distortion or unusual sounds.
Check that sound is coming from the tweeter by playing music with prominent high-frequency content.
Polarity Testing
Verify correct polarity by playing a test tone and checking that the tweeter moves outward when positive voltage is applied.
Incorrect polarity won’t damage the Dixon DNTS20 but will affect sound quality and imaging.
Performance Verification
Listen to familiar music tracks with good high-frequency content. The Dixon DNTS20 should provide clear, detailed treble without harshness or distortion.
If sound seems dull or overly bright, check your crossover settings and tweeter positioning.
Troubleshooting Common Issues
No Sound from Tweeter
Check all wire connections for tightness and correct polarity. Verify the crossover is functioning and receiving signal from the amplifier.
Test the Dixon DNTS20 with a multimeter to ensure it’s not damaged.
Distorted or Harsh Sound
Reduce amplifier gain or check if the crossover frequency is set too low. The Dixon DNTS20 may be receiving frequencies outside its optimal range.
Verify that amplifier power doesn’t exceed the tweeter’s power handling capacity.
Intermittent Operation
Loose connections are the most common cause of intermittent tweeter operation. Check all terminals and wire connections.
Environmental factors like temperature changes can also affect connection integrity.
Safety and Maintenance Tips
Power Handling Precautions
Never exceed the Dixon DNTS20’s maximum power rating. Start with conservative amplifier settings and increase gradually while monitoring for distortion.
Use appropriate fusing or protection circuits if your amplifier doesn’t have built-in protection.
Long-Term Maintenance
Periodically check wire connections for corrosion or loosening. Clean terminals with contact cleaner if oxidation occurs.
Keep the Dixon DNTS20 free from dust and debris that could affect performance.
FAQ
Q: Can I connect the Dixon DNTS20 directly to my amplifier without a crossover?
A: No, connecting the Dixon DNTS20 without a crossover can damage the tweeter. Always use appropriate high-pass filtering to protect the driver from low frequencies.
Q: What wire gauge should I use for the Dixon DNTS20?
A: Use 16-18 gauge speaker wire for runs under 50 feet. For longer runs, consider 14 gauge wire to minimize resistance and maintain signal quality.
Q: How do I know if my Dixon DNTS20 is wired with correct polarity?
A: Play a test tone and observe the tweeter cone movement. With positive voltage, the cone should move outward. You can also use your ears – correct polarity provides better stereo imaging.
Q: What crossover frequency works best with the Dixon DNTS20?
A: Start with a crossover frequency around 3kHz with a 12dB per octave slope. Fine-tune based on your main speakers and listening preferences.
Q: Can I use multiple Dixon DNTS20 tweeters on one amplifier channel?
A: Yes, but ensure the combined impedance doesn’t drop below your amplifier’s minimum rating. Wire multiple tweeters in series to increase impedance or parallel to decrease it.
Q: Why does my Dixon DNTS20 sound harsh or overly bright?
A: This usually indicates the crossover frequency is too low or the tweeter is positioned incorrectly. Try adjusting the angle or moving it slightly off-axis from your listening position.
Q: How much power can the Dixon DNTS20 handle?
A: Check the manufacturer’s specifications for exact power ratings. Generally, start conservatively and increase power gradually while monitoring for distortion or overheating.
Conclusion
Now you can successfully connect your **Dixon DNTS20 tweeter if you follow the steps you have read.