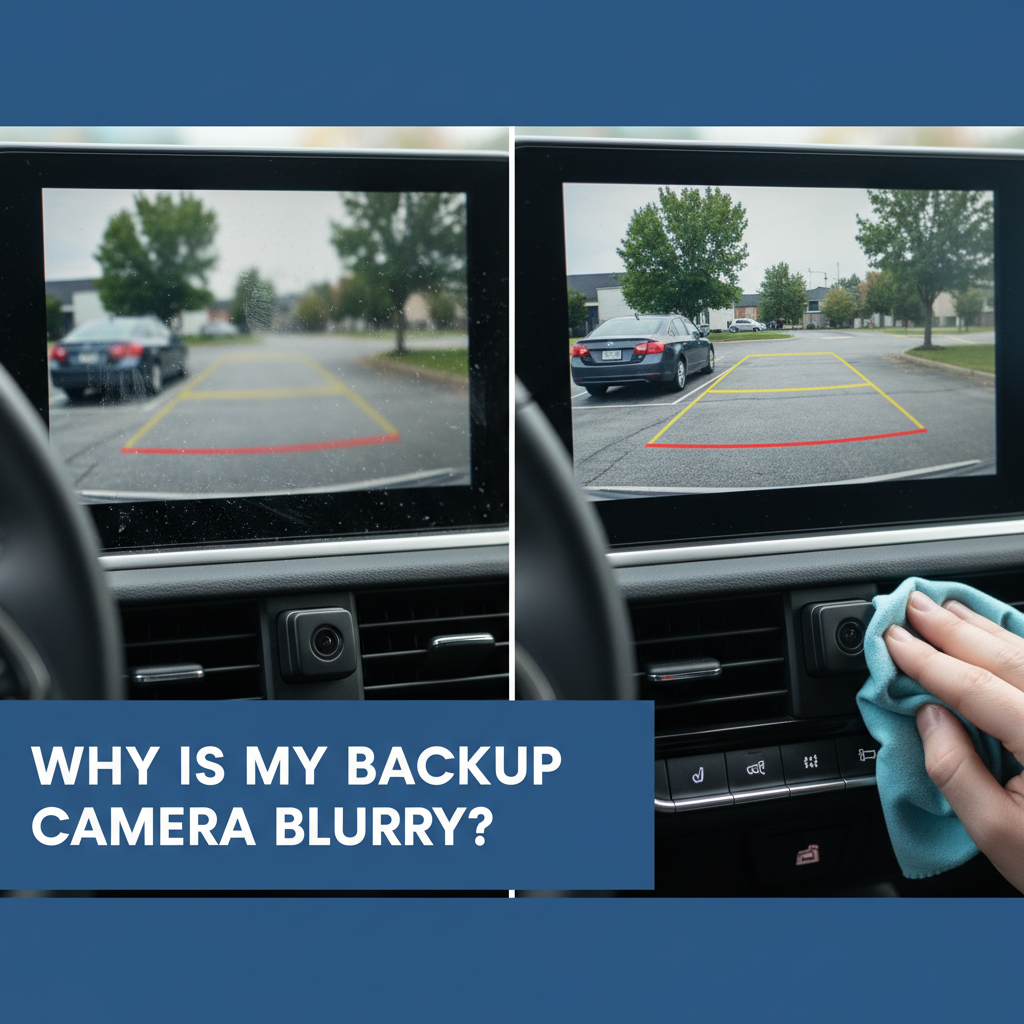
A blurry backup camera can turn a simple parking maneuver into a stressful guessing game. When your once-clear reverse camera suddenly produces fuzzy, unclear images, it’s more than just an inconvenience—it’s a safety concern that needs immediate attention.
Modern vehicles rely heavily on backup cameras for safe reversing, especially with larger vehicles where rear visibility is limited. Understanding why your backup camera has become blurry and knowing how to fix it can save you time, money, and potentially prevent accidents.
Contents
Primary Reasons Behind Blurry Camera Image
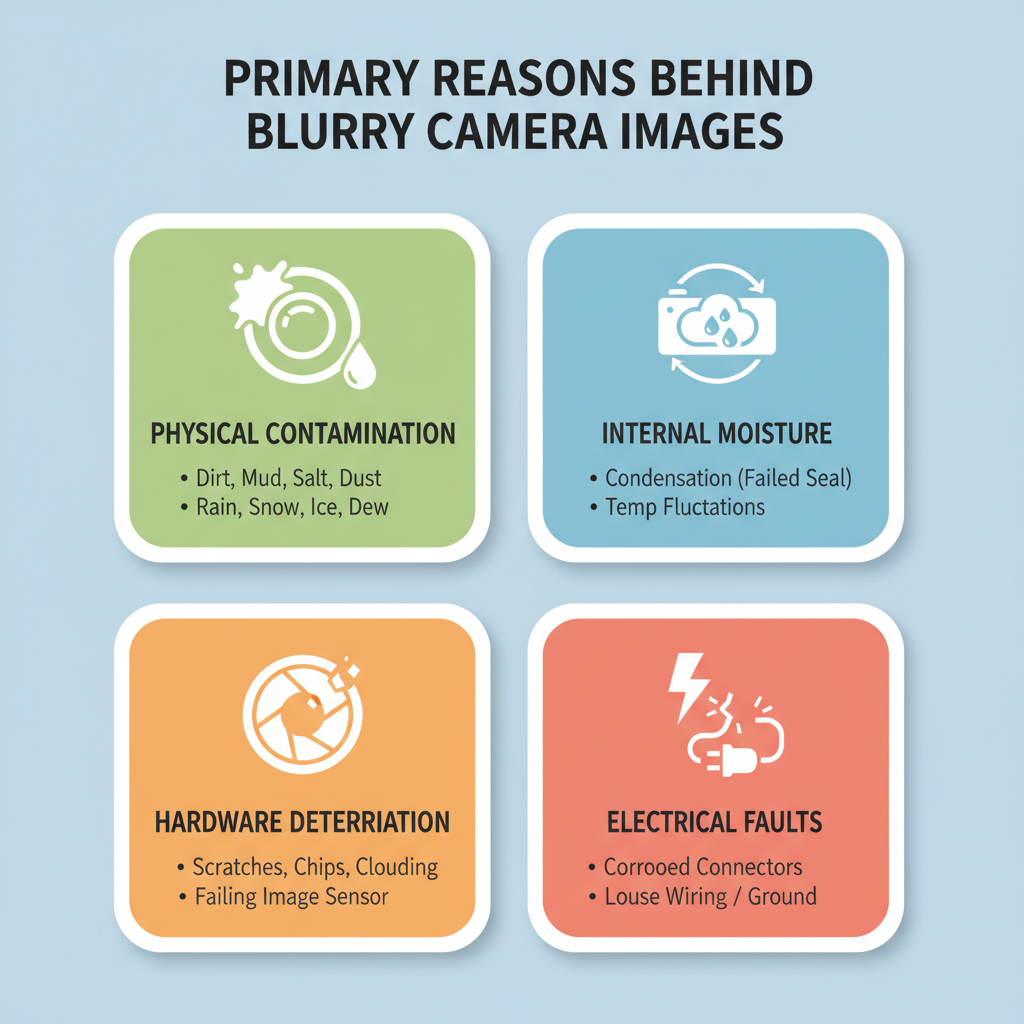
Physical Contamination Issues
The most frequent culprit behind blurry backup cameras is simple dirt accumulation. Road grime, mud, salt residue, and everyday dust create a film over the camera lens that gradually reduces image clarity.
Weather conditions play a significant role in contamination buildup. Rain carries dirt particles that stick to the lens surface, while snow and ice can completely obstruct the camera view. Even morning dew can create enough moisture to blur the image until it evaporates.
Internal Moisture Problems
Condensation inside the camera housing creates persistent blurriness that cleaning the exterior lens won’t resolve. This happens when the camera’s weatherproof seal fails, allowing humid air to enter and condense on the internal lens components.
Temperature fluctuations between hot days and cool nights accelerate moisture buildup. The camera housing expands and contracts, potentially compromising seals and creating entry points for moisture.
Hardware Deterioration
Camera lenses can develop scratches, chips, or clouding over time. Parking near bushes, car washes with harsh chemicals, or simple wear from weather exposure gradually degrades the lens surface.
The camera’s image sensor itself may be failing, producing consistently poor image quality regardless of external conditions. This typically occurs in older vehicles or cameras exposed to extreme temperatures.
Electrical Connection Faults
Poor electrical connections can cause image distortion that appears as blurriness. Corroded connectors, loose wiring, or voltage fluctuations affect the camera’s ability to produce clear images.
Ground connection problems specifically cause image quality issues, including blurriness, static lines, or color distortion. These electrical issues often worsen over time as corrosion spreads.
Step-by-Step Diagnostic Process
Initial Visual Assessment
Start by examining the camera lens with the vehicle turned off. Look for obvious dirt, scratches, or damage on the lens surface. Check if the lens appears fogged from the inside, which indicates moisture infiltration.
Inspect the area around the camera for signs of impact damage, loose mounting, or cracked housing. Even minor cracks can allow moisture entry and cause ongoing problems.
Basic Cleaning Procedure
Clean the lens using a soft microfiber cloth and appropriate cleaning solution. Avoid harsh chemicals or abrasive materials that could scratch the lens surface. For stubborn grime, use warm soapy water and rinse thoroughly.
Test the camera after cleaning by shifting into reverse and observing the display. If the image remains blurry, the problem extends beyond surface contamination.
Electrical System Verification
Check that the backup lights illuminate when shifting into reverse. Non-functioning backup lights often indicate the same electrical problem affecting the camera system.
Verify the camera activates consistently when engaging reverse gear. Intermittent operation suggests loose connections or failing components in the electrical pathway.
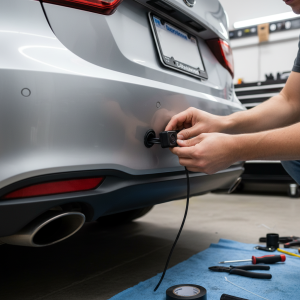
Advanced Connection Inspection
Locate the camera’s wiring harness, typically accessible by removing interior panels near the rear hatch or trunk area. Inspect visible connections for corrosion, looseness, or damage.
Look for green corrosion on metal connectors or white powdery residue indicating moisture exposure. Gently wiggle connections while someone observes the display for changes in image quality.
System Settings Review
Access your vehicle’s display settings menu and review camera-related options. Some systems have image adjustment settings that may have been accidentally changed.
Reset the camera system to factory defaults if available. This eliminates software-related issues that might cause image processing problems.
Owner-Manageable Tasks vs Professional Services

What You Can Handle Yourself
✅ Lens cleaning and inspection – Safe and straightforward with basic cleaning supplies
✅ Visual damage assessment – No tools required, just careful observation
✅ Basic electrical checks – Testing backup lights and camera activation
✅ Settings menu navigation – Accessing and adjusting display options
✅ Fuse inspection – Using the owner’s manual to locate and check relevant fuses
When Professional Help Is Necessary
🧰 Internal moisture removal – Requires camera disassembly and proper sealing
🧰 Wiring harness repair – Involves electrical diagnosis and potential rewiring
🧰 Camera replacement – Needs proper mounting and electrical integration
🧰 Display unit problems – Requires specialized diagnostic equipment
🧰 Software updates – May need dealer-specific programming tools
Environmental Factors Affecting Performance
Weather-Related Challenges
Heavy rain can overwhelm even properly functioning cameras, creating temporary blurriness until conditions improve. However, persistent problems after weather clears indicate underlying issues.
Extreme cold can cause condensation problems as warm air meets cold camera components. This typically resolves as temperatures stabilize, but recurring issues suggest seal problems.
Seasonal Maintenance Considerations
Winter driving exposes cameras to road salt, which is particularly corrosive to electrical components. Regular cleaning during winter months prevents salt buildup and corrosion.
Summer heat can accelerate seal deterioration and cause expansion-related problems. Parking in shade when possible helps extend camera component life.
Critical Safety Precautions
Electrical Safety Measures
Always turn off the ignition and remove the key before inspecting electrical connections. This prevents accidental short circuits and protects sensitive electronic components.
Disconnect the vehicle’s battery when performing any wiring work. Even brief electrical shorts can damage expensive control modules or create fire hazards.
Physical Safety Considerations
Never work on the camera system while the vehicle is running or in gear. Accidental movement could cause serious injury, especially when working near the rear of the vehicle.
Be cautious of sharp metal edges around the camera mounting area. Wear safety glasses when working in confined spaces where debris might fall.
Tool and Equipment Safety
Use only appropriate tools for electrical work. Improvised tools can damage delicate connectors or create safety hazards.
Ensure adequate lighting when inspecting connections. Poor visibility leads to mistakes and potential injury.
Prevention and Maintenance Strategies
Regular Cleaning Schedule
Establish a routine cleaning schedule, especially during harsh weather seasons. Weekly cleaning during winter and bi-weekly during moderate weather helps maintain optimal performance.
Use only camera-safe cleaning products to avoid damaging anti-reflective coatings or protective films on the lens surface.
Environmental Protection
Consider applying protective treatments to the camera lens area, though ensure any products used are specifically designed for automotive camera applications.
Park strategically when possible to minimize exposure to harsh conditions, flying debris, or situations where the camera might be damaged.
When Replacement Becomes Necessary
Signs of Permanent Damage
Persistent blurriness after thorough cleaning and electrical checks indicates hardware failure. Scratched or clouded lenses cannot be repaired and require replacement.
Internal component failure typically manifests as consistent image problems regardless of external conditions or cleaning efforts.
Cost Considerations
Professional diagnosis typically costs less than attempting multiple DIY fixes that don’t address the root problem. Early professional intervention often prevents more expensive repairs.
OEM replacement parts generally provide better longevity and integration than aftermarket alternatives, though they may cost more initially.
A blurry backup camera doesn’t have to remain a persistent problem. By systematically working through these diagnostic steps, most issues can be identified and resolved. Remember that safety should always be the priority—both in performing repairs and in ensuring your backup camera functions properly for safe vehicle operation.