Installing a backup camera system in your vehicle can significantly improve safety and make parking easier. One of the most common questions car owners ask is how to wire backup camera to radio for a seamless integration with their existing entertainment system. This comprehensive guide will walk you through the entire process, from understanding the components to completing the installation.
Contents
- Your Backup Camera System Kee Components Explained
- Essential Tools and Materials for Camera Installation
- Step-by-Step Guide: How to Wire Backup Camera to Radio
- Testing Your Backup Camera Installation
- Troubleshooting Common Wiring Issues
- Advanced Integration Options
- Safety Considerations and Best Practices
- Conclusion
Your Backup Camera System Kee Components Explained
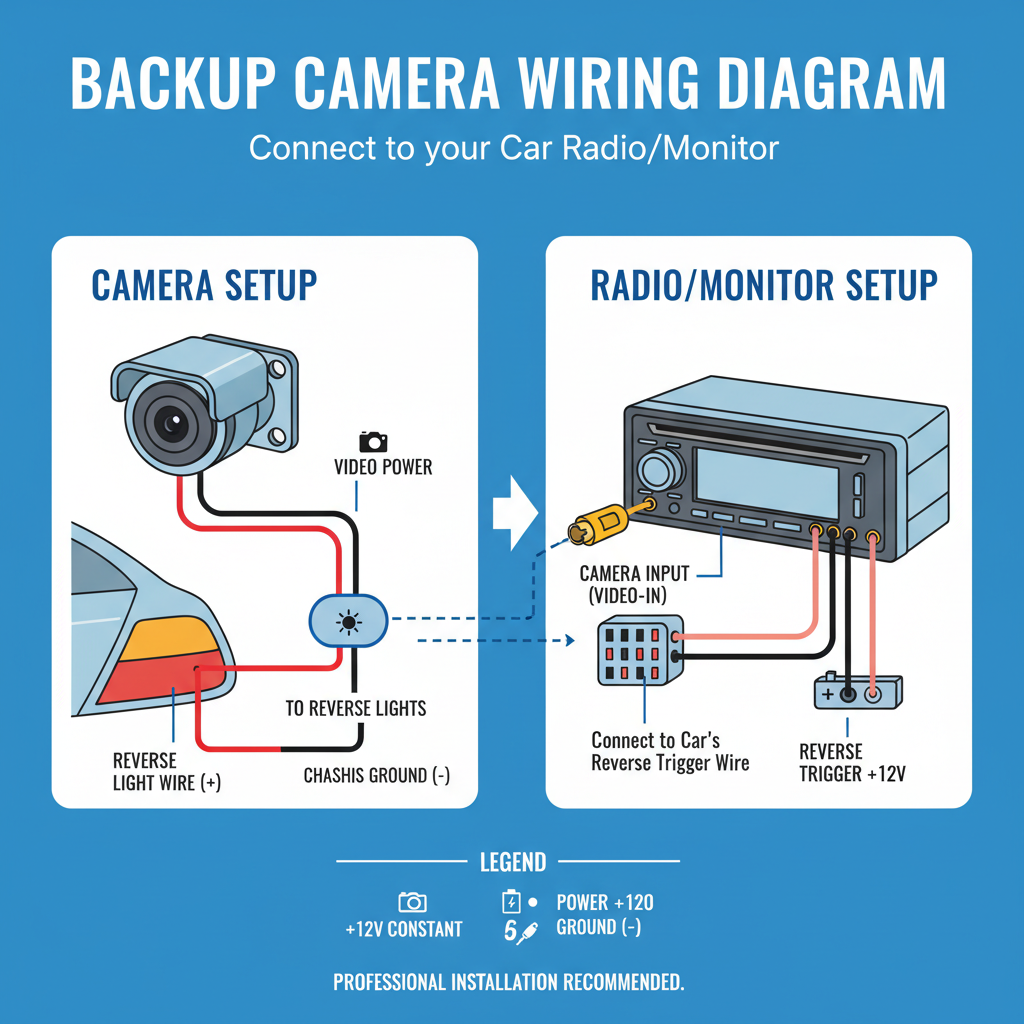
Before learning how to wire backup camera to radio, it’s essential to understand the key components involved in your rear view camera installation. A typical backup camera system consists of several parts that work together to provide you with a clear view of what’s behind your vehicle.
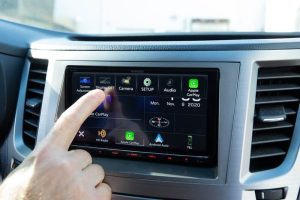
The backup camera itself is usually mounted on the rear of your car, often above the license plate or integrated into the tailgate handle. This camera captures video footage and transmits it through wiring to your display unit. The radio or head unit serves as the display screen where you’ll view the camera feed when reversing.
Your vehicle’s reverse light circuit plays a crucial role in the system. When you shift into reverse, this circuit activates both your backup lights and triggers the camera system to display on your radio screen. Understanding this connection is vital for proper camera wiring installation.
Essential Tools and Materials for Camera Installation
Gathering the right tools and materials before starting your backup camera wiring project will ensure a smooth installation process. You’ll need basic automotive tools including wire strippers, electrical tape, zip ties, and a multimeter for testing connections.
For the wiring components, you’ll need RCA cables or the appropriate video cable for your radio system. Many modern radios use specific proprietary connections, so check your radio’s manual for the correct camera input requirements. You’ll also need power wire, ground wire, and possibly a fuse tap depending on your installation method.
Consider purchasing a wiring harness adapter specific to your vehicle make and model. These adapters can simplify the connection process and reduce the risk of damaging your radio or vehicle’s electrical system during the rear camera setup.
Step-by-Step Guide: How to Wire Backup Camera to Radio
Step 1: Prepare Your Vehicle and Workspace
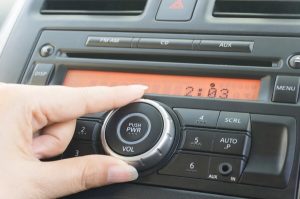
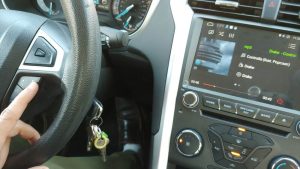
Start by disconnecting your vehicle’s battery to ensure safety during the electrical installation. Remove your radio from the dashboard following your vehicle’s specific removal procedure. This typically involves removing trim panels and unscrewing mounting brackets.
Locate your vehicle’s reverse light wiring, which you’ll find near the transmission or at the rear light assembly. You’ll need to identify the positive reverse signal wire that activates when you shift into reverse gear.
Step 2: Connect the Power Supply
Your backup camera needs a constant 12-volt power source to function properly. You can tap into your reverse light circuit for this power, or use a dedicated power wire run to your fuse box. If using the reverse light method, connect the camera’s power wire to the positive reverse light wire using a wire tap or by splicing the wires together.
Ensure all connections are secure and properly insulated with electrical tape or heat shrink tubing. A loose connection can cause intermittent camera operation or complete system failure.
Step 3: Establish the Ground Connection
Connect your backup camera’s ground wire to a solid metal ground point in your vehicle. Clean any paint or rust from the ground location to ensure a good electrical connection. The ground connection is crucial for proper camera operation and image quality.
Step 4: Run the Video Cable
Route the video cable from your backup camera location to your radio. This often involves running the wire through the vehicle’s interior, under trim panels, and through the dashboard. Take care to avoid areas where the wire might be pinched or damaged by moving parts.
Use zip ties or wire loom to secure the cable along its route. This prevents the wire from rattling or becoming damaged over time.
Step 5: Connect to Your Radio System
Connect the video cable to your radio’s camera input. This connection varies depending on your radio type – some use RCA jacks, while others use proprietary connectors. Consult your radio’s manual for the specific camera input location and requirements.
Many aftermarket radios have dedicated camera inputs clearly marked on the back of the unit. Factory radios might require additional adapters or harnesses to accept camera input signals.
Testing Your Backup Camera Installation
After completing all wiring connections, it’s time to test your backup camera system. Reconnect your vehicle’s battery and reinstall your radio in the dashboard. Start your vehicle and shift into reverse gear to activate the camera system.
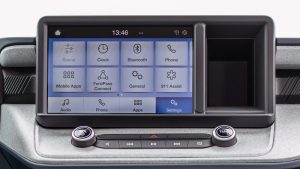
The camera image should appear on your radio screen automatically when you shift into reverse. Check the image quality, ensuring it’s clear and properly oriented. If the image appears upside down or mirrored, you may need to adjust camera settings through your radio’s menu system.
Test the system multiple times to ensure consistent operation. The camera should activate quickly when shifting into reverse and deactivate when shifting out of reverse gear.
Troubleshooting Common Wiring Issues
If your backup camera isn’t working properly after installation, several common issues might be the cause. Poor ground connections often result in fuzzy or distorted images. Check all ground connections and clean contact points if necessary.
No image display usually indicates a problem with the video signal connection or power supply. Verify that your video cable is properly connected to both the camera and radio. Use a multimeter to test for proper voltage at the camera location.
Intermittent operation often results from loose connections or inadequate power supply. Check all wire connections and ensure they’re properly secured and insulated.
Advanced Integration Options
Modern vehicles offer advanced integration possibilities for backup camera systems. Some newer radios support additional features like parking guidelines, multiple camera inputs, or integration with parking sensors.
If your radio supports it, you can add parking guidelines that overlay on the camera image to help judge distances while backing up. These guidelines can often be customized through your radio’s settings menu.
Consider upgrading to a radio system that supports multiple camera inputs if you want to add side cameras or a front-facing camera for complete vehicle monitoring.
Safety Considerations and Best Practices
When learning how to wire backup camera to radio, safety should always be your top priority. Always disconnect the battery before working on electrical systems to prevent short circuits or injury.
Use proper gauge wire for all connections and ensure all splices are properly insulated. Poor electrical connections can cause system failures or even vehicle fires in extreme cases.
Remember that a backup camera is a driving aid, not a replacement for proper mirror usage and over-the-shoulder checks when reversing. Always maintain awareness of your surroundings when backing up.
Conclusion
Successfully wiring a backup camera to your radio enhances both safety and convenience while driving. By following this comprehensive guide on how to wire backup camera to radio, you can complete a professional-quality installation that will serve you well for years to come.
The key to success lies in proper preparation, using quality components, and taking time to make secure connections. While the installation process requires patience and attention to detail, the improved safety and peace of mind make it a worthwhile upgrade for any vehicle.
Remember to test your system thoroughly after installation and address any issues promptly. With proper installation and maintenance, your backup camera system will provide reliable service and help make your driving experience safer and more confident.