Installing a backup camera in your vehicle can significantly improve safety and make parking easier, especially in tight spaces. One of the most common and effective methods is learning how to wire a backup camera to the reverse light, which ensures the camera activates automatically whenever you shift into reverse gear. This comprehensive guide will walk you through the entire process, from selecting the right equipment to completing the electrical connections safely.
Contents
- Understanding Backup Camera Wiring Basics
- Essential Tools and Materials for Camera Installation
- Step-by-Step Wiring Process for Reverse Light Connection
- Running Cables and Making Secure Connections
- Testing and Troubleshooting Your Backup Camera System
- Safety Considerations and Professional Installation Options
- Conclusion
Understanding Backup Camera Wiring Basics
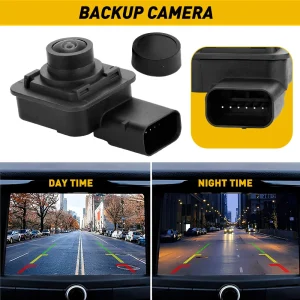
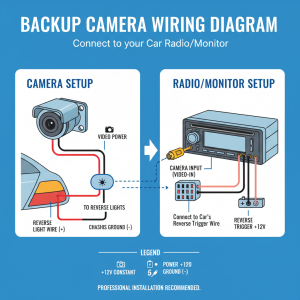
Before diving into the installation process, it’s essential to understand the fundamental components of a rear view camera system and how reverse light wiring works. A typical backup camera setup consists of the camera unit itself, a display monitor, connecting cables, and the power source – which in this case will be your vehicle’s reverse light circuit.
The reverse light system in most vehicles operates on a 12-volt DC circuit that activates when the transmission is shifted into reverse. By tapping into this circuit, you can power your backup camera so it turns on automatically whenever you’re backing up, eliminating the need for manual activation.
When planning your rearview camera installation, consider the camera’s power requirements, which typically range from 100-200 milliamps. Most reverse light circuits can easily handle this additional load without any issues. However, it’s always wise to check your vehicle’s electrical specifications before beginning the installation process.
Essential Tools and Materials for Camera Installation
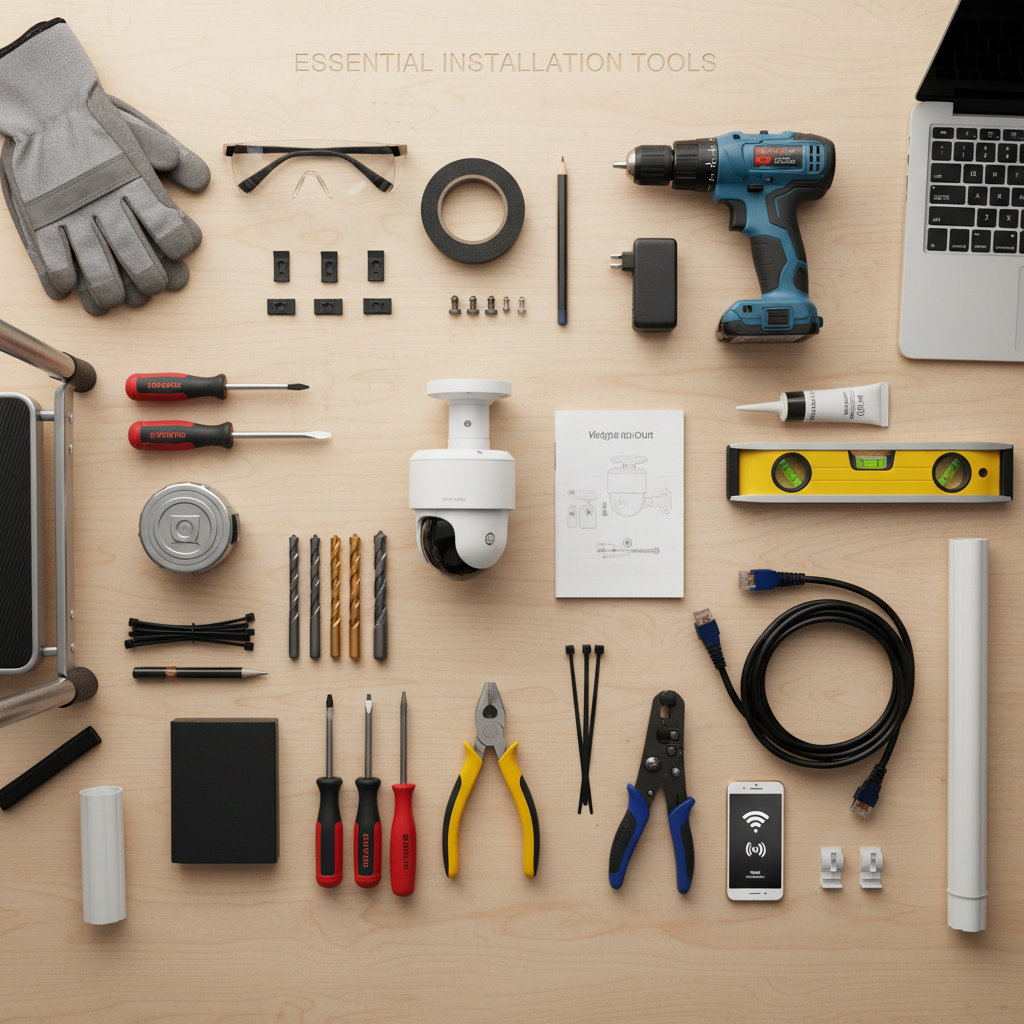
Gathering the right tools and materials before starting your backup camera wiring project will ensure a smooth installation process. You’ll need basic electrical tools including wire strippers, electrical tape, crimp connectors, and a multimeter for testing connections.
For the installation itself, you’ll require a backup camera kit that includes the camera, monitor, and necessary cables. Many aftermarket camera systems come with detailed wiring diagrams specific to reverse light connections. Additionally, gather automotive-grade electrical wire, fuse taps or inline fuses, and weatherproof connectors to protect your connections from moisture and corrosion.
Safety equipment is equally important when working with automotive electrical systems. Ensure you have safety glasses, work gloves, and proper lighting for working in potentially cramped spaces around your vehicle’s rear end and interior wiring harnesses.
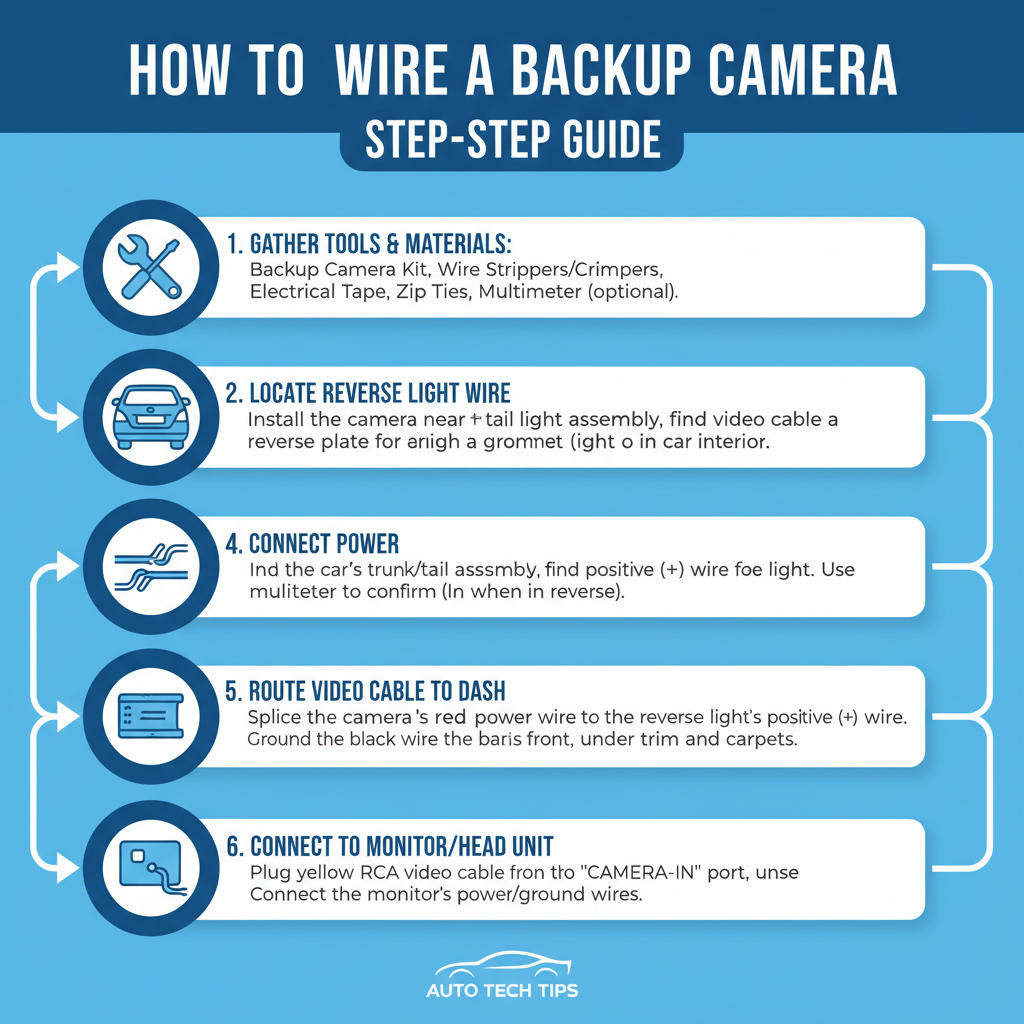
Step-by-Step Wiring Process for Reverse Light Connection
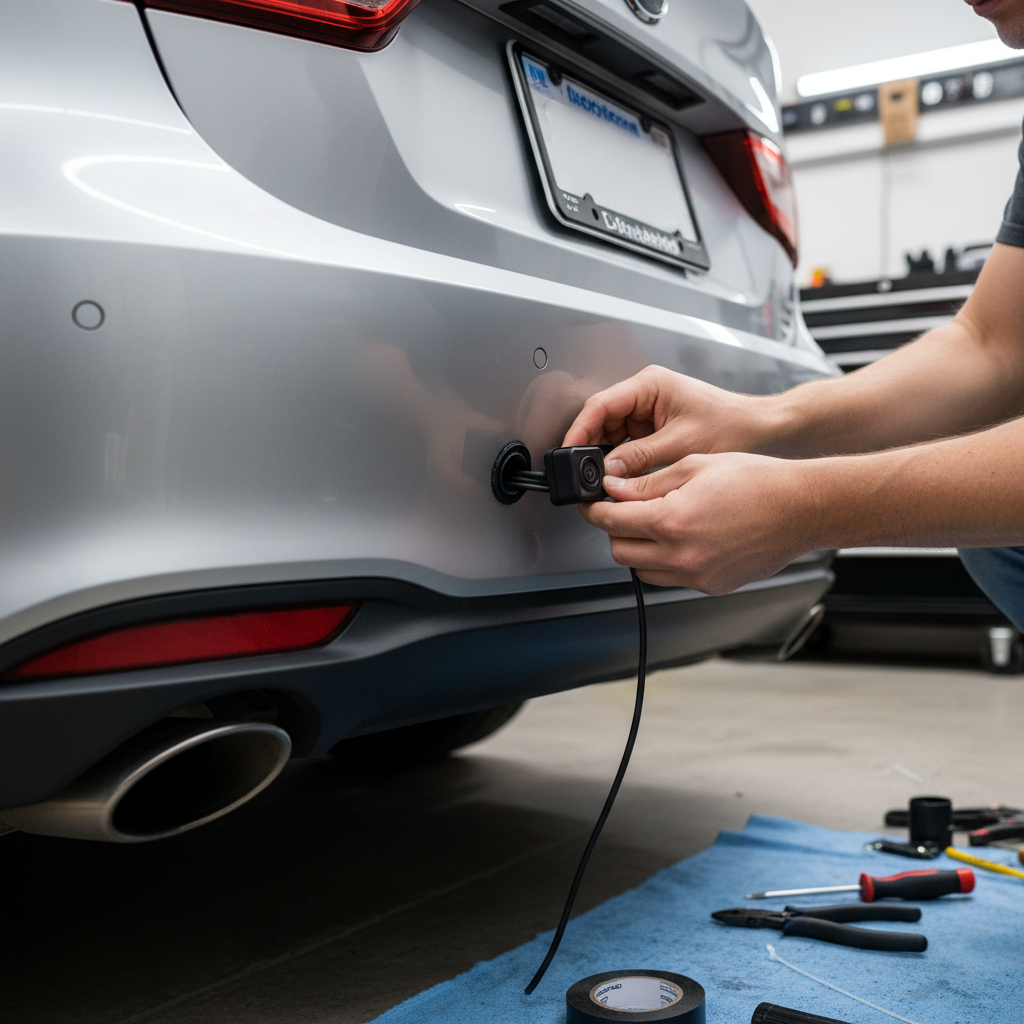
The actual process of how to wire a backup camera to the reverse light begins with locating your vehicle’s reverse light wiring. Start by consulting your vehicle’s service manual or wiring diagram to identify the reverse light circuit. In most vehicles, you’ll find the reverse light wires near the transmission or in the rear light assembly.
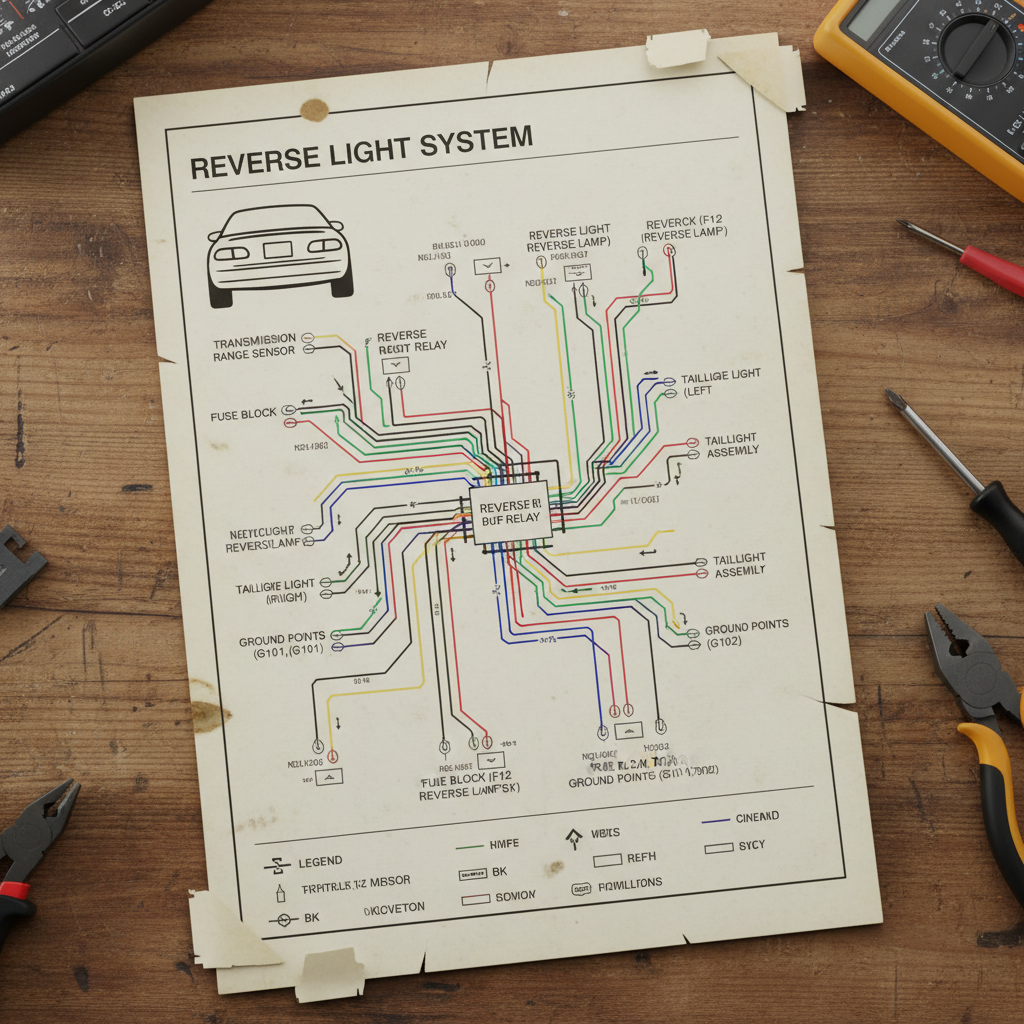
Begin by disconnecting your vehicle’s battery to ensure safety during the electrical work. Next, locate the positive wire leading to your reverse lights – this is typically the wire that shows 12 volts when the transmission is in reverse. You can verify this using a multimeter while someone shifts the vehicle into reverse gear.
Once you’ve identified the correct wire, you’ll create a tap connection to power your backup camera. Use a quality wire tap connector or carefully strip a small section of the reverse light wire and splice in your camera’s power wire. The connection should be secure and properly insulated with electrical tape or heat shrink tubing.
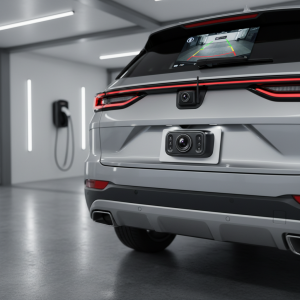
For the camera’s ground connection, locate a suitable grounding point near the rear of the vehicle. This could be a bolt or screw that connects directly to the vehicle’s chassis. Clean the connection point thoroughly and attach the camera’s ground wire using a ring terminal secured with the existing bolt.
Running Cables and Making Secure Connections
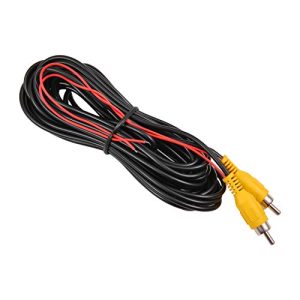
After establishing the power connections, you’ll need to run the video cable from your backup camera to the display monitor in your vehicle’s cabin. This typically involves routing the cable along the vehicle’s frame, through existing wire harnesses, or under trim panels.
When routing the video cable, avoid areas where it might be damaged by heat, moving parts, or sharp edges. Many installers choose to run the cable along the vehicle’s existing wiring harnesses, securing it with zip ties every few feet. Pay special attention to areas where the cable passes through the firewall or other barriers – use appropriate grommets to protect the cable from chafing.
The display monitor connection varies depending on your specific backup camera system. Some systems integrate with existing infotainment displays, while others use dedicated monitors. Follow the manufacturer’s instructions for connecting the video signal and power to your chosen display method.
Testing and Troubleshooting Your Backup Camera System
Once all connections are complete, it’s time to test your newly installed backup camera system. Reconnect your vehicle’s battery and start the engine. Shift the transmission into reverse – your backup camera should activate automatically, displaying the rear view on your monitor.
If the camera doesn’t activate, check your power connections first. Use a multimeter to verify that 12 volts is reaching the camera when the vehicle is in reverse. Common issues include loose connections, incorrect wire identification, or blown fuses in the reverse light circuit.
Video quality problems often stem from poor cable connections or interference from other electrical systems. Ensure all video connections are secure and that the video cable is routed away from high-current electrical components that might cause interference.
For ongoing maintenance, periodically check your backup camera lens for dirt or debris that might obstruct the view. Also, inspect electrical connections annually for signs of corrosion or loosening, particularly in areas exposed to weather.
Safety Considerations and Professional Installation Options
While many vehicle owners can successfully complete a backup camera installation themselves, it’s important to recognize when professional installation might be the better choice. Complex vehicle electrical systems, particularly in newer cars with advanced safety features, may require specialized knowledge to avoid damaging sensitive components.
If you’re uncomfortable working with automotive electrical systems or if your vehicle has warranty concerns, consider having the installation performed by a qualified automotive technician. Professional installers have experience with various vehicle types and can ensure your backup camera system integrates properly with existing electrical systems.
Remember that a backup camera is a safety aid and should never replace proper backing techniques and visual checks. Always look around your vehicle before backing up and use the camera as an additional tool rather than your primary method of checking for obstacles.
Conclusion
Learning how to wire a backup camera to the reverse light is a valuable skill that can enhance your vehicle’s safety and functionality. By following proper installation procedures, using quality components, and making secure electrical connections, you can create a reliable backup camera system that activates automatically whenever you shift into reverse.
The key to successful installation lies in careful planning, proper tool selection, and methodical execution of each step. Whether you choose to tackle this project yourself or seek professional installation, understanding the process helps ensure you get the best results from your backup camera investment. With your new rearview camera system properly installed and connected to your reverse lights, you’ll enjoy improved visibility and confidence when backing up in any situation.