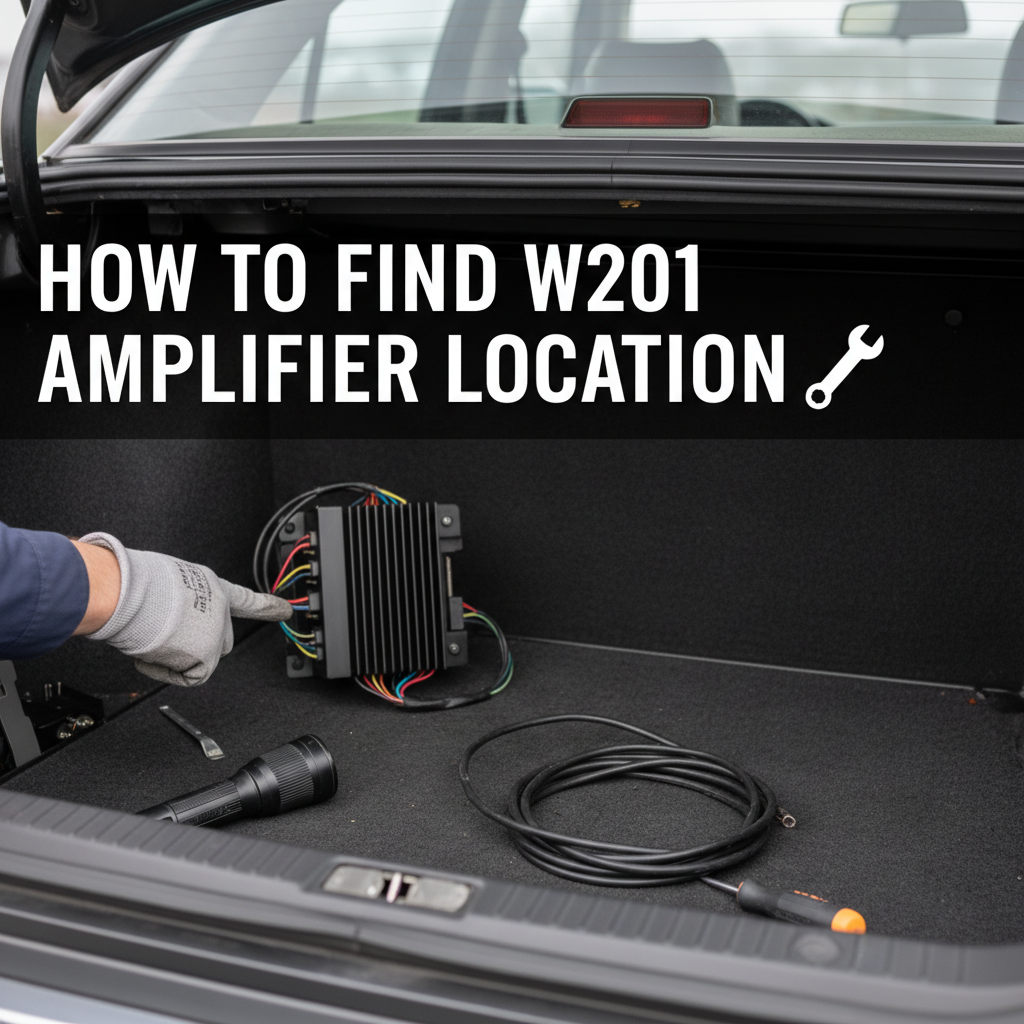
Finding the amplifier location in your Mercedes-Benz W201 (190 series) can be challenging if you don’t know where to look. Whether you’re troubleshooting audio issues, upgrading your sound system, or performing maintenance, knowing the exact w201 location of amplifier is essential for any car audio work.
The Mercedes-Benz 190 series, produced from 1982 to 1993, features different amplifier configurations depending on the model year and audio package. This comprehensive guide will help you locate your W201’s amplifier and provide essential information for working with your vehicle’s audio system.
Contents
- Understanding the W201 Audio System Layout
- Primary W201 Amplifier Location
- Step-by-Step Guide to Locate Your W201 Amplifier
- Alternative W201 Amplifier Locations
- Identifying Your W201 Amplifier Type
- Common W201 Amplifier Problems
- Accessing W201 Amplifier Connections
- W201 Amplifier Removal Process
- Upgrading Your W201 Audio System
- Troubleshooting W201 Audio Issues
- Professional Service Considerations
- Conclusion
Understanding the W201 Audio System Layout
The Mercedes W201 audio system architecture varies significantly based on the factory-installed equipment. Most models came with either a basic radio setup or an upgraded sound system featuring an external amplifier. The w201 location of amplifier depends on which audio package your vehicle originally had.
Standard audio systems in the W201 typically used the radio’s built-in amplification. However, vehicles equipped with premium sound packages included separate amplifier units to power additional speakers and provide enhanced audio quality.
Primary W201 Amplifier Location
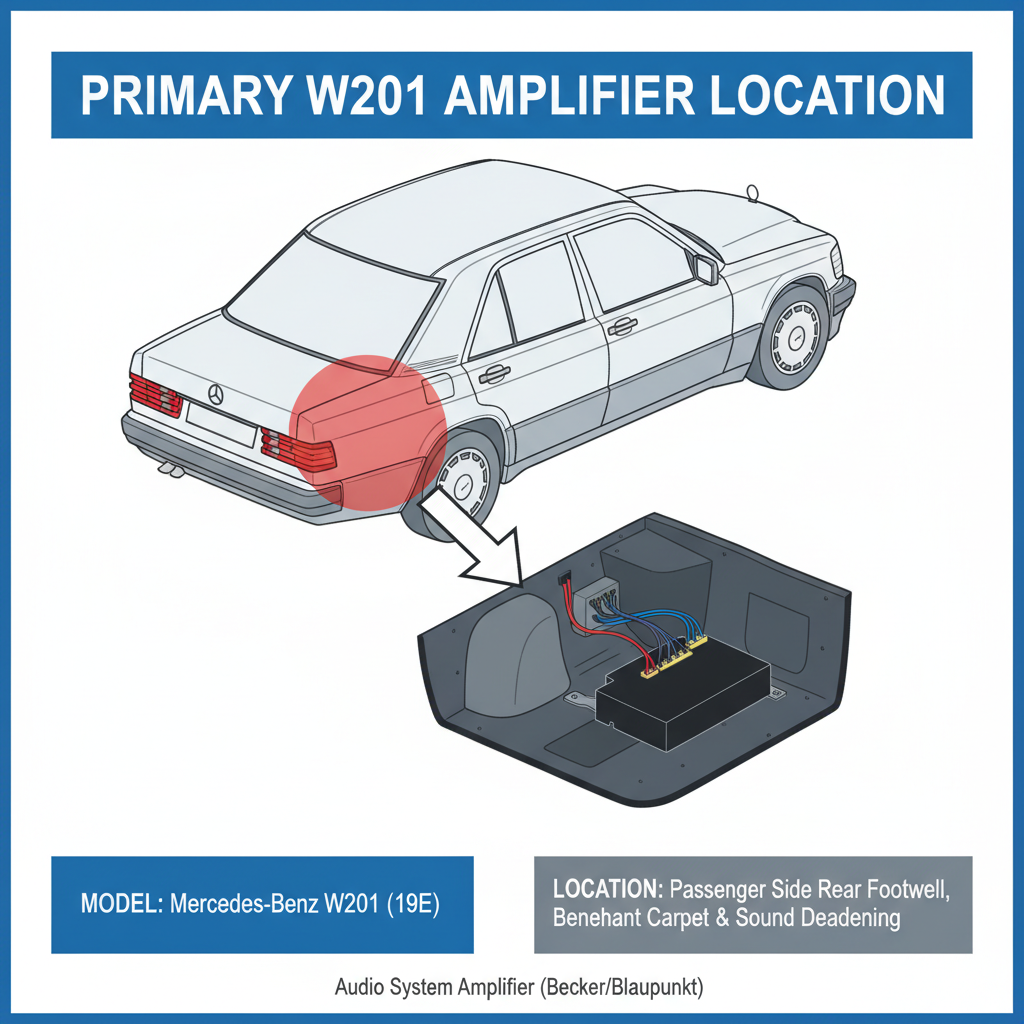
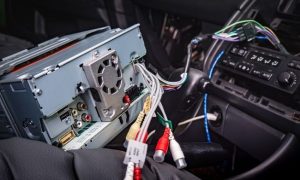
In most Mercedes-Benz W201 models equipped with external amplifiers, you’ll find the audio amplifier mounted behind the dashboard on the passenger side. This location provides protection from the elements while remaining accessible for service.
To access this area, you’ll need to remove the glove compartment and surrounding dashboard panels. The amplifier typically mounts to a metal bracket secured with screws or clips.
Step-by-Step Guide to Locate Your W201 Amplifier
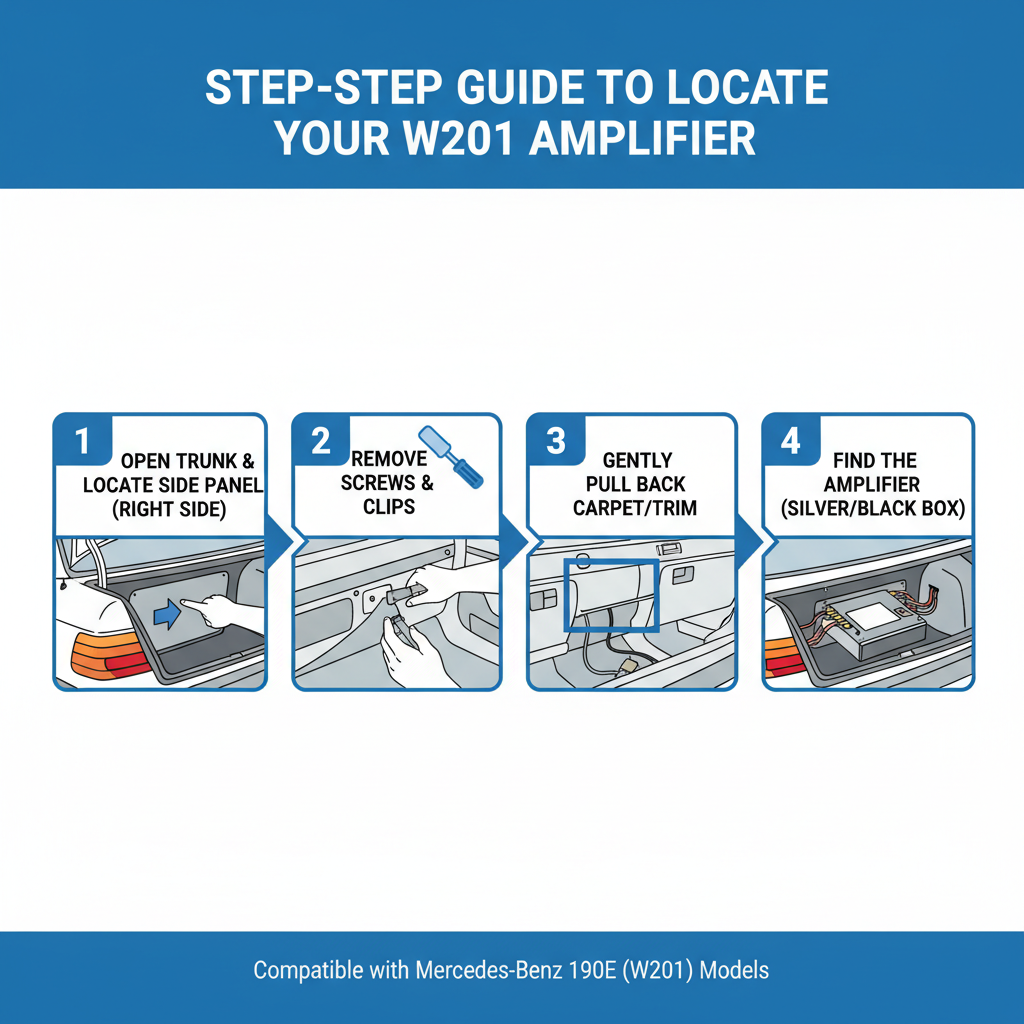
Step 1: Prepare Your Workspace
Before beginning your search, gather the necessary tools:
– Phillips head screwdriver
– Flat-head screwdriver
– Flashlight or work light
– Clean cloth for protecting surfaces
Step 2: Remove the Glove Compartment
Start by opening the glove compartment completely. Look for the plastic stops on either side that prevent it from falling open fully. Gently squeeze these stops inward while lowering the glove compartment door.
Most W201 models allow the glove compartment to hang freely once the stops are released. This gives you initial access to the area behind the dashboard.
Step 3: Access the Dashboard Area
Remove the screws securing the lower dashboard panel on the passenger side. These panels typically have 3-4 screws holding them in place. Carefully pull the panel away from the dashboard to expose the area behind.
Step 4: Locate the Amplifier Unit
With the panel removed, use your flashlight to examine the area behind the dashboard. The W201 amplifier typically appears as a rectangular metal box with multiple wire connectors. Look for a unit approximately 6-8 inches long with cooling fins or a ribbed metal surface.
Alternative W201 Amplifier Locations
While the passenger-side dashboard location is most common, some W201 models may have amplifiers in different positions:
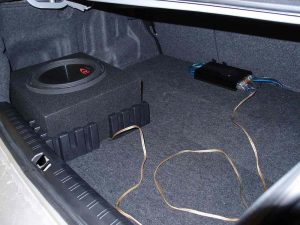
Trunk-Mounted Amplifiers
Certain high-end audio packages placed the amplifier in the trunk area. Check the left side of the trunk, near the wheel well. The amplifier may be mounted to the trunk floor or side panel with a protective cover.
Under-Seat Installation
Some aftermarket installations or special factory configurations mounted amplifiers under the front seats. Slide the seats forward and check underneath for any mounted audio equipment.
Center Console Area
Rarely, amplifiers were installed in the center console area between the front seats. This location required significant modification and isn’t common in factory installations.
Identifying Your W201 Amplifier Type
Mercedes-Benz used different amplifier types in the W201 series. Understanding which type your vehicle has helps with troubleshooting and replacement:
Becker Amplifiers
Many W201 models used Becker-branded amplifiers, which were common Mercedes audio suppliers. These units typically have “Becker” stamped on the metal housing.
Blaupunkt Systems
Some vehicles came equipped with Blaupunkt audio systems, including matching amplifiers. These units often feature blue and white Blaupunkt branding.
Alpine Equipment
Later W201 models sometimes included Alpine audio components, recognizable by their distinctive styling and Alpine logos.
Common W201 Amplifier Problems
Understanding typical amplifier issues helps diagnose problems with your W201 audio system:
No Sound Output
Complete audio failure often indicates amplifier problems. Check all connections at the w201 location of amplifier before assuming component failure.
Intermittent Audio
Loose connections or failing internal components can cause intermittent sound issues. Inspect the wiring harness connections at the amplifier location.
Distorted Sound
Overheating or component degradation within the amplifier can cause audio distortion. Ensure adequate ventilation around the amplifier housing.
Accessing W201 Amplifier Connections
Once you’ve located your amplifier, you’ll need to understand the connection system:
Power Connections
The amplifier receives power through a dedicated fuse in the vehicle’s fuse box. Check this fuse if you suspect power-related issues.
Signal Input
Audio signals reach the amplifier from the radio head unit through low-level input cables. These connections use small plugs with multiple wires.
Speaker Outputs
The amplifier sends amplified signals to speakers throughout the vehicle. Output connections typically use larger gauge wires to handle increased current.
W201 Amplifier Removal Process
If you need to remove the amplifier for service or replacement:
1. Disconnect the vehicle battery to prevent electrical damage
2. Carefully unplug all electrical connections from the amplifier
3. Remove mounting screws or brackets holding the unit in place
4. Gently slide the amplifier from its mounting location
Upgrading Your W201 Audio System
Many W201 owners choose to upgrade their audio systems. When planning modifications, consider:
Modern Amplifier Compatibility
Newer amplifiers may require different mounting solutions than the original w201 location of amplifier setup.
Wiring Modifications
Modern audio equipment often uses different connection standards than 1980s Mercedes systems.
Power Requirements
Ensure your vehicle’s electrical system can handle upgraded amplifier power demands.
Troubleshooting W201 Audio Issues
Before assuming amplifier failure, check these common problem areas:
Fuse Inspection
Audio system fuses commonly fail and are easy to replace. Check the fuse box for blown audio-related fuses.
Connection Integrity
Corrosion or loose connections at the amplifier location can cause various audio problems.
Speaker Condition
Failed speakers can make amplifiers appear defective. Test speakers independently when possible.
Professional Service Considerations
Some W201 amplifier work requires professional assistance:
Complex Electrical Issues
Advanced electrical problems may need professional diagnosis and repair.
Dashboard Removal
Extensive dashboard disassembly should be performed by experienced technicians to avoid damage.
Integration with Modern Equipment
Professional installation ensures proper integration when upgrading to modern audio systems.
Conclusion
Locating the amplifier in your Mercedes-Benz W201 doesn’t have to be complicated when you know where to look. The w201 location of amplifier is typically behind the passenger-side dashboard, though variations exist depending on your specific model and audio package.
Remember to work carefully when accessing electrical components, and don’t hesitate to consult professional help for complex repairs or modifications. With proper knowledge of your W201’s audio system layout, you can successfully troubleshoot problems, perform maintenance, or plan upgrades to enhance your driving experience.
Whether you’re dealing with audio problems or planning system improvements, understanding your W201’s amplifier location and connections is the first step toward successful audio system work. Take your time, work safely, and enjoy the improved sound quality that comes with a properly functioning audio system.