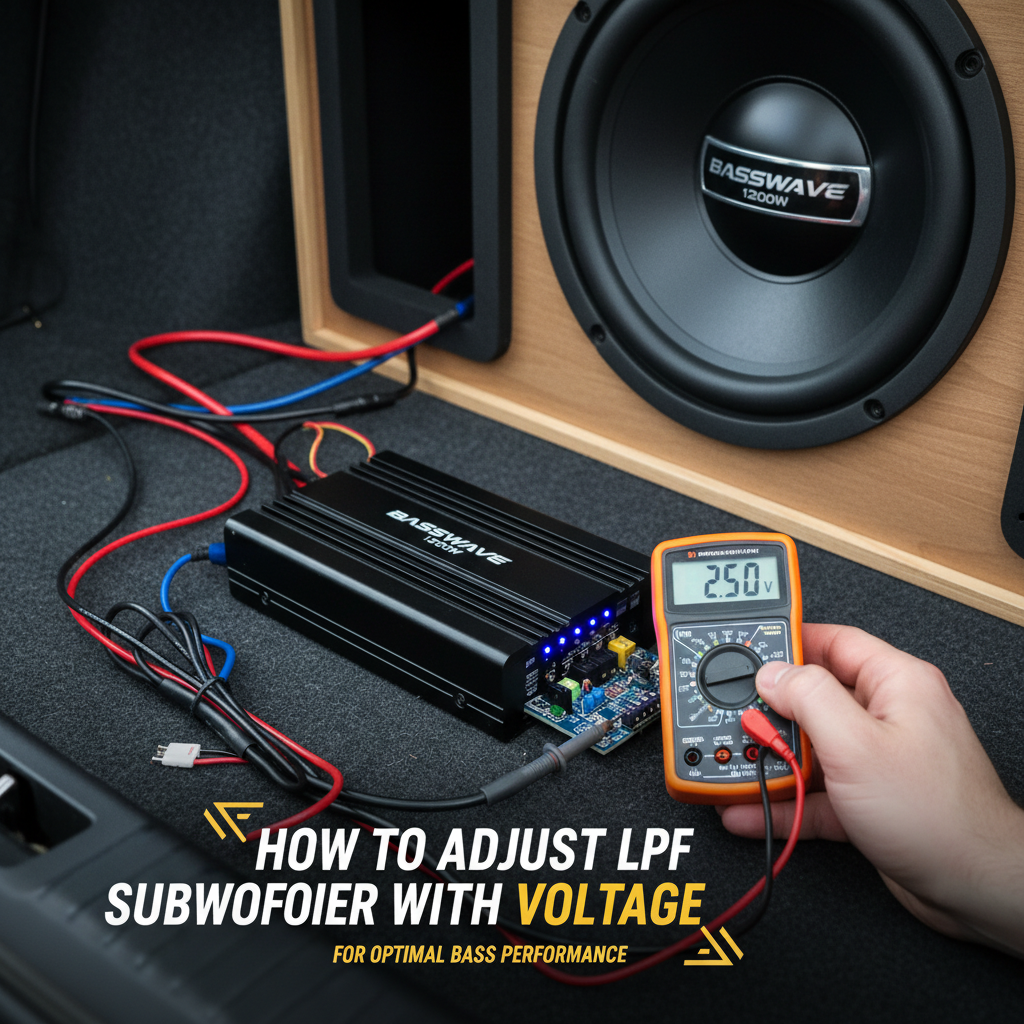
Getting the perfect bass response from your car audio system requires understanding how to properly adjust LPF subwoofer with voltage settings. This crucial skill separates amateur installers from professionals who achieve that deep, clean bass that makes every song come alive. Whether you’re tuning a competition-level system or simply want better sound quality in your daily driver, mastering voltage-based LPF adjustments will transform your listening experience.
Contents
- Understanding Low Pass Filter (LPF) Basics
- Essential Tools for Voltage-Based LPF Adjustment
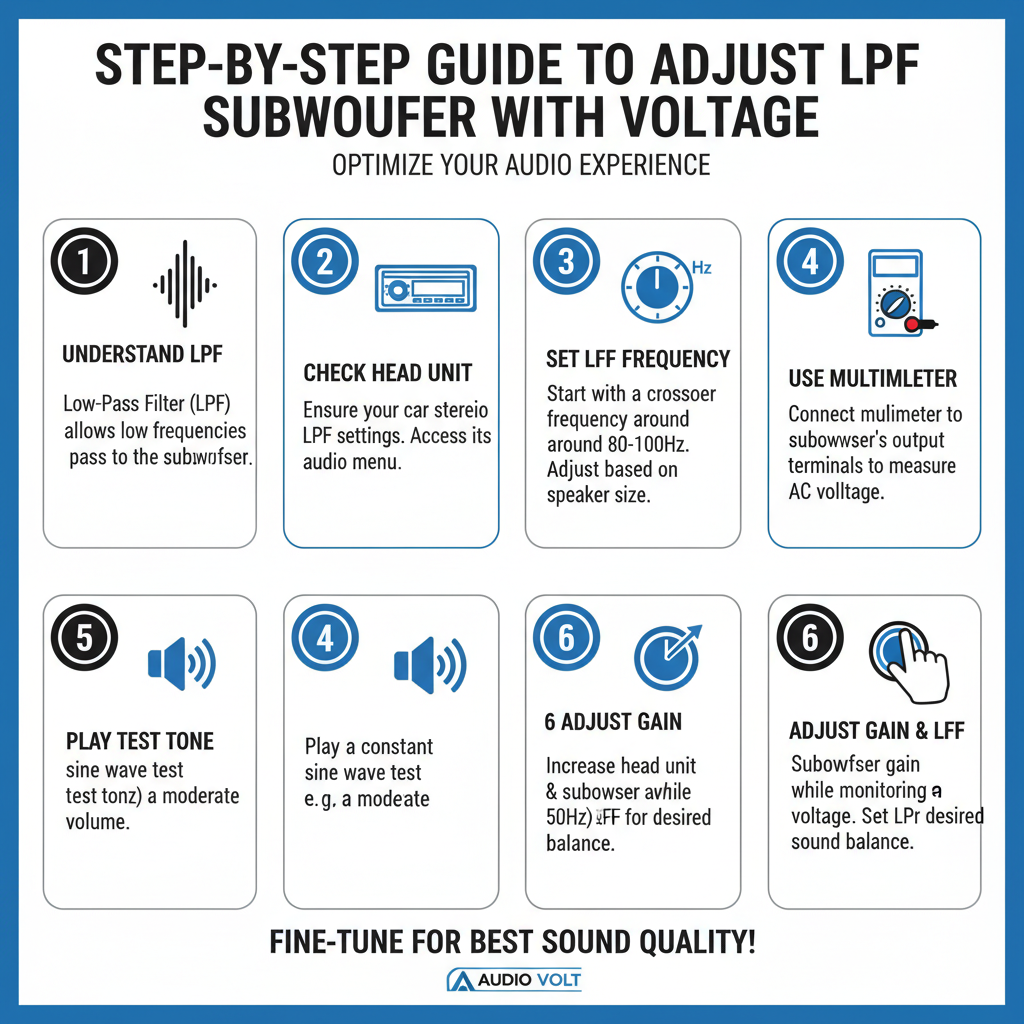
- Step-by-Step Guide to Adjust LPF Subwoofer with Voltage
- Advanced Voltage Control Techniques
- Troubleshooting Common Voltage Control Issues
- Optimizing Your Voltage-Controlled LPF System
- Measuring Success: Evaluating Your Voltage Adjustments
- Subjective Evaluation (Listening-Based Assessment)
Understanding Low Pass Filter (LPF) Basics
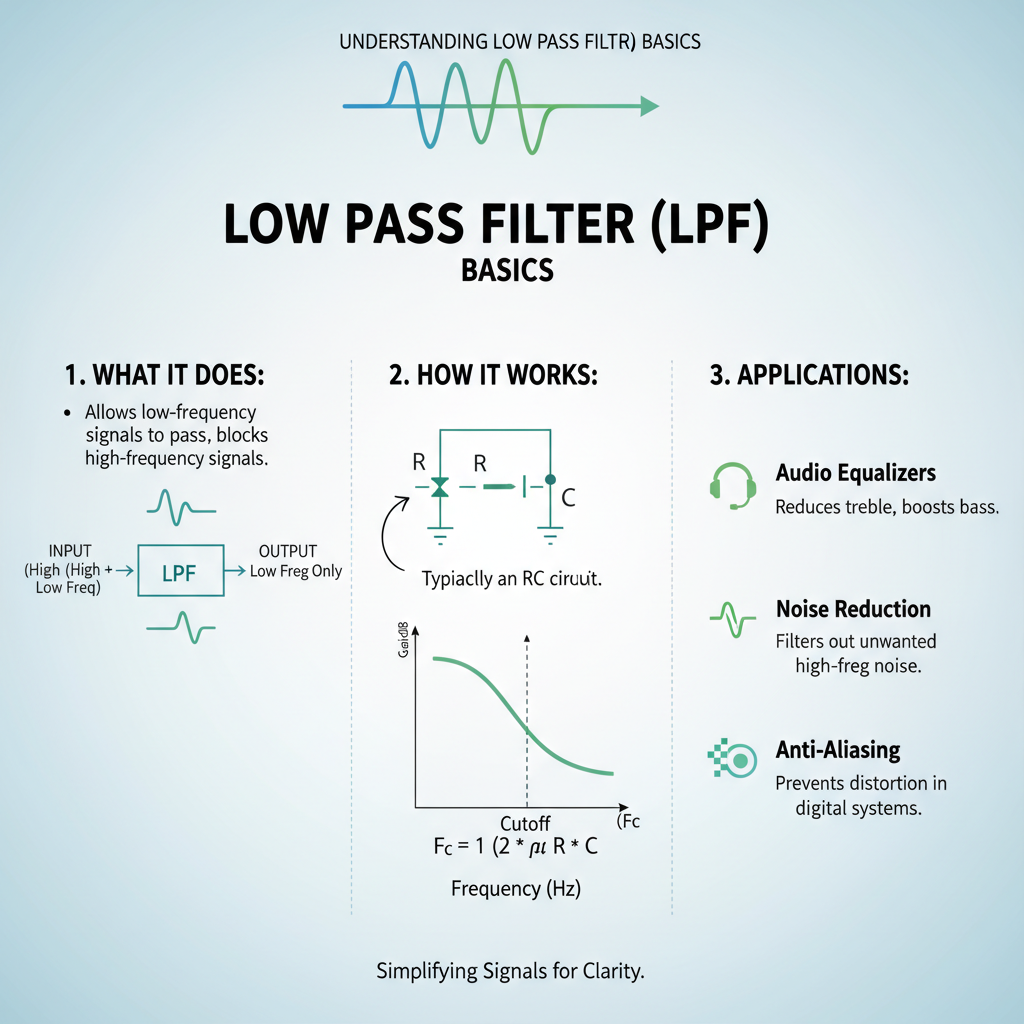
Before diving into voltage adjustments, let’s establish what a low pass filter does in your subwoofer system. The LPF acts as a frequency gatekeeper, allowing only the lowest frequencies to reach your subwoofer while blocking higher frequencies that should be handled by your main speakers.
When you adjust LPF subwoofer with voltage, you’re essentially controlling the crossover point electronically. This method offers more precision than traditional potentiometer-based controls because voltage provides consistent, measurable adjustments that don’t drift over time.
Why Voltage-Based LPF Control Matters
Voltage control systems offer several advantages over mechanical controls:
– Precision: Exact voltage measurements translate to specific frequency points
– Stability: No mechanical wear or temperature drift
– Remote adjustment: Many systems allow voltage control from the driver’s seat
– Repeatability: Easy to document and recreate optimal settings
Essential Tools for Voltage-Based LPF Adjustment
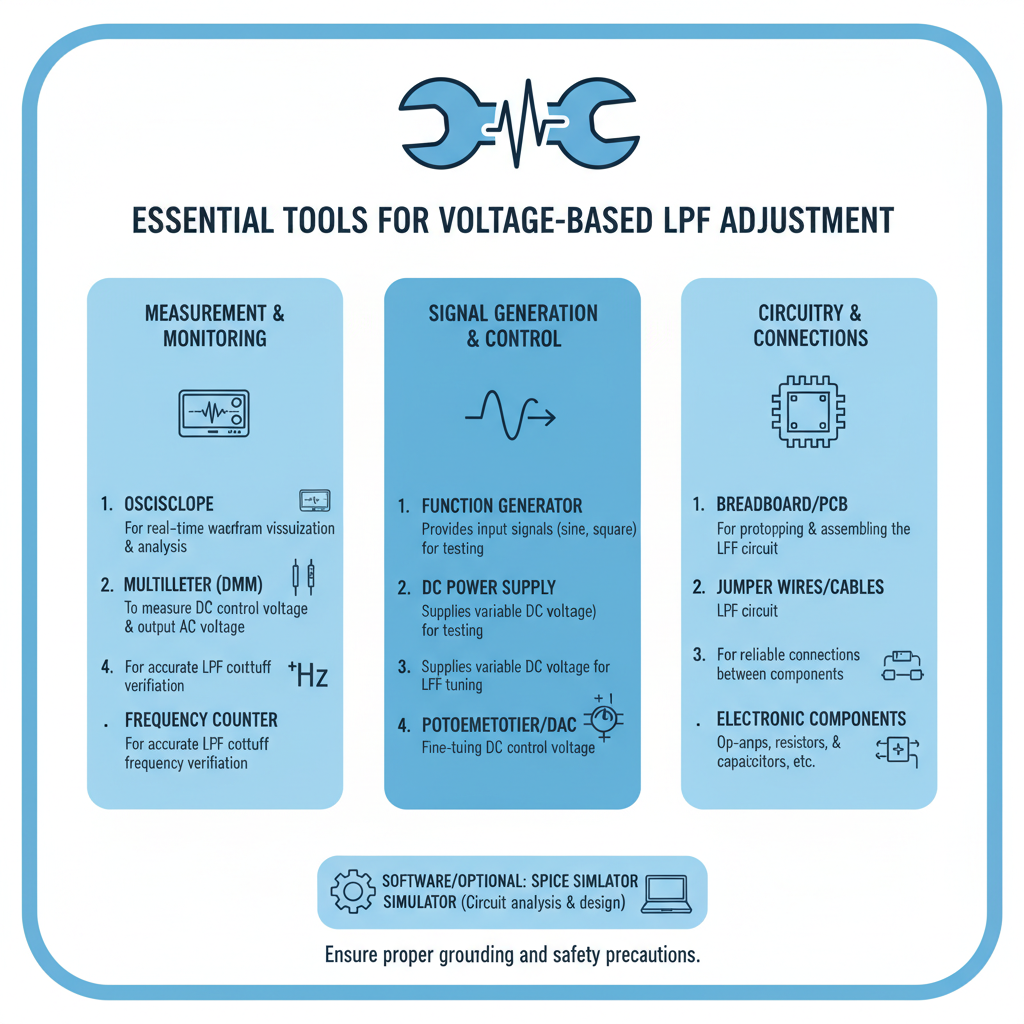
Before you begin adjusting your subwoofer’s low pass filter with voltage, gather these essential tools:
Required Equipment:
– Digital multimeter with DC voltage capability
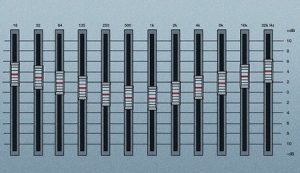
– Oscilloscope (preferred) or RTA (Real Time Analyzer)
– Test tones or frequency sweep audio files
– Small flathead screwdriver for trim pot adjustments
– Notebook for recording voltage and frequency measurements
Recommended Additional Tools:
– SPL meter for level matching
– Spectrum analyzer app on smartphone
– Reference music tracks with known bass content
– Wire strippers and electrical tape for connections
Step-by-Step Guide to Adjust LPF Subwoofer with Voltage
Step 1: Locate the Voltage Control Points
First, identify where your amplifier or processor allows voltage-based LPF control. Most modern car audio amplifiers feature either:
– Internal trim pots that output control voltage
– External voltage input terminals for remote control
– Digital interfaces that convert to analog voltage internally
Consult your amplifier’s manual to locate the specific voltage control points. These are typically labeled as “LPF Control,” “Crossover Voltage,” or similar terminology.
Step 2: Establish Baseline Measurements
Before making adjustments, document your starting point:
1. Connect your multimeter to the LPF voltage control points
2. Record the current voltage reading
3. Note the corresponding crossover frequency from your amplifier’s specifications
4. Play a frequency sweep and identify the current crossover point audibly
Most amplifiers use a voltage range between 0V and 5V, with each voltage corresponding to a specific crossover frequency. Common ranges include:
| Voltage | Typical Crossover Frequency |
|———|—————————-|
| 0.5V | 50 Hz |
| 1.0V | 70 Hz |
| 2.0V | 100 Hz |
| 3.0V | 150 Hz |
| 4.0V | 200 Hz |
Step 3: Calculate Your Target Frequency
Determine the ideal crossover frequency for your system. Consider these factors:
Speaker Capabilities: Check your main speakers’ low-frequency response. Set the subwoofer crossover about 10-20 Hz below where your mains start rolling off.
Subwoofer Specifications: Ensure your crossover point aligns with your subwoofer’s optimal operating range.
Vehicle Acoustics: Smaller vehicles may benefit from slightly higher crossover points (80-100 Hz), while larger vehicles can handle lower settings (60-80 Hz).
Step 4: Make Precise Voltage Adjustments
Now comes the critical part – adjusting the LPF with voltage control:
1. Start Conservative: Begin with small voltage changes (0.1V increments)
2. Measure Consistently: Always measure voltage with the system powered but not playing audio
3. Test Immediately: Play test tones after each adjustment to hear the change
4. Document Everything: Record voltage settings and corresponding frequencies
Use this systematic approach:
– Adjust voltage in small increments
– Allow 2-3 seconds for the circuit to stabilize
– Play a frequency sweep to identify the new crossover point
– Fine-tune based on musical content
Step 5: Fine-Tune with Musical Content
Technical measurements only tell part of the story. Use familiar music tracks to evaluate your voltage-based LPF adjustments:
Bass-Heavy Tracks: Listen for clean, controlled low-end without muddiness
Vocal-Centric Songs: Ensure no vocal frequencies leak into the subwoofer
Full-Range Material: Check for seamless integration between subwoofer and main speakers
Advanced Voltage Control Techniques
Remote Voltage Control Systems
Many enthusiasts install remote voltage controls for real-time LPF adjustment. These systems typically use:
– Potentiometer-based controllers that output variable voltage
– Digital controllers with preset voltage levels
– Smartphone apps that interface with compatible amplifiers
When installing remote voltage control, ensure proper wire gauge and shielding to prevent noise interference.
Multiple Subwoofer Voltage Coordination
Systems with multiple subwoofers require careful voltage coordination:
1. Match voltage levels across all amplifiers
2. Account for phase relationships between different subwoofer locations
3. Consider individual subwoofer characteristics when setting crossover points
Temperature Compensation
Voltage-controlled systems can drift with temperature changes. Professional installers often implement:
– Temperature-compensated voltage references
– Regular recalibration procedures
– Monitoring systems that alert to voltage drift
Troubleshooting Common Voltage Control Issues
Voltage Instability
If your LPF voltage readings fluctuate:
– Check all connections for corrosion or looseness
– Verify adequate power supply filtering in the amplifier
– Ensure the control voltage source can handle the required current
Frequency Response Anomalies
When voltage adjustments don’t produce expected frequency changes:
– Confirm you’re measuring at the correct control points
– Check for internal amplifier faults or component failures
– Verify the amplifier’s voltage-to-frequency conversion specifications
Integration Problems
If the subwoofer doesn’t blend well with main speakers despite proper voltage settings:
– Consider phase adjustment in addition to frequency control
– Evaluate the acoustic environment and potential room modes
– Check for multiple crossover points in the signal chain
Optimizing Your Voltage-Controlled LPF System
Regular Maintenance Procedures
Maintain optimal performance with these regular checks:
Monthly: Verify voltage readings haven’t drifted
Seasonally: Recalibrate for temperature-related changes
Annually: Deep clean all electrical connections and control surfaces
Performance Enhancement Tips
Maximize your voltage-controlled LPF system’s potential:
– Use high-quality control cables to minimize noise and interference
– Implement proper grounding techniques for stable voltage references
– Consider active filtering on control voltage lines in noisy electrical environments
Integration with Other Audio Processing
Modern car audio systems often include multiple processing stages. When you adjust LPF subwoofer with voltage, consider interactions with:
– Digital signal processors (DSPs) that may have their own crossover controls
– Equalizers that affect frequency response around the crossover point
– Time alignment systems that can impact phase relationships
Measuring Success: Evaluating Your Voltage Adjustments
Objective Measurements
Use these technical measurements to evaluate your voltage-based LPF adjustments:
Frequency Response: Measure the actual crossover point and slope
Phase Response: Ensure smooth phase transition between drivers
Distortion Analysis: Verify clean operation at the crossover frequency