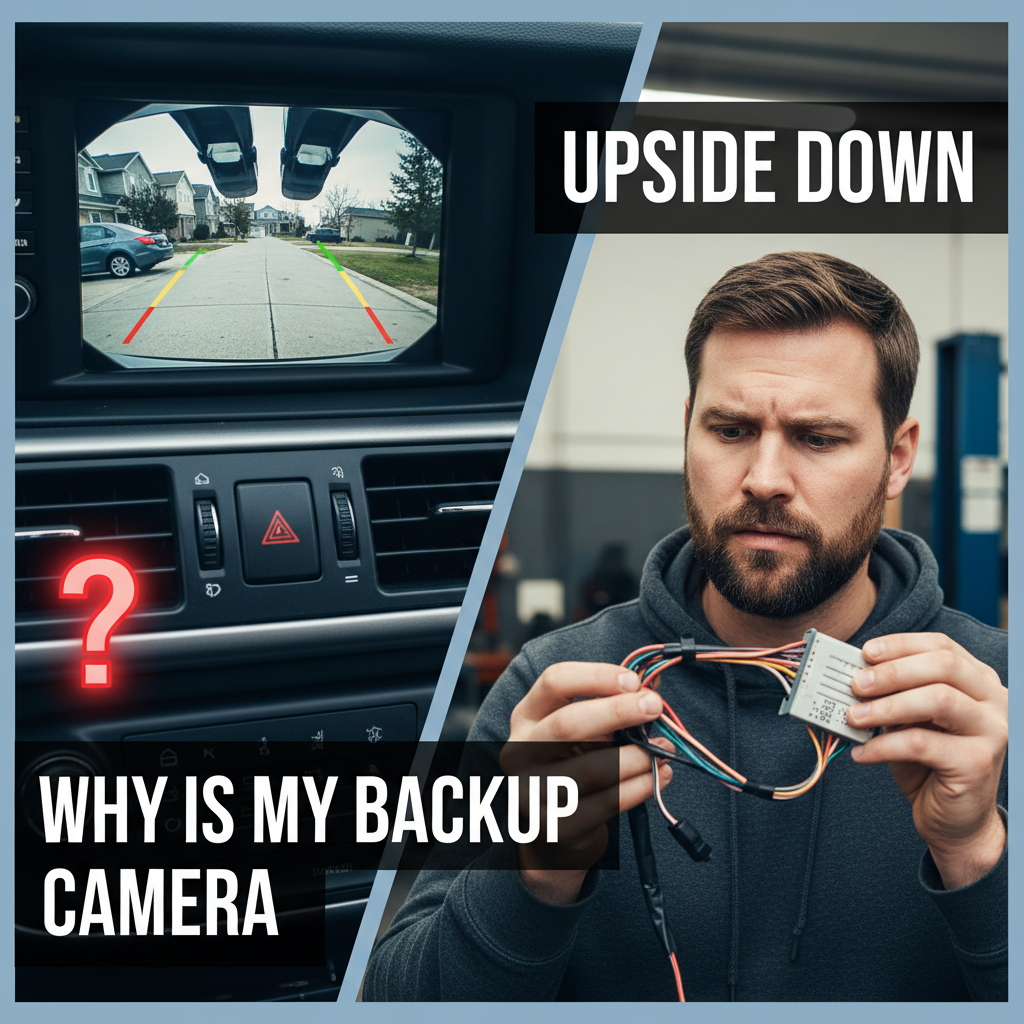
Having an upside-down backup camera can be incredibly frustrating and potentially dangerous. When your rearview camera displays an inverted image, it creates confusion and makes parking or reversing much more difficult than it should be. This comprehensive guide will walk you through the most common causes and provide step-by-step solutions to get your backup camera displaying correctly again.
Contents
What are the Root Causes Behind Inverted Camera Images
Incorrect Camera Installation Position
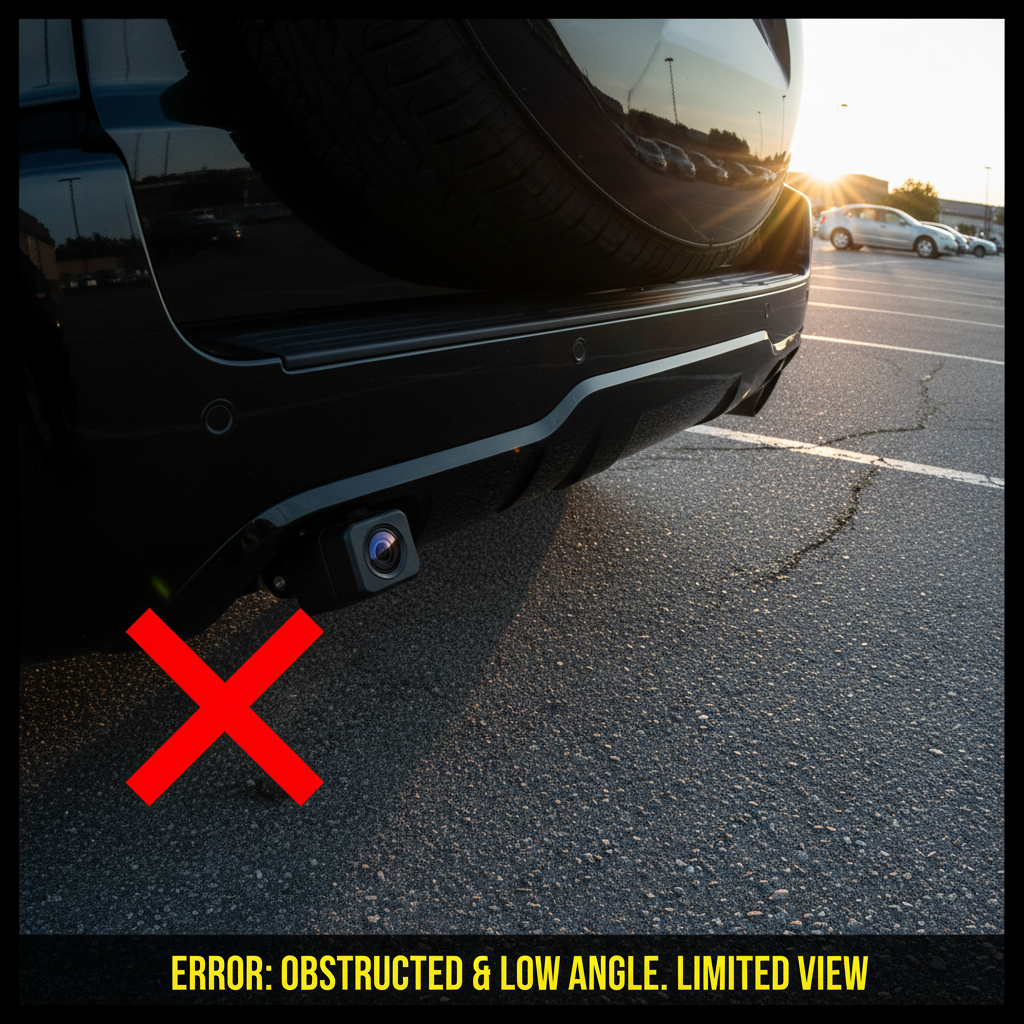
The most frequent reason for an upside-down backup camera is improper physical installation. Many aftermarket cameras can be mounted in multiple orientations, and if installed incorrectly, the image will appear inverted on your display screen. In addition to installation errors, a glitch in the wiring or a malfunction in the camera’s software can also lead to an upside-down image. It’s important to ensure that all connections are secure and to conduct a reset if a glitch occurs. Regular maintenance can help prevent these issues and keep your backup camera functioning properly.
This typically happens when: – The camera housing is rotated 180 degrees from its correct position – Mounting brackets are installed backwards – The camera lens assembly is oriented incorrectly during installation
Display Unit Configuration Problems
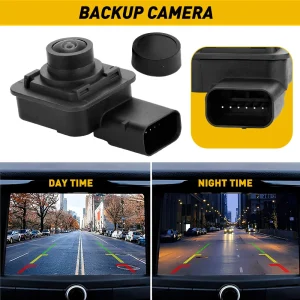
Modern backup camera systems rely on digital processing to convert the camera signal into a viewable image. Sometimes the display unit’s internal settings become corrupted or misconfigured, causing the image to flip upside down even when the camera is properly positioned.
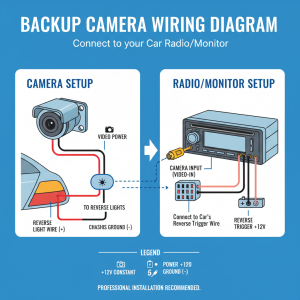
Wiring Connection Issues
Faulty or reversed wiring connections can sometimes cause signal processing errors that result in an inverted display. This is less common but can occur, especially in aftermarket installations where wiring harnesses don’t match perfectly.
Software and Firmware Glitches
Electronic control modules that process camera signals can experience software bugs or firmware corruption. These digital issues can cause various display problems, including upside-down images.
Step-by-Step Diagnostic Process
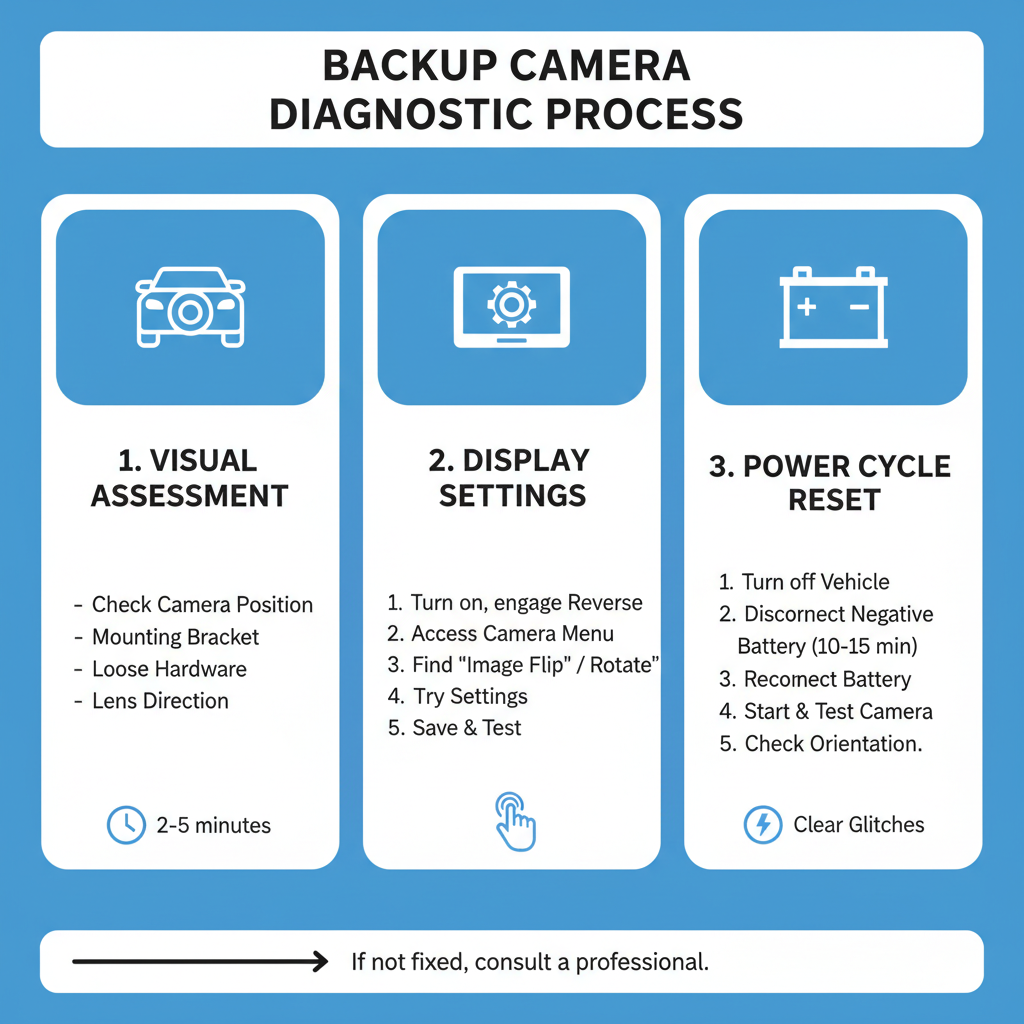
Initial Visual Assessment
Start by examining your backup camera’s physical position on your vehicle. Look at how the camera is mounted and compare it to similar vehicles or installation guides.
What to check: – Camera orientation relative to the vehicle – Mounting bracket position – Any obvious signs of loose or shifted hardware – Whether the camera lens appears to be pointing in the right direction
This visual inspection takes only a few minutes and can immediately identify obvious installation problems.
Display Settings Investigation
Many backup camera systems include menu options that control image orientation. Access your vehicle’s infotainment system or aftermarket display unit to check these settings.
Navigation steps: 1. Turn on your vehicle and engage reverse gear 2. Access the camera display menu (usually through a settings button) 3. Look for options labeled “Image Flip,” “Rotate,” or “Orientation” 4. Try different settings to see if the image corrects itself 5. Save any changes and test the camera again
Some systems have separate horizontal and vertical flip options, so experiment with different combinations.
Power Cycle Reset Procedure
Electronic systems sometimes need a complete reset to clear temporary glitches. This process involves disconnecting power to reset all electronic modules.
Reset steps: 1. Turn off your vehicle completely 2. Disconnect the negative battery terminal for 10-15 minutes 3. Reconnect the battery terminal securely 4. Start the vehicle and test the backup camera 5. Check if the image orientation has returned to normal
This reset clears temporary memory and forces all systems to reinitialize with default settings.
Advanced Troubleshooting Techniques
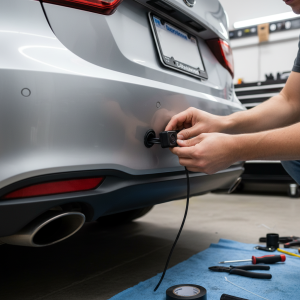
Camera Mounting Adjustment
If visual inspection reveals incorrect camera positioning, you’ll need to physically adjust the mounting. This requires basic tools and mechanical skills.
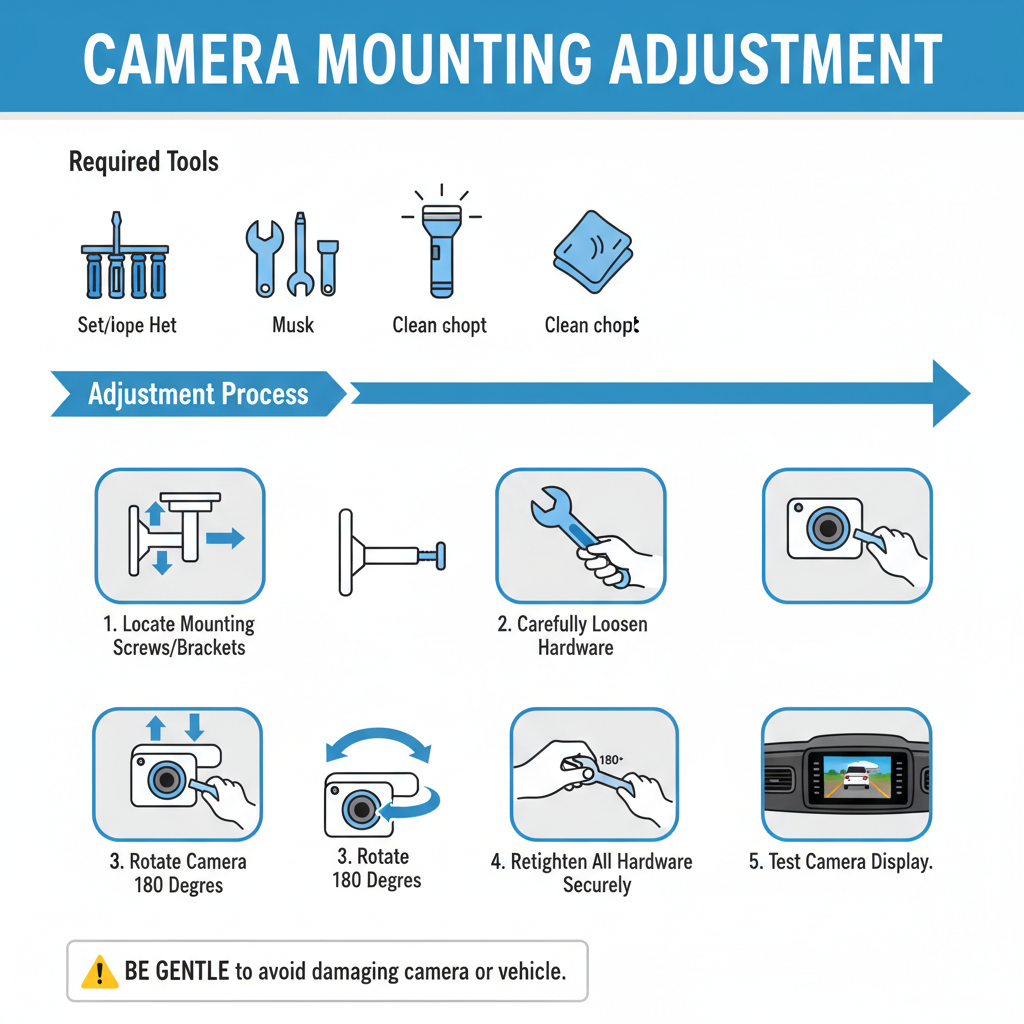
Required tools: – Screwdriver set – Socket wrench set – Flashlight or work light – Clean cloth
Adjustment process: 1. Locate the camera mounting screws or brackets 2. Carefully loosen the mounting hardware 3. Rotate the camera 180 degrees 4. Retighten all mounting hardware securely 5. Test the camera display to verify correct orientation
Be gentle during this process to avoid damaging the camera housing or vehicle body panels.
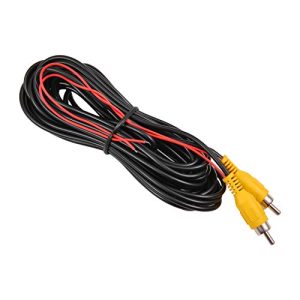
Wiring Harness Inspection
Examine all wiring connections between the camera and display unit. Look for loose connections, corrosion, or damaged wires that might cause signal processing issues.
Inspection points: – Camera connector at the rear of the vehicle – Wiring harness routing through the vehicle – Display unit connections behind the dashboard – Any inline adapters or converters
Clean any corroded connections with electrical contact cleaner and ensure all plugs are firmly seated.
Professional Diagnostic Testing
Some problems require specialized equipment to diagnose properly. Professional technicians have tools to test signal strength, voltage levels, and digital communication between components.
Professional testing includes: – Oscilloscope analysis of camera signals – Multimeter testing of power and ground circuits – Diagnostic scanner communication with control modules – Signal generator testing of display inputs
DIY Solutions vs Professional Service Requirements
Tasks You Can Handle Yourself
✅ Visual camera inspection and cleaning – Requires no special tools – Takes 5-10 minutes – No risk of damage when done carefully
✅ Display settings adjustment – Uses existing vehicle controls – Immediate results – Completely reversible
✅ Battery disconnect reset – Requires basic wrench – 15-20 minute process – Low risk when following proper procedures
✅ Basic mounting adjustment – Needs common hand tools – Moderate difficulty level – Can be reversed if unsuccessful
When to Seek Professional Help
🧰 Complex wiring problems – Requires electrical testing equipment – Risk of damaging expensive components – May need specialized connectors or adapters
🧰 Control module replacement – Involves removing dashboard components – Requires programming or calibration – Warranty considerations for new vehicles
🧰 Integrated system troubleshooting – Factory systems tied to other vehicle functions – Diagnostic software needed – Potential for affecting other systems
Critical Safety Considerations
Electrical System Precautions
Working with vehicle electrical systems requires careful attention to safety procedures. Always disconnect the battery before handling any wiring connections to prevent short circuits or component damage.
Important safety steps: – Remove jewelry and metal objects before working – Use insulated tools when possible – Work in dry conditions – Never force electrical connections
Vehicle Movement Safety
Never attempt repairs or adjustments while the vehicle is running or in gear. The backup camera activates when in reverse, which means the vehicle could potentially move unexpectedly.
Movement safety rules: – Always engage parking brake – Work on level ground – Have someone assist when testing – Keep clear of the vehicle’s path
Component Protection
Backup cameras and display units are sensitive electronic devices. Protect them from moisture, excessive force, and electrical surges during troubleshooting.
Prevention and Maintenance Tips
Regular maintenance can prevent many backup camera problems. Clean the camera lens monthly and inspect mounting hardware during routine vehicle maintenance.
Maintenance schedule: – Weekly: Visual inspection for obvious problems – Monthly: Camera lens cleaning and mounting check – Seasonally: Wiring connection inspection – Annually: Professional system check
Conclusion
An upside-down backup camera is usually fixable with basic troubleshooting steps. Start with simple solutions like checking display settings and performing a power reset before moving to more complex repairs. Most issues stem from installation problems or settings that can be corrected without professional help.
Remember that safety should always be your top priority when working on vehicle systems. If you’re uncomfortable with any troubleshooting steps or the problem persists after trying these solutions, consult a qualified automotive technician for professional diagnosis and repair.