A glitching backup camera can turn a simple parking maneuver into a stressful guessing game. Whether your camera displays a flickering image, shows static lines, goes black intermittently, or displays distorted colors, these issues are more common than you might think. Understanding the root causes and knowing how to address them can save you time, money, and frustration.
Contents
What are Backup Camera Glitches
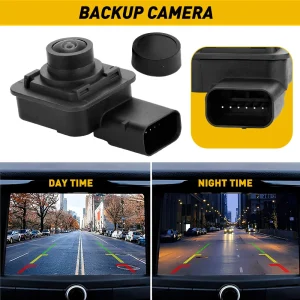
Backup camera glitches manifest in various ways, from minor visual disturbances to complete system failures. These problems can occur in both factory-installed systems and aftermarket units, affecting drivers’ ability to safely reverse their vehicles. The good news is that many glitching issues stem from relatively simple problems that can be diagnosed and often resolved without expensive repairs.
Primary Culprits Behind Camera Malfunctions
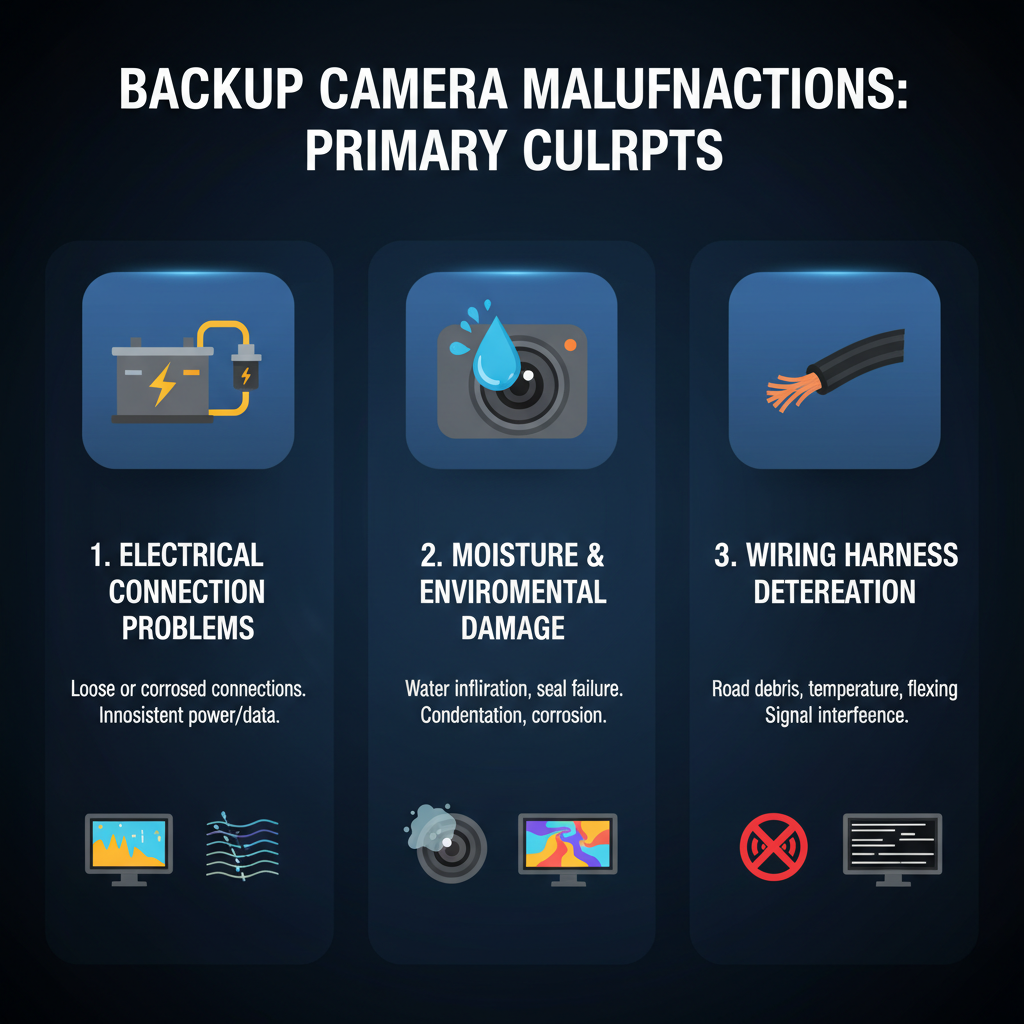
Electrical Connection Problems
The most frequent cause of backup camera glitches involves loose or corroded electrical connections. Your backup camera system relies on multiple connection points throughout your vehicle, from the camera itself to the display unit. Over time, these connections can become loose due to vehicle vibrations, or they may corrode from exposure to moisture and road salt.
When connections deteriorate, the camera receives inconsistent power or data signals. This inconsistency manifests as flickering images, intermittent blackouts, or distorted video quality that comes and goes unpredictably.
Moisture and Environmental Damage
Water infiltration ranks as the second most common culprit behind glitching backup cameras. Even cameras designed to be weatherproof can develop seal failures over time. When moisture enters the camera housing, it can cause immediate glitching or create long-term corrosion problems.
Condensation inside the camera lens creates foggy images, while water on internal circuits can cause erratic behavior, color distortion, and complete system failures. Cold weather can exacerbate these issues by causing rapid condensation changes.
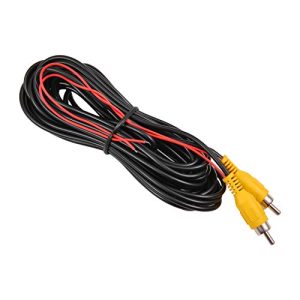
Wiring Harness Deterioration
The wiring harness connecting your backup camera to the vehicle’s electrical system faces constant exposure to harsh conditions. Road debris, temperature extremes, and vehicle flexing can damage these wires over time. Even small nicks in wire insulation can cause signal interference, leading to glitching displays.
Aftermarket installations are particularly susceptible to wiring issues, especially if the installation didn’t follow proper routing or protection protocols.
Systematic Diagnosis Approach
Visual Inspection Fundamentals
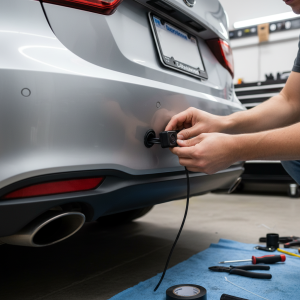
Start your troubleshooting with a thorough visual examination of the camera and its immediate surroundings. Look for obvious signs of damage, such as cracks in the camera housing, loose mounting hardware, or visible corrosion around connection points.
Check the camera lens for dirt, water spots, or internal fogging. Even minor obstructions can cause display irregularities that might be mistaken for electronic glitches. Pay attention to the camera’s mounting position – vibration-induced movement can create intermittent connection problems.
Power System Verification
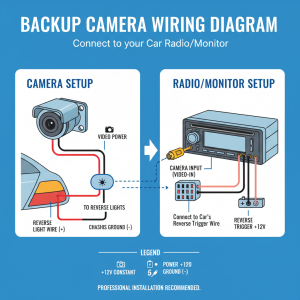
Confirm that your backup camera receives consistent power by testing the reverse lights. Since most backup cameras activate when you shift into reverse, they share the same trigger signal as your reverse lights. If your reverse lights work properly, the basic power circuit is likely functioning correctly.
However, backup cameras require different voltage levels than reverse lights, so this test only confirms the trigger signal, not the camera’s power supply quality.
Connection Point Assessment
Locate all visible connection points in your backup camera system. These typically include connections at the camera itself, junction points along the wiring route, and connections at the display unit or head unit.
Gently wiggle each connection while observing the camera display. If the glitching changes or stops during this test, you’ve likely identified a loose connection that needs attention.
Step-by-Step Troubleshooting Process
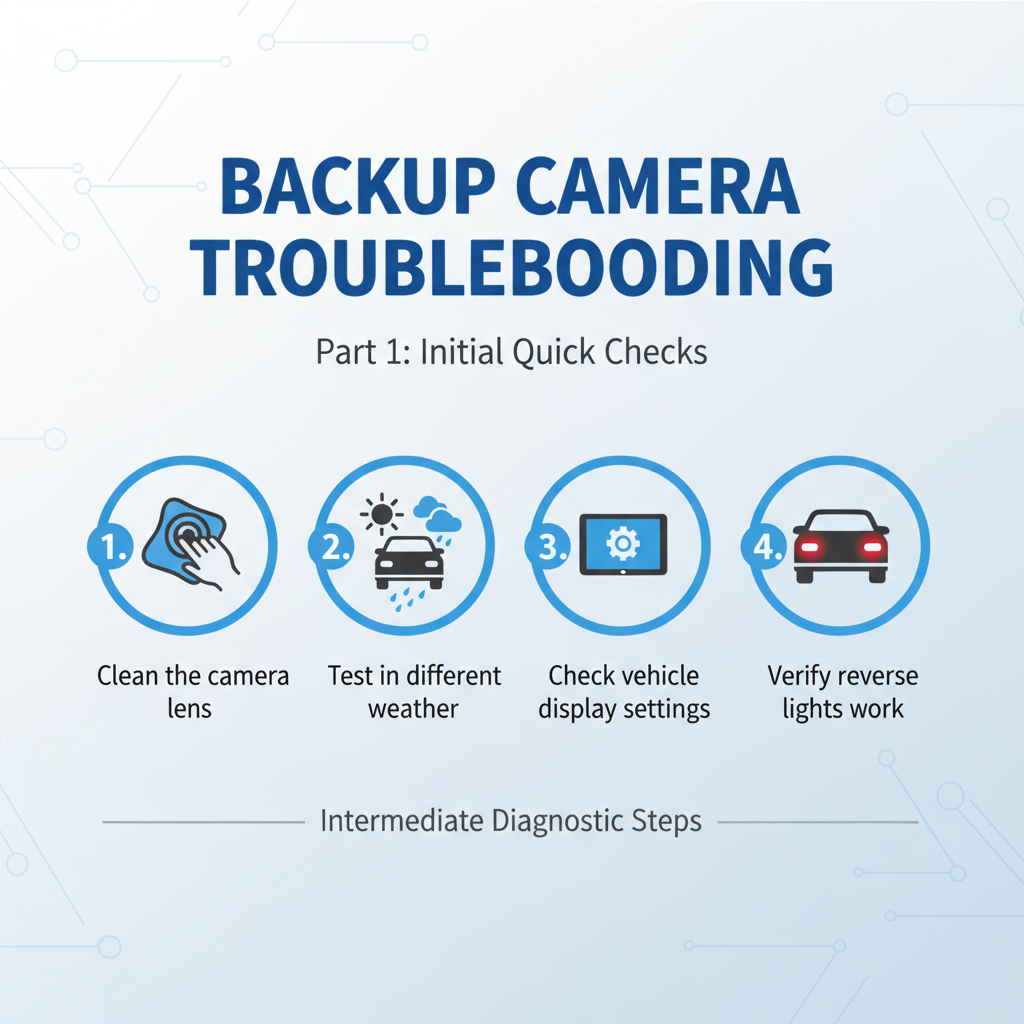
Initial Quick Checks
1. Clean the camera lens thoroughly using appropriate cleaning materials. Remove all dirt, water spots, and debris that might interfere with image quality.
2. Test the system in different weather conditions to determine if environmental factors trigger the glitching.
3. Check your vehicle’s display settings for any camera-related adjustments that might affect image quality.
4. Verify that reverse lights function properly to confirm basic electrical circuit integrity.
Intermediate Diagnostic Steps
5. Inspect visible wiring along the camera’s cable route, looking for damage, pinching, or exposure to moving parts.
6. Examine connection points for corrosion, looseness, or damage. Clean any corroded connections with appropriate electrical contact cleaner.
7. Check relevant fuses in your vehicle’s fuse box, testing both continuity and proper seating.
8. Test the system after the vehicle has been parked for several hours to identify temperature-related issues.
Advanced Troubleshooting Techniques
9. Measure voltage at the camera connection using a multimeter to verify proper power delivery.
10. Test with a temporary direct power connection to isolate camera problems from wiring issues.
11. Swap cameras temporarily if you have access to a compatible unit to determine if the problem lies with the camera or the system.
12. Check ground connections throughout the system, as poor grounding can cause various glitching symptoms.
DIY Solutions vs Professional Intervention
Tasks You Can Handle
✅ Cleaning and basic maintenance require only common household supplies and basic tools
✅ Visual inspections help identify obvious problems without technical expertise
✅ Fuse checking and replacement can be done safely with basic precautions
✅ Connection tightening at accessible points requires only simple tools
✅ Settings adjustments through your vehicle’s display system
When to Seek Professional Help
🧰 Wiring harness repairs require specialized tools and automotive electrical knowledge
🧰 Camera replacement may involve body panel removal and precise mounting
🧰 Integration with vehicle systems often requires diagnostic equipment and programming
🧰 Head unit or module replacement involves complex electrical connections and potential programming requirements
Critical Safety Considerations
Electrical Safety Protocols
Always disconnect your vehicle’s battery before working with electrical connections. This prevents short circuits and protects both you and your vehicle’s electronic systems. Wait at least 10 minutes after disconnection to allow capacitors to discharge.
When reconnecting the battery, ensure all connections are secure and properly insulated before restoring power.
Vehicle Operation Safety
Never attempt to diagnose backup camera problems while the vehicle is running or in gear. Always engage the parking brake and ensure the vehicle is in park or neutral during troubleshooting.
Be aware of your surroundings when working around the rear of your vehicle, especially in parking lots or driveways where other vehicles might be present.
Tool and Equipment Safety
Use only appropriate tools for electrical work, including insulated screwdrivers and proper multimeters. Avoid using makeshift tools that might damage delicate electronic components or create safety hazards.
Prevention and Maintenance Strategies
Regular Maintenance Practices
Establish a routine cleaning schedule for your backup camera, especially during winter months when road salt and debris accumulation increases. Monthly cleaning can prevent many common glitching issues.
Periodically inspect visible wiring and connections, particularly after extreme weather events or off-road driving that might stress the system.
Environmental Protection
Consider applying protective treatments to exposed connections, especially in harsh climates. Dielectric grease can help prevent corrosion at connection points.
Park in covered areas when possible to reduce exposure to temperature extremes and precipitation that can accelerate system deterioration.
Long-term System Health
Understanding your backup camera system’s components and their vulnerabilities helps you maintain reliable operation over time. Most glitching issues develop gradually, so early detection and intervention can prevent complete system failures.
Keep records of any recurring problems, as patterns can help identify underlying issues that might not be obvious during single diagnostic sessions. This information proves valuable when consulting with professional technicians.
Regular attention to your backup camera system ensures it remains a reliable safety feature rather than a source of frustration and uncertainty.