As an Amazon Associate & Influencer, we earn from qualifying purchases you might make if you click any of the links or buttons on this page at no expense to you.
A black backup camera screen can be incredibly frustrating, especially when you’re trying to reverse safely. This common issue affects millions of drivers with both factory-installed and aftermarket backup camera systems. Understanding why your backup camera displays a black screen and knowing how to fix it can save you time, money, and potential accidents.
What are the Root Causes Behind Black Backup Camera Screens
Power Supply Problems
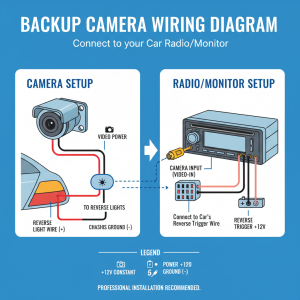
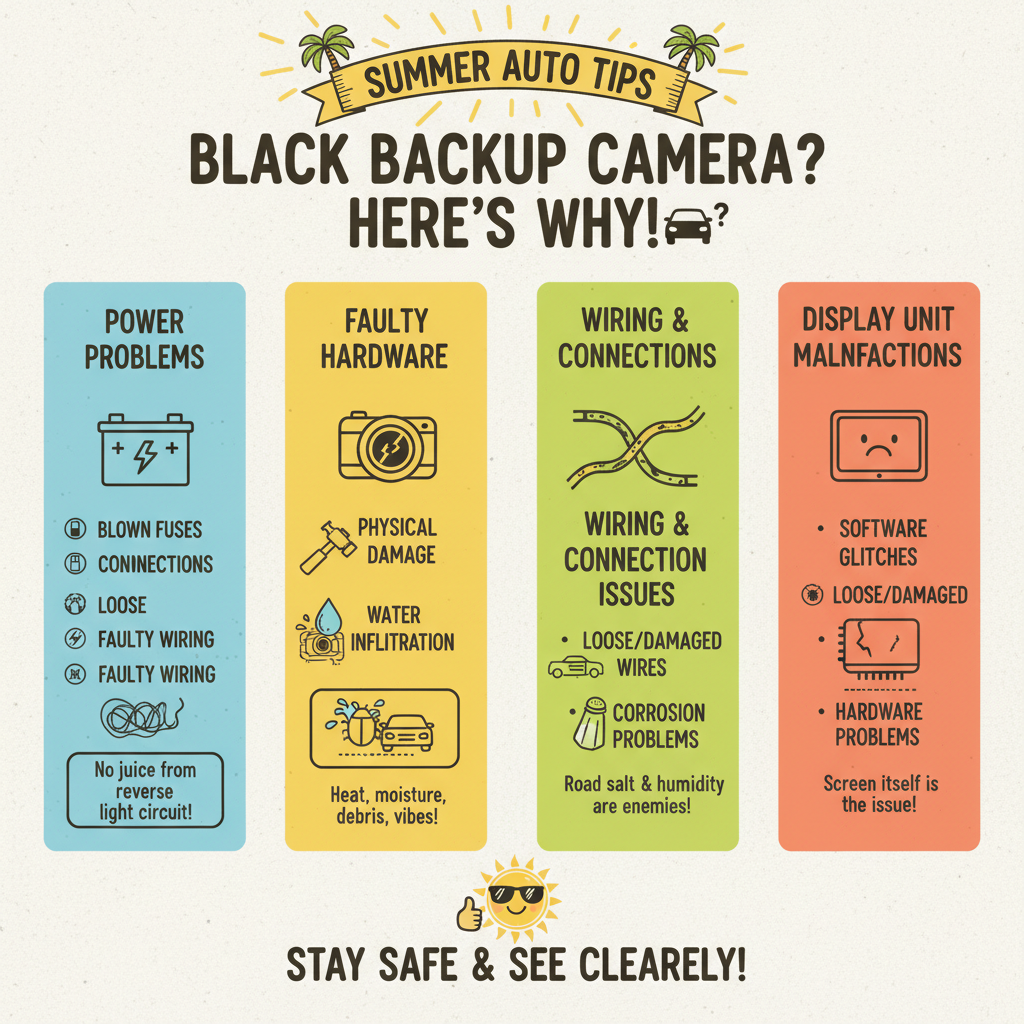
The most frequent culprit behind a black backup camera screen is power-related issues. Your backup camera system relies on consistent electrical power to function properly. When the camera doesn’t receive adequate power, the screen remains black even when you shift into reverse.
Power problems typically stem from blown fuses, loose connections, or faulty wiring. The backup camera system draws power from your vehicle’s reverse light circuit, so any interruption in this power flow results in a non-functioning camera.
Faulty Camera Hardware
Physical damage to the camera itself ranks as the second most common cause. Backup cameras endure harsh conditions including extreme temperatures, moisture, road debris, and constant vibration. Over time, these elements can damage the camera’s internal components or lens assembly.
Water infiltration poses a particularly serious threat to camera functionality. Even small amounts of moisture can cause internal circuits to fail, resulting in a completely black display.
Wiring and Connection Issues
Loose, corroded, or damaged wiring connections frequently cause backup camera blackouts. The wiring harness connecting your camera to the display unit travels through various parts of your vehicle, making it vulnerable to damage from road conditions, weather, and normal wear and tear.
Corrosion at connection points is especially problematic in areas with harsh winters where road salt is used, or in coastal regions with high humidity and salt air exposure.
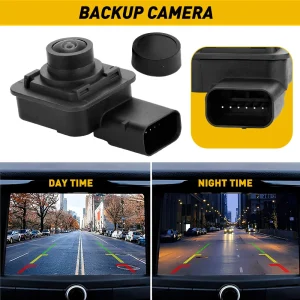
Display Unit Malfunctions
Sometimes the camera itself works perfectly, but the display unit fails to show the image. This can occur with both integrated infotainment systems and standalone backup camera monitors. Display failures might be software-related or indicate hardware problems within the screen unit itself.
Step-by-Step Diagnostic Procedures
Initial Visual Assessment
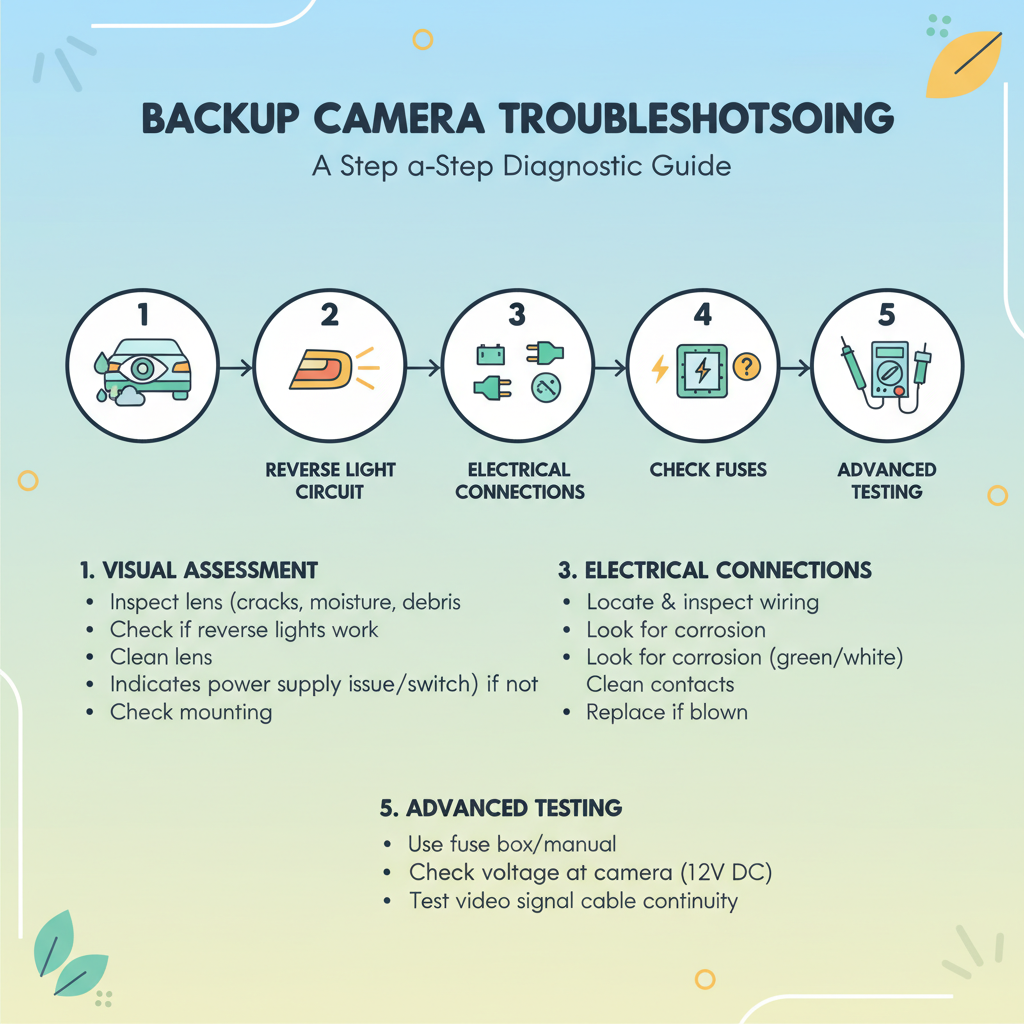
Start your troubleshooting process with a thorough visual inspection of the backup camera. Walk to the rear of your vehicle and examine the camera lens for obvious problems.
Look for cracks in the camera housing, moisture inside the lens cover, or debris blocking the camera’s view. Clean the lens with a soft, damp cloth to remove dirt, snow, or other obstructions that might cause display issues.
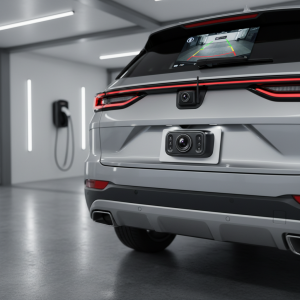
Check if the camera appears to be properly mounted and hasn’t shifted position due to vibration or impact. A loose camera mount can cause wiring connections to separate.
Testing the Reverse Light Circuit
Your backup camera system typically shares power with your reverse lights. Testing whether your reverse lights function properly helps determine if power is reaching the rear of your vehicle.
Have someone observe your reverse lights while you shift into reverse gear. If the reverse lights don’t illuminate, you’ve identified a power supply problem that affects both systems. This usually indicates a blown fuse or faulty reverse light switch.
If reverse lights work normally but your camera screen remains black, the problem likely lies within the camera system itself rather than the vehicle’s reverse circuit.
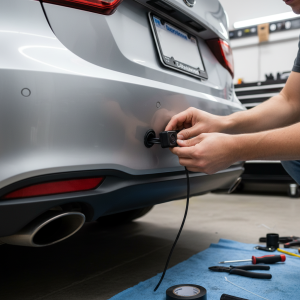
Examining Electrical Connections
Locate the wiring connections for your backup camera system. These connections are typically found near the camera mounting point, inside the rear hatch or trunk area, or behind the dashboard near the display unit.
Inspect all visible connections for signs of corrosion, looseness, or damage. Gently wiggle connection points to ensure they’re secure. Look for green or white corrosion buildup on metal contacts, which indicates moisture intrusion.
If you find corroded connections, disconnect them and clean the contacts with electrical contact cleaner or fine sandpaper. Ensure connections are completely dry before reconnecting.
Checking System Fuses
Locate your vehicle’s fuse box and identify the fuse protecting the backup camera circuit. This information is usually found in your owner’s manual or on a diagram inside the fuse box cover.
Remove the backup camera fuse and inspect it visually. A blown fuse will show a broken metal strip inside the clear plastic housing. Even if the fuse appears intact, consider replacing it with a new fuse of the same amperage rating to rule out intermittent fuse failure.
Test the fuse socket with a multimeter if available, checking for proper voltage when the vehicle is shifted into reverse gear.
Advanced Electrical Testing
If basic checks don’t reveal the problem, more advanced electrical testing becomes necessary. This involves measuring voltage at various points in the camera system to isolate the failure location.
Use a digital multimeter to check for proper voltage at the camera’s power input when the vehicle is in reverse. Most backup cameras operate on 12 volts DC, though some systems use different voltages.
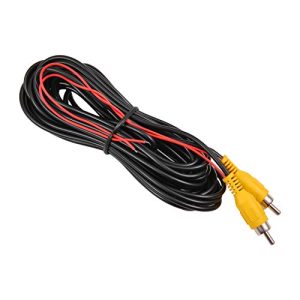
Test the video signal cable for continuity between the camera and display unit. A broken video cable will prevent image transmission even if power reaches the camera properly.
DIY Solutions vs Professional Repair Services
Tasks Suitable for DIY Repair
Several backup camera troubleshooting steps fall within the capabilities of most vehicle owners. These include basic visual inspections, cleaning procedures, and simple electrical checks.
Safe DIY activities include: • Cleaning the camera lens and housing • Checking and replacing fuses • Inspecting visible wiring connections • Testing reverse light operation • Resetting infotainment system settings • Tightening loose camera mounting hardware
These tasks require only basic tools like screwdrivers, cleaning supplies, and possibly a multimeter for electrical testing.
When Professional Help Is Required
Complex electrical diagnosis and repair work should be handled by qualified automotive technicians or electronics specialists. Professional intervention becomes necessary when dealing with integrated vehicle systems or when DIY troubleshooting fails to identify the problem.
Professional services are recommended for: • Wiring harness replacement or repair • Camera module replacement • Infotainment system programming or updates • Complex electrical system diagnosis • Integration with vehicle safety systems • Warranty-covered repairs
Professional technicians have specialized diagnostic equipment and access to technical service bulletins that can expedite problem resolution.
Essential Safety Considerations
Electrical Safety Precautions
Always disconnect your vehicle’s battery before performing any electrical work on backup camera systems. This prevents accidental short circuits and protects both you and your vehicle’s electronic systems.
Never attempt electrical repairs while the vehicle is running or in reverse gear. The combination of electrical work and vehicle movement creates unnecessary safety risks.
Use insulated tools when working with electrical connections, and avoid working in wet conditions that could increase the risk of electrical shock.
Physical Safety Measures
When inspecting or working on backup cameras, ensure your vehicle is parked on level ground with the parking brake engaged. Never rely solely on the transmission park setting when working around the vehicle.
Be aware of automatic liftgate systems that might activate unexpectedly while you’re working near the rear of the vehicle. Disconnect power to automatic systems if necessary.
Wear safety glasses when cleaning camera lenses or working with electrical contact cleaners to protect your eyes from chemical splashes.
Preventive Maintenance Strategies
Regular Cleaning and Inspection
Establish a routine maintenance schedule for your backup camera system. Clean the camera lens monthly or more frequently in harsh weather conditions. Regular cleaning prevents buildup of dirt and grime that can degrade image quality or cause system malfunctions.
Inspect wiring connections periodically, especially after driving in severe weather conditions or off-road environments where additional stress might affect system components.
Environmental Protection
Consider applying protective treatments to exposed wiring connections to prevent corrosion. Dielectric grease can help seal connections against moisture intrusion in harsh environments.
If you frequently drive in areas with road salt or coastal conditions, rinse the rear of your vehicle regularly to remove corrosive substances that might damage camera components.
Conclusion
A black backup camera screen doesn’t have to leave you frustrated and unsafe while reversing. By following this systematic troubleshooting approach, you can identify and often resolve the underlying cause of your camera malfunction.
Start with simple visual inspections and basic electrical checks before moving to more complex diagnostic procedures. Remember that while many backup camera issues can be resolved through DIY efforts, complex electrical problems require professional expertise.
Regular maintenance and prompt attention to camera system issues will help ensure your backup camera continues providing the safety assistance you depend on. When in doubt, consult with qualified automotive professionals who can provide expert diagnosis and repair services.