As an Amazon Associate & Influencer, we earn from qualifying purchases you might make if you click any of the links or buttons on this page at no expense to you.
Installing a backup camera in your vehicle is one of the most effective ways to improve driving safety and prevent costly accidents. Whether you’re backing out of a tight parking space or maneuvering a large truck, a rear-view camera system provides crucial visibility that mirrors alone cannot offer. This comprehensive guide will walk you through the entire process of how to install a backup camera, from selecting the right equipment to completing the wiring and setup.
Understanding Backup Camera Systems and Their Benefits
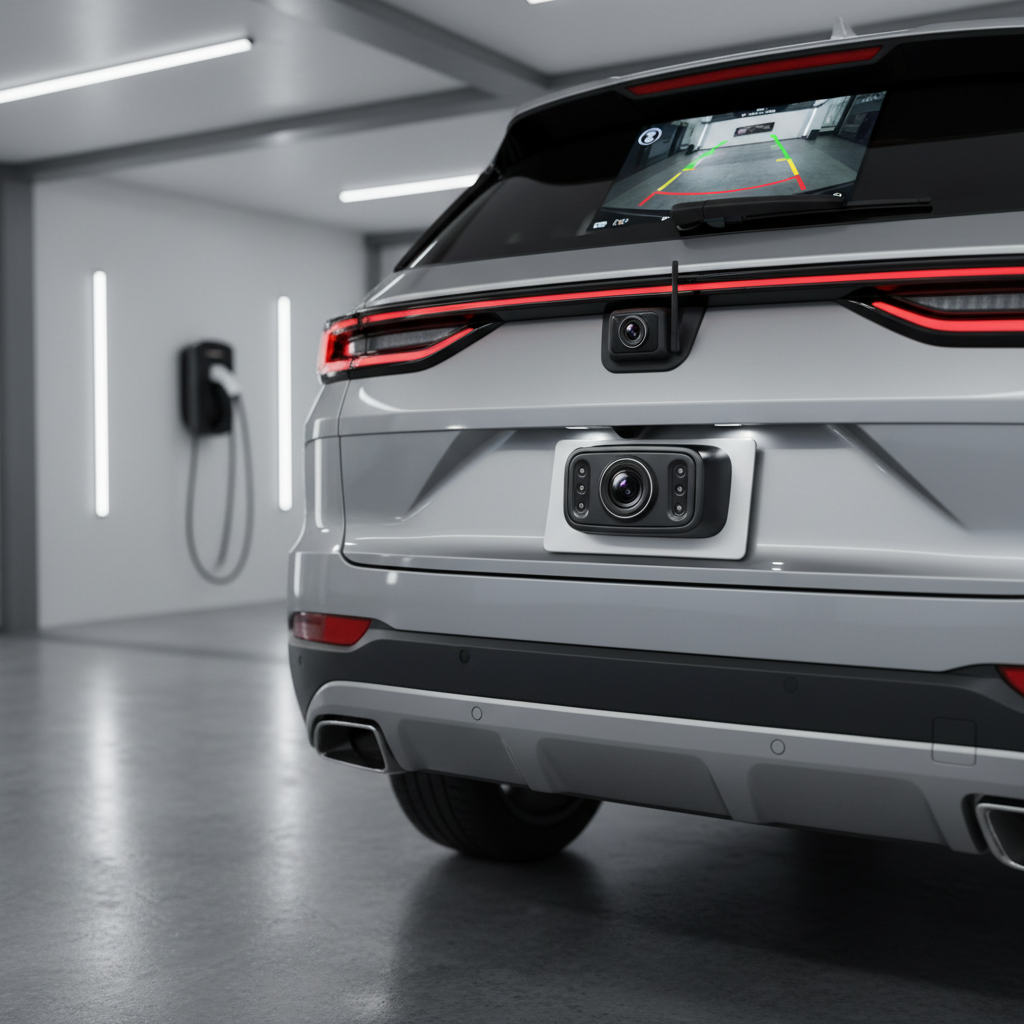
Before diving into the installation process, it’s essential to understand what makes backup cameras so valuable for modern drivers. A reverse camera system consists of several key components: the camera unit itself, a display monitor, connecting cables, and power supply connections. These automotive safety devices have become increasingly popular due to their ability to eliminate blind spots and provide real-time visual assistance when reversing.
The benefits of installing a backup camera extend far beyond convenience. According to safety experts, rear-view cameras can significantly reduce backing accidents, protect pedestrians and cyclists, and help prevent property damage. For parents, these systems offer peace of mind when children are playing in driveways or parking areas. Commercial vehicle operators also rely heavily on backup camera installations to navigate loading docks and tight spaces safely.
When considering a DIY backup camera installation, you’ll encounter various types of systems. Wireless backup cameras offer easier installation with minimal wiring, while wired systems typically provide more reliable connections and better image quality. Some modern vehicles come with factory-installed backup cameras, but aftermarket options often provide superior features and customization options for older vehicles.
Choosing the Right Backup Camera Equipment for Your Vehicle
Selecting appropriate backup camera equipment is crucial for a successful installation. The market offers numerous options, from basic single-camera setups to sophisticated multi-camera systems with advanced features. Your choice should depend on your vehicle type, budget, and specific safety requirements.
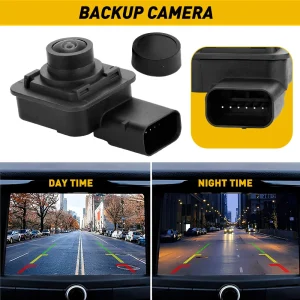
Camera resolution plays a significant role in image quality. Most modern backup cameras offer HD resolution, providing clear, detailed images even in challenging lighting conditions. Night vision capabilities are particularly important, as many backing incidents occur in low-light situations. Look for cameras with infrared LEDs or enhanced low-light sensors to ensure optimal performance during evening hours.
Display options vary considerably among backup camera systems. Some integrate with existing infotainment screens, while others require dedicated monitors. Wireless display units can be mounted on dashboards or windshields, offering flexibility in positioning. Consider screen size carefully – larger displays provide better visibility but may obstruct your view of the road ahead.
Durability and weather resistance are non-negotiable features for any backup camera installation. Look for cameras with IP67 or IP68 ratings, ensuring they can withstand exposure to water, dust, and temperature extremes. The camera housing should be robust enough to handle vibrations and potential impacts from debris.
Power supply options include hardwired connections to your vehicle’s electrical system or connections to the reverse light circuit. Some wireless systems use rechargeable batteries, though these require regular maintenance and may not provide consistent performance over time.
Step-by-Step Installation Process for Your Backup Camera
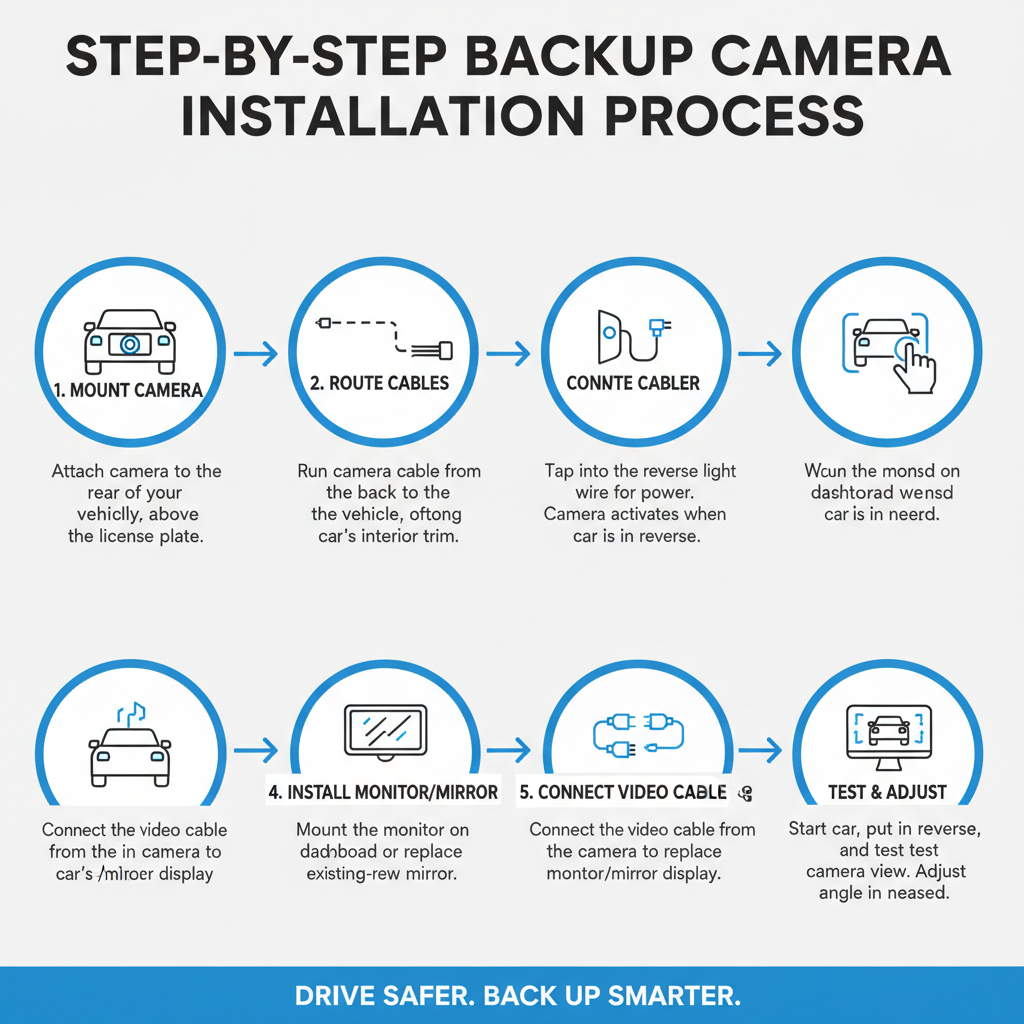
The actual installation process for a backup camera requires careful planning and attention to detail. Begin by gathering all necessary tools, including wire strippers, electrical tape, drill bits, screwdrivers, and a multimeter for testing electrical connections. Safety should be your top priority throughout the installation process.
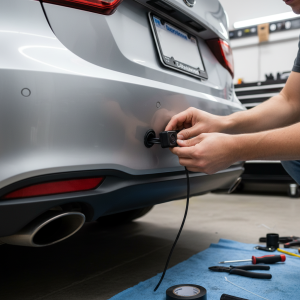
Start by disconnecting your vehicle’s battery to prevent electrical shorts or damage during the wiring process. Identify the optimal camera mounting location, typically on the rear bumper, license plate area, or tailgate. The camera should provide an unobstructed view of the area directly behind your vehicle while remaining protected from potential damage.
Drilling the mounting hole requires precision and care. Measure twice and drill once, ensuring the hole size matches your camera’s mounting requirements. Use appropriate drill bits for your vehicle’s material – metal bumpers may require different bits than plastic components. After drilling, apply rust-resistant primer to any exposed metal edges to prevent corrosion.
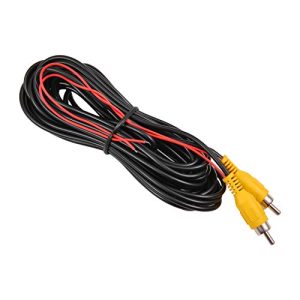
Running the camera cable from the rear of your vehicle to the front display location often represents the most challenging aspect of backup camera installation. You’ll need to route wires through the vehicle’s interior, typically along existing wire harnesses or through rubber grommets in the firewall. Take care to avoid areas where cables might be pinched or damaged by moving parts.
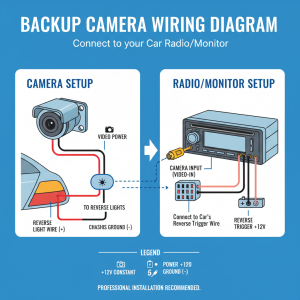
The power connection for your backup camera typically connects to the reverse light circuit, ensuring the camera activates automatically when you shift into reverse. Locate your vehicle’s reverse light wires using a wiring diagram or multimeter, then make secure connections using appropriate connectors or solder joints. Proper insulation of all electrical connections is essential for long-term reliability.
Wiring and Electrical Connections for Optimal Performance
Proper wiring techniques are fundamental to a successful backup camera installation. Understanding your vehicle’s electrical system will help you make reliable connections that provide years of trouble-free operation. Most backup camera systems require both power and signal connections, though wireless systems simplify this process considerably.
When connecting to the reverse light circuit, you’ll typically find the appropriate wires near the rear light assemblies. Use a test light or multimeter to identify which wire carries power when the transmission is in reverse. Make your connection using a tap connector or by splicing directly into the wire, then secure the connection with electrical tape and heat shrink tubing.
Ground connections are equally important for proper camera operation. Locate a solid ground point near your camera mounting location – this might be a bolt securing the bumper or license plate bracket. Clean the ground point thoroughly to ensure good electrical contact, then secure your ground wire with an appropriate connector.
For systems requiring constant power (such as those with parking guidelines or always-on displays), you’ll need to connect to a circuit that remains powered when the ignition is off. The backup light circuit typically only provides power when reversing, so additional connections may be necessary for advanced features.
Cable routing requires careful attention to avoid interference with vehicle operation. Secure cables away from moving parts, exhaust components, and areas where they might be damaged by road debris. Use cable ties or clips to maintain neat, professional-looking installations that won’t rattle or come loose over time.
Testing, Troubleshooting, and Maintenance Tips
Once your backup camera installation is complete, thorough testing ensures everything functions correctly before reassembling your vehicle. Reconnect the battery and test the system by shifting into reverse – the camera should activate immediately and provide a clear image on your display.
Check image quality under various lighting conditions, including bright sunlight, shade, and darkness. Adjust camera angles if necessary to optimize the viewing area and minimize glare or blind spots. Many backup cameras offer adjustable mounting brackets that allow fine-tuning of the viewing angle after installation.
Common troubleshooting issues include poor image quality, intermittent operation, or complete system failure. Poor connections often cause these problems, so double-check all electrical connections if you experience issues. Wireless systems may suffer from interference or range limitations, particularly in vehicles with extensive electronic systems.
Regular maintenance helps ensure long-term reliability of your backup camera system. Clean the camera lens periodically to remove dirt, water spots, and debris that can obscure the image. Inspect electrical connections annually, looking for signs of corrosion or loose connections that might affect performance.
Software updates may be available for advanced backup camera systems, particularly those that integrate with smartphone apps or vehicle infotainment systems. Check manufacturer websites periodically for firmware updates that might improve performance or add new features.
Conclusion
Installing a backup camera represents a valuable investment in vehicle safety and convenience. While the process requires careful planning and attention to detail, most DIY enthusiasts can successfully complete a backup camera installation with basic tools and patience. The enhanced visibility and safety benefits make this automotive upgrade well worth the effort.
Remember that proper installation techniques and quality components are essential for reliable operation. Take your time during the installation process, double-check all connections, and don’t hesitate to consult professional installers if you encounter challenges beyond your skill level. With your new backup camera system properly installed and tested, you’ll enjoy improved confidence and safety every time you reverse your vehicle.
Whether you’re installing a basic single-camera system or a more advanced multi-camera setup, the principles outlined in this guide will help ensure a successful installation. Your investment in backup camera technology will pay dividends in enhanced safety, reduced accident risk, and greater peace of mind for years to come.