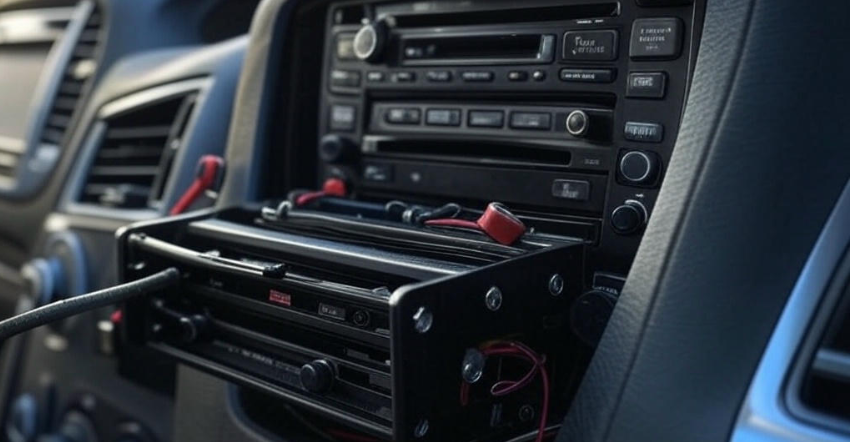
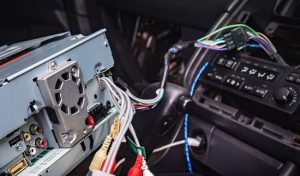
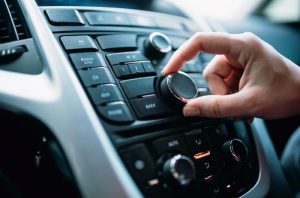
The Toyota Avalon, spanning the 2013-2018 model years, is a reliable and luxurious full-size sedan that has won the hearts of many drivers. While it offers a comfortable ride and solid performance, one area where it might fall short for some owners is the factory-installed radio system. Whether you’re dealing with outdated technology, lackluster sound quality, or simply want modern features like Apple CarPlay and Android Auto, upgrading your Avalon’s radio can transform your driving experience. In this detailed blog post, we’ll explore everything you need to know about upgrading the radio in your 2013-2018 Toyota Avalon, including options, installation tips, and the benefits of aftermarket systems.
Contents
- Why Upgrade Your 2013-2018 Toyota Avalon Radio?
- Understanding Your 2013-2018 Avalon’s Factory Radio
- Options for Upgrading Your Avalon Radio
- Step-by-Step Guide to Installing an Aftermarket Radio in Your 2013-2018 Avalon
- Benefits of Upgrading Your Avalon’s Radio
- Common Challenges and Solutions
- Cost of a 2013-2018 Avalon Radio Upgrade
- Where to Buy Your Avalon Radio Upgrade
- Tips for Maintaining Your Upgraded Radio
- Conclusion: Elevate Your 2013-2018 Toyota Avalon Today
Why Upgrade Your 2013-2018 Toyota Avalon Radio?
The factory radio in the 2013-2018 Toyota Avalon varies depending on the trim level (XLE, Touring, Limited, etc.) and whether it includes the optional JBL sound system or navigation. While the base systems are functional, they often lack the modern connectivity and audio quality that today’s drivers expect. Here are some compelling reasons to consider a radio upgrade:
- Modern Features: Factory radios from this era may not support Apple CarPlay, Android Auto, or Bluetooth streaming, which are now standard in newer vehicles.
- Improved Sound Quality: Even with the JBL system, some owners find the audio lacks clarity, depth, or bass response compared to aftermarket options.
- Customization: Aftermarket radios allow you to tailor your infotainment system to your preferences, from touchscreen size to app integration.
- Aging Technology: As of 2025, a 2013-2018 Avalon’s stock radio is over a decade old in some cases, making it feel outdated compared to current standards.
- Value Addition: Upgrading your radio can increase your vehicle’s resale value and appeal to tech-savvy buyers.
If any of these resonate with you, it’s time to dive into the world of Avalon radio upgrades!
Understanding Your 2013-2018 Avalon’s Factory Radio
Before upgrading, it’s essential to understand what you’re starting with. The 2013-2018 Avalon (fourth generation, XX40) came with several radio configurations:
- Base Model (XLE): A basic AM/FM radio with a CD player, auxiliary input, and a small display. No navigation or premium audio in most cases.
- Mid-Tier (XLE Touring): Adds a larger display with Toyota’s Entune system, Bluetooth, and sometimes navigation.
- Top-Tier (Limited): Features the JBL premium audio system with an external amplifier, subwoofer, and a 7-inch touchscreen with navigation.
The JBL system, while better than the base setup, still uses compressed audio formats and may not satisfy audiophiles. Additionally, the integration of climate controls and vehicle settings into the head unit can complicate replacement. Knowing your trim and system will guide your upgrade path.
Options for Upgrading Your Avalon Radio
When upgrading your 2013-2018 Toyota Avalon radio, you have two primary routes: enhancing the existing system or replacing it entirely with an aftermarket unit. Let’s break down each option.
Option 1: Enhance the Factory System
If you’re happy with the stock head unit’s look and functionality but want better sound or connectivity, you can upgrade components without replacing the radio itself.
Add an Amplifier and Speakers
- Why: The factory speakers and amp (if present) may not deliver the power or clarity you crave.
- How: Install an aftermarket amplifier (e.g., JL Audio or Alpine) and replace the stock speakers with high-quality options like Focal or Pioneer.
- Considerations: For JBL-equipped Avalons, you’ll need to bypass or integrate with the factory amp, which may require a digital signal processor (DSP) like the JL Fix 86.
Integrate Apple CarPlay/Android Auto
- Why: Add smartphone mirroring without replacing the head unit.
- How: Use an integration module like the NAKIVS system, which overlays CarPlay and Auto onto the factory screen while retaining original functions.
- Considerations: This is less invasive but may not improve sound quality or offer a larger display.
Add a Subwoofer
- Why: Boost bass response, which is often weak in base models.
- How: Install a compact powered subwoofer (e.g., JL Audio 10-inch) in the trunk or under a seat.
- Considerations: Ensure compatibility with your existing amp or add a separate one.
Option 2: Full Aftermarket Radio Replacement
For a complete overhaul, replacing the factory radio with an aftermarket unit is the way to go. This option offers the most flexibility and modern features.
Popular Aftermarket Radio Brands
- Pioneer: Known for excellent sound quality and reliable CarPlay/Android Auto integration (e.g., Pioneer AVH-1300NEX).
- Kenwood: Offers high-end options like the Excelon series with robust audio tuning capabilities.
- Belsee: Specializes in Android-based head units tailored for Toyota Avalon, featuring large touchscreens and advanced features.
- Alpine: Premium choice for audiophiles with crisp displays and sound customization.
Key Features to Look For
- Touchscreen Size: 7-9 inches is common, with some units offering 10-inch displays for a sleek, modern look.
- Apple CarPlay/Android Auto: Essential for seamless smartphone integration.
- Bluetooth: For hands-free calls and music streaming.
- GPS Navigation: Built-in maps reduce reliance on your phone.
- High-Resolution Audio: Support for FLAC or other lossless formats for better sound.
- Plug-and-Play Compatibility: Look for units with harnesses and dash kits designed for the Avalon.
Recommended Models for 2013-2018 Avalon
- Belsee Android 12 Head Unit: 8-inch IPS touchscreen, 4GB RAM, 64GB storage, wireless CarPlay/Android Auto, and GPS. Perfect for tech enthusiasts.
- Pioneer AVH-2300NEX: 7-inch double-DIN with CarPlay, Android Auto, and Bluetooth. A budget-friendly yet feature-rich option.
- Kenwood DMX-1057XR: 10.1-inch floating display, hi-res audio, and extensive tuning options for audiophiles.
Step-by-Step Guide to Installing an Aftermarket Radio in Your 2013-2018 Avalon
Ready to upgrade? Here’s a detailed guide to replacing your Avalon’s radio. While professional installation is recommended for complex setups (especially with JBL systems), DIY enthusiasts can tackle this with the right tools and patience.
Tools You’ll Need
- Phillips and flathead screwdrivers
- Plastic trim removal tools (to avoid scratching)
- Socket wrench set (10mm typically)
- Wiring harness adapter (specific to Avalon)
- Double-DIN dash kit (e.g., Metra or Scosche)
- Optional: Soldering iron, crimping tool, electrical tape
Step 1: Gather Your Materials
- Purchase your aftermarket radio, dash kit, and wiring harness adapter. Confirm compatibility with your Avalon’s year and trim.
- For JBL systems, you may need a CAN bus decoder or Maestro RR module to retain steering wheel controls and factory features.
Step 2: Disconnect the Battery
- Safety first! Disconnect the negative terminal of your car battery to avoid electrical shorts.
Step 3: Remove the Factory Radio
- Pry Off Trim: Use a plastic trim tool to gently remove the dashboard trim around the radio. Start at the bottom and work up.
- Unscrew the Unit: Remove the four 10mm bolts securing the radio to the dash.
- Disconnect Wiring: Pull the radio out slightly, then unplug the harnesses and antenna cable from the back.
Step 4: Prepare the New Radio
- Attach the dash kit to your aftermarket radio per the manufacturer’s instructions.
- Connect the wiring harness adapter to the radio’s harness, matching colors (e.g., red to red for power, black to black for ground). Solder or crimp for a secure connection.
Step 5: Install the New Radio
- Plug In: Connect the adapted harness and antenna cable to the new radio.
- Test Fit: Slide the radio into the dash to ensure it fits snugly in the kit.
- Secure: Fasten the radio with the original bolts or those provided with the kit.
- Reattach Trim: Snap the dashboard trim back into place.
Step 6: Test and Finalize
- Reconnect the battery and turn on the car. Test the radio’s power, sound, and features (Bluetooth, CarPlay, etc.).
- If everything works, tidy up any loose wires and enjoy your upgraded system!
Notes for JBL Systems
- The JBL amp complicates replacement. You’ll need an integration module (e.g., iDatalink Maestro RR) to bypass it while retaining functionality like the backup camera or steering wheel controls.
- Alternatively, replace the amp entirely with an aftermarket one for full control over your audio setup.
Benefits of Upgrading Your Avalon’s Radio
Once installed, an upgraded radio offers numerous advantages:
- Enhanced Audio Experience: Crisp highs, deep bass, and balanced mids elevate your music enjoyment.
- Seamless Connectivity: Stream podcasts, navigate with Google Maps, or take calls hands-free.
- Future-Proofing: Stay current with tech trends without buying a new car.
- Personalization: Adjust EQ settings, screen layouts, and apps to suit your taste.
- Safety: Larger screens and voice controls reduce distractions while driving.
Common Challenges and Solutions
Upgrading isn’t without hurdles. Here’s how to address them:
- Fitment Issues: Ensure your dash kit matches your Avalon’s year and trim. Double-DIN kits are standard for 2013-2018 models.
- JBL Integration: Use a DSP or integration module to maintain factory features.
- Warranty Concerns: Check with your dealer if an upgrade affects your vehicle warranty (it typically doesn’t unless damage occurs during installation).
- Sound Tuning: Aftermarket radios may require tweaking to match your speakers. Use built-in EQ settings or a DSP for optimal results.
Cost of a 2013-2018 Avalon Radio Upgrade
Costs vary based on your approach:
- Basic Aftermarket Radio: $100-$300 (e.g., Pioneer AVH-1300NEX) + $50-$100 for dash kit and harness.
- Premium Android Unit: $300-$600 (e.g., Belsee Android 12).
- Speakers and Amp: $200-$500 additional.
- Professional Installation: $100-$300, depending on complexity.
- Total Range: $150-$1,500, depending on features and labor.
For budget-conscious owners, start with a mid-range radio and add components later as funds allow.
Where to Buy Your Avalon Radio Upgrade
- Online Retailers: Amazon, Crutchfield, and Sonic Electronix offer wide selections with fitment guides.
- Specialty Stores: Belsee and Sigma Car Stereo provide Avalon-specific units.
- Local Audio Shops: Ideal for custom installs and expert advice.
Always verify compatibility and read reviews before purchasing.
Tips for Maintaining Your Upgraded Radio
- Keep Software Updated: Download firmware updates from the manufacturer’s website for optimal performance.
- Protect the Screen: Use a microfiber cloth for cleaning and avoid harsh chemicals.
- Check Connections: Periodically inspect wiring to prevent loose connections or static.
Conclusion: Elevate Your 2013-2018 Toyota Avalon Today
Upgrading the radio in your 2013-2018 Toyota Avalon is a worthwhile investment that breathes new life into your vehicle. Whether you opt for a simple speaker swap or a full Android head unit with all the bells and whistles, the result is a more enjoyable, connected, and personalized driving experience. With the right tools, planning, and a bit of patience, you can transform your Avalon’s cabin into a modern entertainment hub.
Ready to get started? Research your options, pick a system that fits your budget and needs, and take the plunge. Your ears—and your passengers—will thank you!
