As an Amazon Influencer, we earn from qualifying purchases you might make if you click any of the links or buttons on this page at no expense to you.
Adding a subwoofer to your car’s sound system can dramatically enhance your listening experience, injecting much-needed low-end punch to your music. However, many car owners are intimidated by the prospect of installing a subwoofer, especially when working with a factory-installed radio. This beginner’s guide will walk you through the process step-by-step, explaining how to connect a subwoofer to your stock car radio, ensuring a smooth and successful installation. Remember, safety is paramount; if you’re uncomfortable with any part of this process, consult a professional car audio installer.
Contents
- Assessing Your Stock Radio’s Capabilities
- Identifying the Radio’s Output Connections
- Choosing the Right Subwoofer and Amplifier
- Wiring Considerations: Gauge and Length
- Grounding the Amplifier for Optimal Performance
- Connecting the Amplifier to the Radio’s Output
- Powering the Amplifier: Fuses and Wiring
- Connecting the Subwoofer to the Amplifier
- Testing and Troubleshooting Your Setup
- Fine-Tuning for Optimal Bass Response
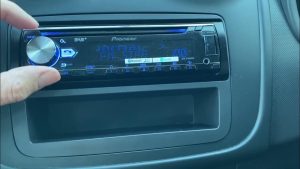
Assessing Your Stock Radio’s Capabilities
First, you need to determine if your stock radio even has the capability to power a subwoofer. Many factory radios lack dedicated subwoofer outputs, relying instead on the main speaker outputs. This means you’ll almost certainly need an amplifier to boost the signal and provide the power your subwoofer requires. Check your owner’s manual for specifications regarding the radio’s output power and impedance. Understanding these parameters is crucial for selecting the appropriate amplifier.
Furthermore, some factory radios feature integrated amplifiers that might be damaged if you try to add external amplification. Consult your owner’s manual or online resources to confirm the compatibility of your stock radio with external amplification. If you’re unsure, err on the side of caution and consult a professional. Improper installation can lead to damage to your car’s electrical system or your radio itself.
Identifying the Radio’s Output Connections
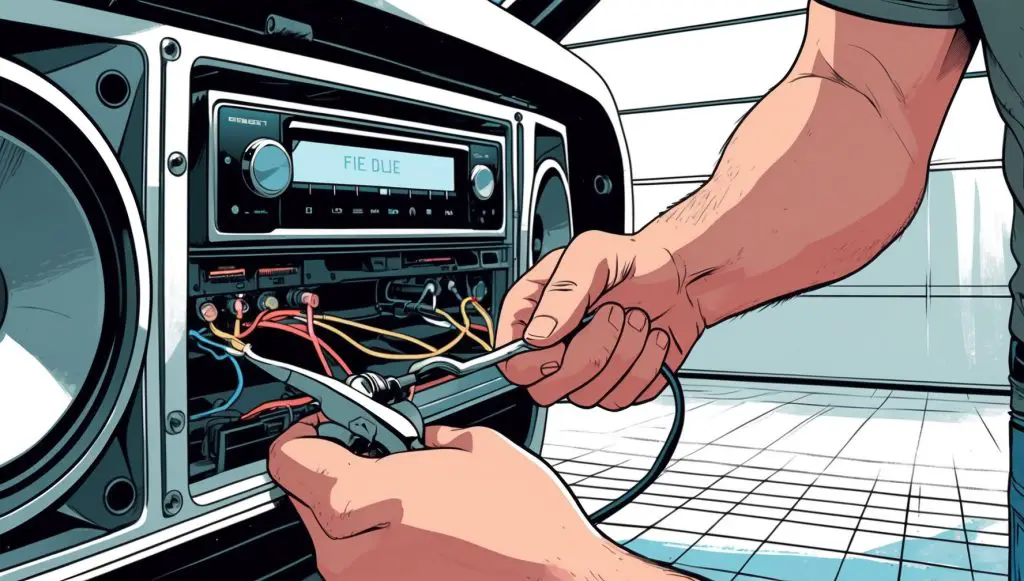
Next, locate the radio’s output connections. These are typically found at the back of the radio head unit, and you’ll need to remove the radio to access them. This usually involves using a radio removal tool specific to your car’s make and model to avoid damaging the dash. The connections may be a single harness or several individual wires. Carefully examine the harness; you’ll be looking for speaker-level outputs (positive and negative wires for each speaker channel).
These speaker-level outputs carry the audio signal from the radio. They are different from RCA outputs, which are dedicated line-level outputs often found on aftermarket radios. Since your stock radio likely lacks RCA outputs, you’ll need an amplifier that accepts speaker-level inputs. Identify the speaker outputs for the front or rear channels. These are the ones you’ll use to connect your amplifier. Label the wires clearly to avoid confusion during the installation process.
Choosing the Right Subwoofer and Amplifier
Selecting the right subwoofer and amplifier is critical for optimal sound quality and system longevity. Consider the size and enclosure of the subwoofer. Smaller subwoofers are easier to fit into limited spaces, while larger ones generally produce more bass. The enclosure type (sealed, ported, or bandpass) significantly impacts the subwoofer’s performance characteristics. Research different subwoofer types to understand their pros and cons.
Simultaneously, choose an amplifier that’s powerful enough to drive your subwoofer without distortion. The amplifier’s power rating (RMS power) should match or exceed the subwoofer’s power handling capacity. Consider the amplifier’s features, including speaker-level inputs (essential for a stock radio), variable low-pass crossover (to filter out unwanted frequencies), and impedance matching capabilities. Always ensure the amplifier’s impedance matches the subwoofer’s impedance to prevent damage.
Wiring Considerations: Gauge and Length
Appropriate wiring is crucial for safe and efficient power transfer. The gauge of your wiring determines its current-carrying capacity. Too thin a wire will overheat and potentially cause a fire. Use a sufficiently thick gauge of wire for both the power and ground wires. A common guideline is to use 8-gauge wire for the power and ground connections to the amplifier, especially for higher-powered systems.
Furthermore, the length of your wiring also matters. Longer wires introduce more resistance, leading to voltage drop and reduced power to the amplifier. Keep the wiring as short as possible while ensuring proper routing and avoiding sharp bends or kinks. Use appropriately sized wire connectors and crimp them securely to prevent loose connections. Properly insulated wires prevent short circuits and ensure a safe installation.
Grounding the Amplifier for Optimal Performance
A solid ground connection is essential for optimal amplifier performance and to prevent noise. Choose a grounding point on the car’s chassis that’s clean, bare metal, and offers a large surface area. This will ensure a low-resistance path for the ground current. Clean the grounding point thoroughly with a wire brush to remove any paint or corrosion.
Once clean, attach the ground wire securely using a ring terminal and a bolt. Tighten the bolt firmly to ensure a good electrical connection. A poor ground connection can lead to hum, buzz, or distortion in your subwoofer’s output. Test the ground connection with a multimeter to ensure it has minimal resistance. A good ground is critical for the amplifier’s stability and longevity.
Connecting the Amplifier to the Radio’s Output
Now, connect the amplifier to the radio’s speaker-level outputs. Use speaker wire to connect the positive and negative wires from the desired speaker channel (front or rear) on the radio to the corresponding speaker-level inputs on the amplifier. Ensure correct polarity; connecting the wires incorrectly can damage your equipment. Consult the amplifier’s manual for the correct wiring configuration.
Many amplifiers offer a gain control. This allows you to adjust the input sensitivity to match the output level of your stock radio. Start with the gain control turned down low and gradually increase it until you achieve the desired output level without distortion. Improper gain setting can lead to clipping and damage to your speakers or amplifier. Always double-check your connections before powering on the system.
Powering the Amplifier: Fuses and Wiring
Powering the amplifier involves connecting it to the car’s battery. This requires running a heavy-gauge power wire from the battery’s positive terminal to the amplifier. Install an inline fuse close to the battery to protect the wiring and the amplifier from overcurrent situations. The fuse rating should match or slightly exceed the amplifier’s maximum current draw.
Route the power wire carefully, avoiding sharp bends and keeping it away from moving parts. Secure the wire using zip ties or cable clamps. Connect the power wire to the amplifier’s power terminal. This completes the power circuit for the amplifier. Remember, working with car batteries involves the risk of electrical shock. Take necessary precautions and disconnect the battery’s negative terminal before working on the electrical system.
Connecting the Subwoofer to the Amplifier
Finally, connect the subwoofer to the amplifier’s subwoofer output terminals. Use appropriately sized speaker wire and ensure correct polarity. The amplifier’s manual will specify the correct wiring configuration. Secure the connections using wire connectors or terminals.
Once connected, you can adjust the amplifier’s low-pass crossover frequency. This setting determines the range of frequencies sent to the subwoofer. A typical range is between 40 Hz and 80 Hz. Experiment with different settings to find the best sound for your system and preferences. This step fine-tunes the bass response to ensure optimal performance.
Testing and Troubleshooting Your Setup
Before turning on the system, perform a final visual inspection of all connections. Ensure all wires are securely connected and that no wires are pinched or damaged. Then, turn on the car and the radio. Play some music with a strong bass line to test the subwoofer.
If you encounter problems, such as no sound, distortion, or hum, systematically check each connection. Ensure the amplifier is receiving power, the ground connection is secure, and the polarity of all connections is correct. A multimeter can help you identify faulty wiring or connections. If the problem persists, consult a professional car audio installer.
Fine-Tuning for Optimal Bass Response
Once everything is working correctly, fine-tune the system for optimal bass response. Adjust the amplifier’s gain control to set the desired output level without distortion. Experiment with the low-pass crossover frequency to find the optimal cutoff point for the subwoofer. You may also want to adjust the subwoofer’s phase switch (if available) to minimize cancellations and maximize output.
Finally, listen to a variety of music genres to evaluate the overall bass response. You might need to make further adjustments to the gain, crossover, and phase settings to achieve the ideal balance. Remember, achieving perfect sound is often an iterative process. Take your time, experiment with different settings, and enjoy the enhanced bass response in your car’s audio system.
Installing a subwoofer in your car, even with a stock radio, is a rewarding project that significantly enhances your listening experience. By following these steps carefully and understanding the fundamental principles of car audio, you can successfully add low-end punch to your music. Remember that safety and proper installation techniques are critical to ensure the longevity and performance of your new subwoofer system. If you encounter any difficulties, don’t hesitate to seek professional help. Enjoy the improved sound!