As an Amazon Associate & Influencer, we earn from qualifying purchases you might make if you click any of the links or buttons on this page at no expense to you.
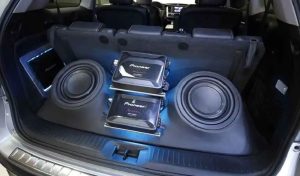
Adding a subwoofer significantly enhances your audio system’s low-frequency response, delivering that deep, resonant bass that makes music and movies truly come alive. Dual voice coil (DVC) subwoofers offer even greater flexibility and control over your bass output. This beginner’s guide will walk you through the process of wiring and connecting a DVC subwoofer, empowering you to customize your sound system to perfection. We will explore different wiring configurations, amplification needs, and troubleshooting tips to ensure a successful installation.
Contents
- Understanding Dual Voice Coil Subwoofers
- Choosing the Right Wiring Configuration
- Series Wiring: A Step-by-Step Guide
- Parallel Wiring: A Detailed Explanation
- Combining Series and Parallel Wiring
- Amplification Requirements and Considerations
- Connecting to Your Amplifier Properly
- Grounding and Power Supply Connections
- Testing Your Dual Voice Coil Setup
- Troubleshooting Common Wiring Issues
Understanding Dual Voice Coil Subwoofers
A dual voice coil subwoofer possesses two separate voice coils, each with its own terminals. This unique design allows for versatile wiring configurations, impacting the subwoofer’s impedance and power handling capabilities. Understanding these configurations is key to maximizing your subwoofer’s performance. Each voice coil acts independently, yet they are mechanically coupled to the same cone.
Consequently, you can wire these coils in series, parallel, or a combination of both to achieve different impedance levels. This flexibility is crucial because it allows you to match the subwoofer’s impedance to your amplifier’s output, preventing damage and ensuring optimal power transfer. Choosing the right configuration depends on your amplifier’s specifications and your desired bass output.
Choosing the Right Wiring Configuration
The optimal wiring configuration depends heavily on your amplifier’s specifications. First, consult your amplifier’s manual to determine its output impedance and power handling capabilities. This crucial information will dictate which wiring configuration (series, parallel, or a combination) is suitable for your subwoofer. Ignoring this step could lead to amplifier damage or underwhelming bass performance.
Furthermore, consider your desired bass output. Series wiring increases the impedance and reduces the power handling capacity, resulting in a tighter, more controlled bass. Parallel wiring decreases the impedance and increases the power handling capacity, producing a louder, more powerful bass. The combined configuration offers a middle ground, allowing for customization based on your specific needs and preferences.
Series Wiring: A Step-by-Step Guide
Series wiring connects the positive terminal of one voice coil to the negative terminal of the other. This effectively doubles the subwoofer’s impedance. For example, if each voice coil has a 4-ohm impedance, the series wiring will result in an 8-ohm impedance. This is a straightforward process, ideal for amplifiers with higher impedance inputs.
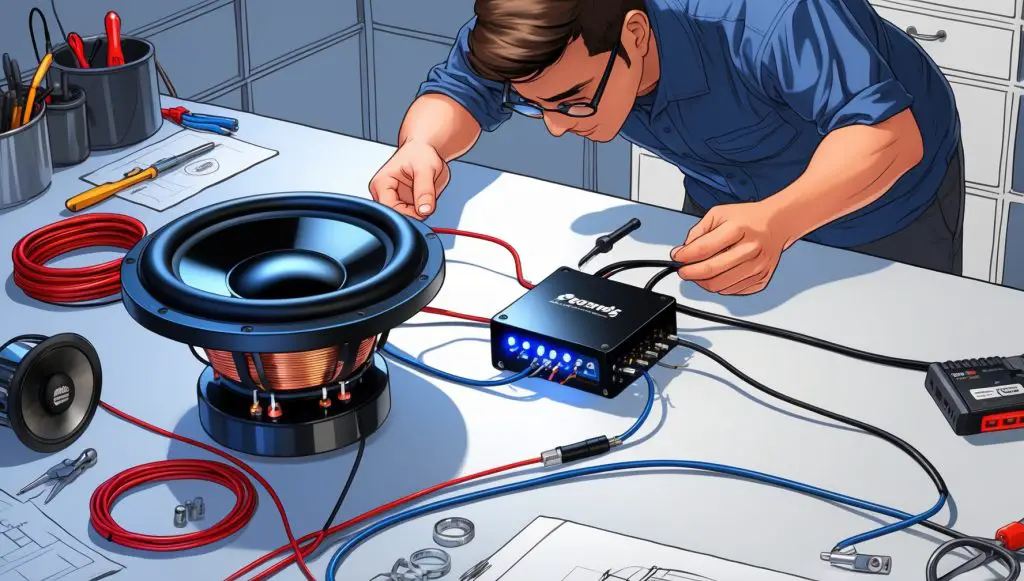
To begin, identify the positive (+) and negative (-) terminals on each voice coil. Use appropriately sized speaker wire to connect the positive terminal of the first voice coil to the negative terminal of the second. Then, connect the remaining terminals to your amplifier’s output channels. Always double-check your connections before powering on your system. Remember to use wire strippers to ensure clean connections and prevent shorts.
Parallel Wiring: A Detailed Explanation
Parallel wiring connects both positive terminals together and both negative terminals together. This halves the subwoofer’s impedance. Using the same 4-ohm example, parallel wiring reduces the impedance to 2 ohms. This configuration is suitable for amplifiers with lower impedance outputs and delivers a higher power handling capacity, leading to a louder and more powerful bass response.
First, connect both positive terminals of the voice coils together using a short length of speaker wire. Next, connect both negative terminals together in a similar fashion. Finally, connect the combined positive and negative leads to your amplifier’s output channels. Again, ensure all connections are secure and correctly polarized before powering on your system. This method is more demanding on the amplifier but produces greater output.
Combining Series and Parallel Wiring
This advanced technique involves wiring one pair of voice coils in series and another pair in parallel, creating a more complex impedance configuration. This approach provides a nuanced level of control over impedance and power handling, allowing for fine-tuning to match your specific amplifier and desired bass output. This configuration is more complex and requires a deeper understanding of electrical principles.
For instance, you might wire one pair of coils in series (doubling the impedance) and then wire that series combination in parallel with the other pair of coils (halving the overall impedance). This method demands careful planning and precise execution to achieve the desired impedance match. Consult online resources or experienced audio technicians if you are unsure about this complex wiring strategy.
Amplification Requirements and Considerations
The amplifier you choose must be compatible with the impedance of your wired subwoofer. Attempting to drive a low-impedance subwoofer with an amplifier not designed for it can lead to overheating, damage, or even failure of the amplifier. Always check your amplifier’s specifications to ensure it can handle the impedance load presented by your subwoofer.
Furthermore, the amplifier’s power output should be appropriate for your subwoofer’s power handling capacity. Using an underpowered amplifier will limit the subwoofer’s performance, while an overpowered amplifier risks damaging the subwoofer’s voice coils. Matching the amplifier’s power to the subwoofer’s capabilities ensures optimal performance and longevity.
Connecting to Your Amplifier Properly
Connecting your DVC subwoofer to your amplifier requires careful attention to polarity. Incorrect polarity can lead to a significant reduction in bass output or even damage to your components. Always ensure that the positive (+) and negative (-) terminals of the subwoofer are correctly connected to the corresponding terminals on the amplifier’s output channels.
Before making any connections, double-check your wiring diagram to ensure accuracy. Use high-quality speaker wire to minimize signal loss and ensure a clean, clear sound. Secure all connections tightly to prevent loose wires that could cause intermittent sound or even short circuits. Take your time and carefully inspect each connection before proceeding.
Grounding and Power Supply Connections
Proper grounding is essential for optimal performance and to prevent ground loops that can introduce unwanted noise into your audio system. Ensure your amplifier is properly grounded to the chassis of your car or home audio setup. A poor ground connection can lead to hum or buzzing sounds in your audio output.
The power supply to your amplifier must also be adequate. An insufficient power supply can limit the amplifier’s ability to deliver the necessary power to your subwoofer, resulting in weak bass. Ensure the amplifier’s power supply is capable of handling the combined power draw of the amplifier and the subwoofer. This is particularly important for high-power subwoofer setups.
Testing Your Dual Voice Coil Setup
After completing the wiring, carefully power on your system. Start with a low volume level to ensure everything is working correctly. Gradually increase the volume to your desired level. Listen for any unusual sounds like buzzing, crackling, or distortion. These sounds indicate a potential problem with your wiring or components.
If you hear any distortion or unusual sounds, immediately turn off the system and carefully re-check your wiring. Pay close attention to polarity and ensure all connections are secure. If the problem persists, consult the troubleshooting section or seek professional assistance. A successful test will yield clean, powerful bass with no distortion or unusual sounds.
Troubleshooting Common Wiring Issues
One common issue is incorrect polarity. If the bass is weak or sounds "thin," check the polarity of your connections. Reverse the wires on one of the voice coils and test again. Another common problem is loose connections. Inspect all connections and ensure they are securely tightened. Loose connections can cause intermittent sound or complete silence.
If you encounter problems with your amplifier overheating or shutting down, it’s likely that you have an impedance mismatch. Double-check your wiring configuration and ensure it matches your amplifier’s specifications. If you are still experiencing issues, consult the amplifier’s manual or seek professional help to avoid further damage.
Wiring a dual voice coil subwoofer offers significant advantages in terms of flexibility and customization. By understanding the different wiring configurations and following the steps outlined in this guide, you can optimize your subwoofer’s performance and enjoy powerful, high-quality bass. Remember to always prioritize safety and consult professional assistance if needed. Enjoy your enhanced audio experience!